
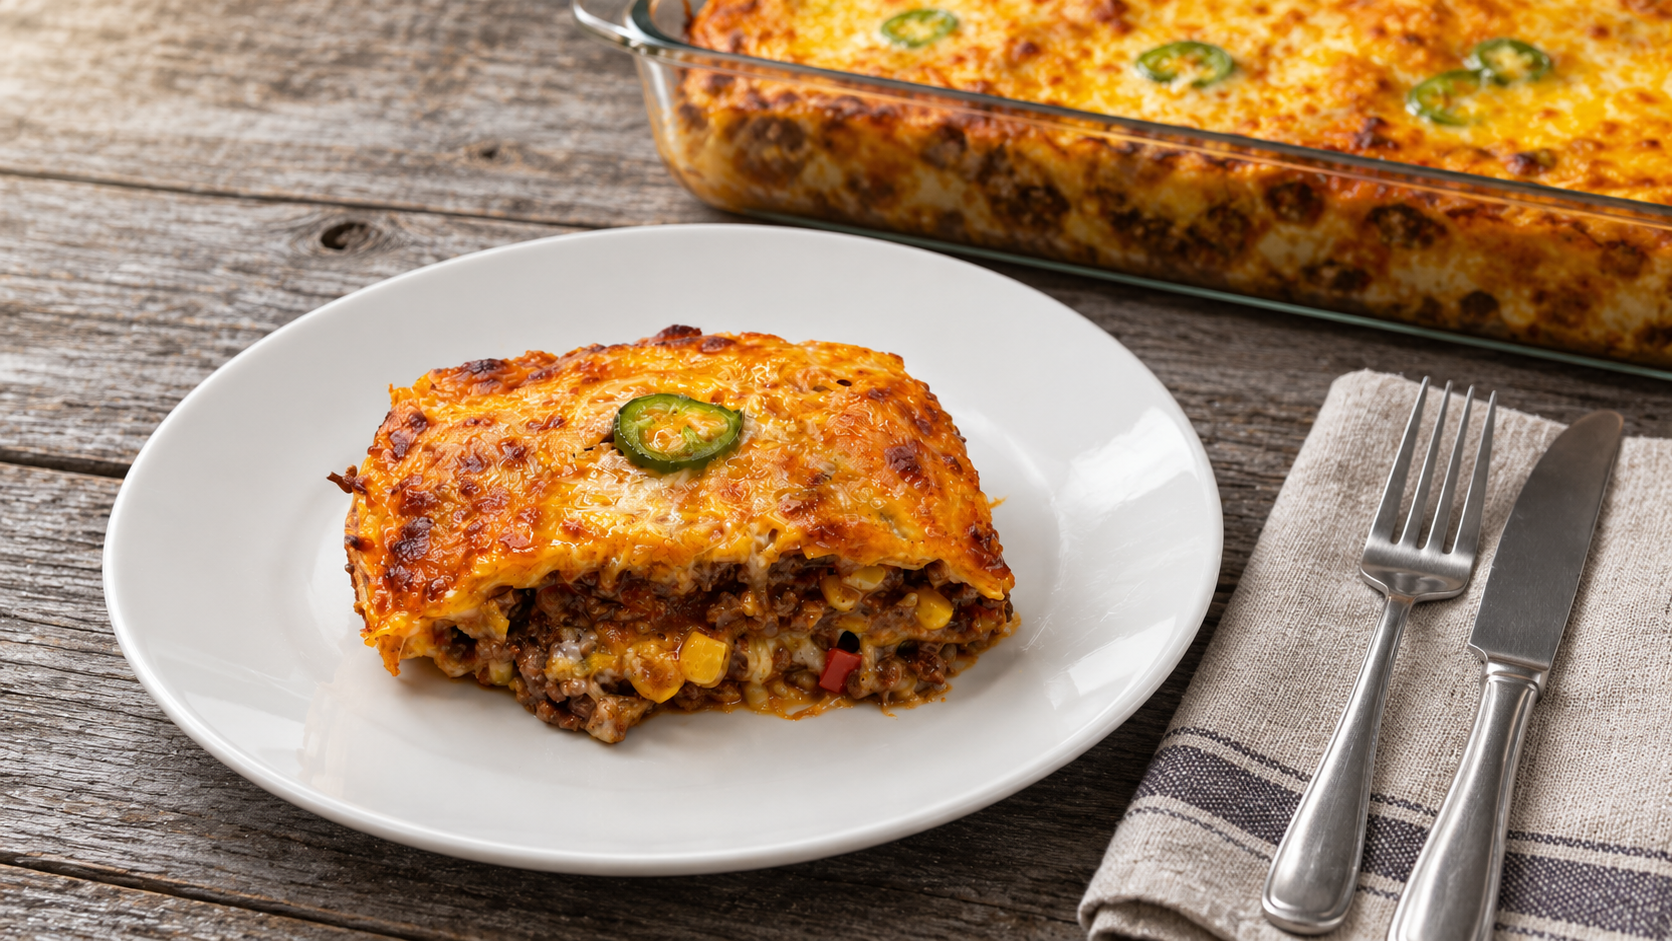
The most American dish that is neither Mexican nor lasagna
Mexican lasagna is a dish that is neither Mexican nor, if you ask any Italian, lasagna. And yet, it is one of my family’s favorite dishes. It is also, in my opinion, 100% American.
Only in America can you take the layered structure of an Italian lasagna, replace the pasta with corn tortillas, fill it with Tex-Mex taco meat and cheese, borrow a little inspiration from enchiladas, and call the result Mexican lasagna. And let’s be clear about the taco meat: it has very little to do with traditional Mexican tacos such as tacos al pastor. It is Tex-Mex, and there is absolutely nothing wrong with that.
There is another reason this dish is so American: most of the ingredients come out of a can. After all, can you really call something an all-American casserole if half the ingredients do not come out of a can?
There is, however, a practical side to the joke. After a long day at work, when the family finally gathers around the dinner table, dinner does not have to be fancy. It needs to be delicious, filling, and reasonably quick to put together. This casserole checks those boxes. It takes a little preparation, but most of the work is straightforward, and you get a generous family meal out of it.
Of course, this is really nothing more than enchiladas reconstructed. For the Tex-Mex version I am talking about, you take ground beef cooked with taco seasoning, fill the tortillas, roll them up almost like cannoli, arrange them in a pan, cover them with enchilada sauce and cheese, and bake. Here, you are doing essentially the same thing, only building the ingredients into layers instead of rolling individual enchiladas. That has a couple of practical benefits: it is a little faster, and you can fit more into the same baking dish. There is no way I could have arranged 24 rolled enchiladas in the dish I used for this meal. Layering those 24 tortillas gives me the same flavors in a much more convenient family-size casserole.
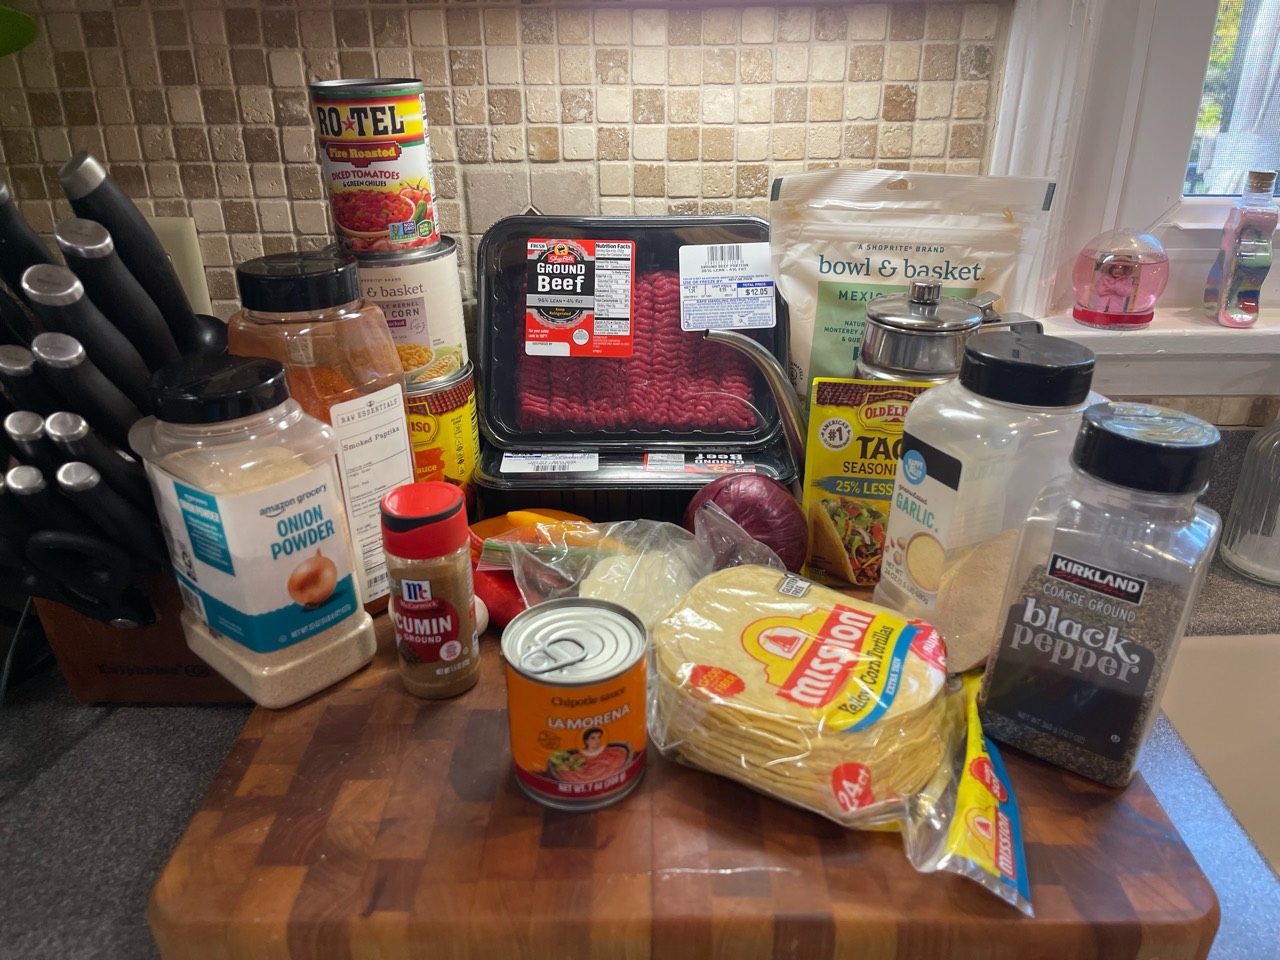
What goes into it
- 3 lb ground beef: I prefer 96% lean. Fattier beef works, but the cheese adds plenty of richness.
- 24 small corn tortillas: Six per layer, arranged in four tortilla layers.
- 1 onion and sweet peppers: I used four small sweet snack peppers; bell peppers work too.
- Hot chili, optional: Mine came from the garden. Use whatever heat level you enjoy.
- Olive oil: A little to help the very lean beef brown; I used roughly 1/4 cup or somewhat less.
- Enchilada sauce, 20–30 oz: At least 20 oz; half goes into the filling and half is reserved to moisten the tortillas.
- 1 can Rotel tomatoes and green chilies: A convenient shortcut that is part of the identity of this casserole.
- Chipotle adobo sauce: One can available; use to taste, dividing what you use between filling and tortilla sauce. The amount and heat depend on the product.
- 1 can corn: Vacuum-packed is ideal because there is very little extra liquid.
- Mexican-blend shredded cheese: About 350 g in my latest batch; typically Monterey Jack and cheddar, or a similar blend.
- Cotija cheese: To sprinkle through the filling layers; quantity to taste.
- 1 packet taco seasoning: A second packet is an option, but watch the salt.
- Extra seasoning: Smoked paprika, cumin if desired, dried onion/onion powder, dried garlic/garlic powder, black pepper, and salt to taste.
- Optional beans: I skip them because my family does not like them. If you add beans, you can reduce the meat to about 2 lb.
A note on the cheese: I would not use fat-free shredded cheese here. The regular cheese supplies fat and moisture that the very lean beef does not. Cotija has a different job: it does not melt into the same stretchy blanket, but contributes a salty, slightly tangy accent. Because the sauces and cheeses already contain salt, season carefully.
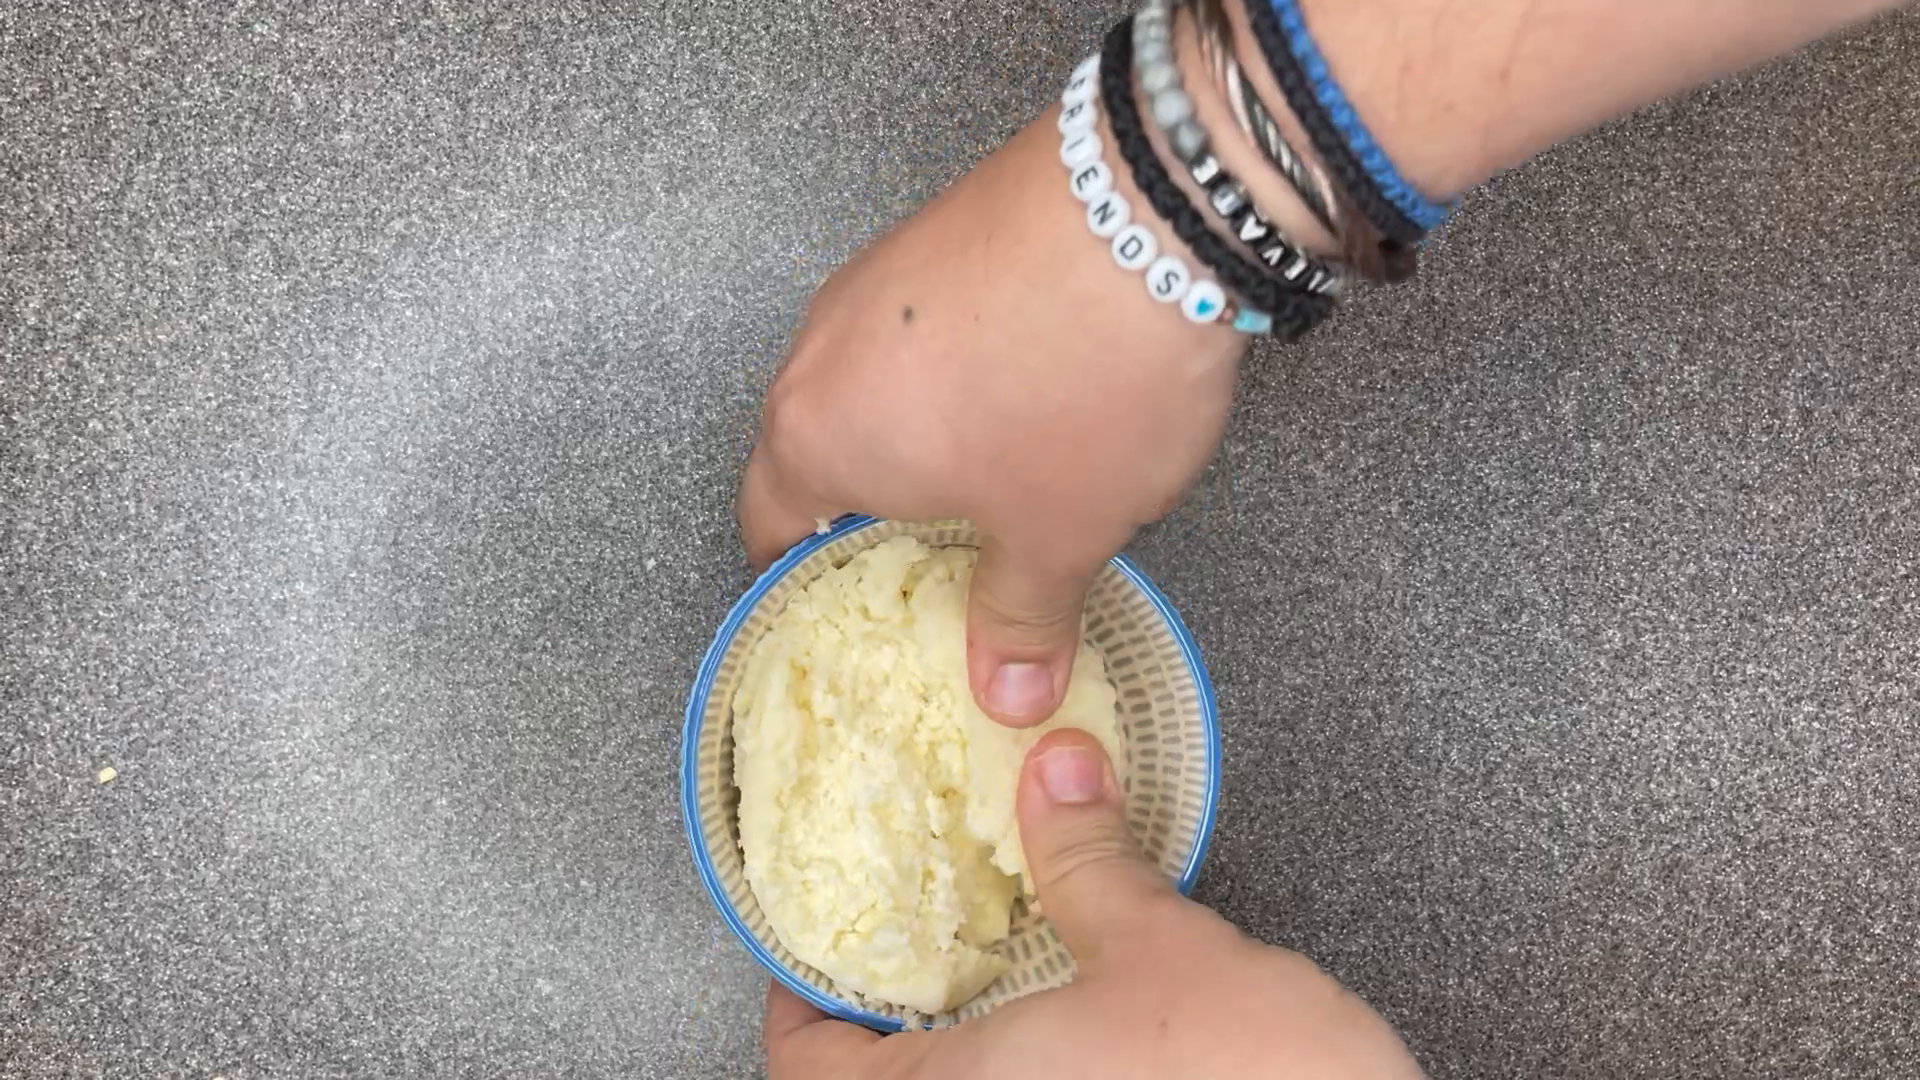
Break the Cotija into small crumbs with your fingers. Keep it in a separate bowl so you can sprinkle it evenly through the layers, rather than dropping in a few large, salty pieces.
Putting it all together
1. Chop the vegetables
Prepare the onion, sweet peppers, any hot chili, and garlic before you start cooking. Aim for reasonably even pieces, roughly 1/4 inch for the onion and peppers. This is probably the hardest part because it involves actual chopping. I managed to nick my finger while doing it, so if you see a Band-Aid in the photographs, now you know why.
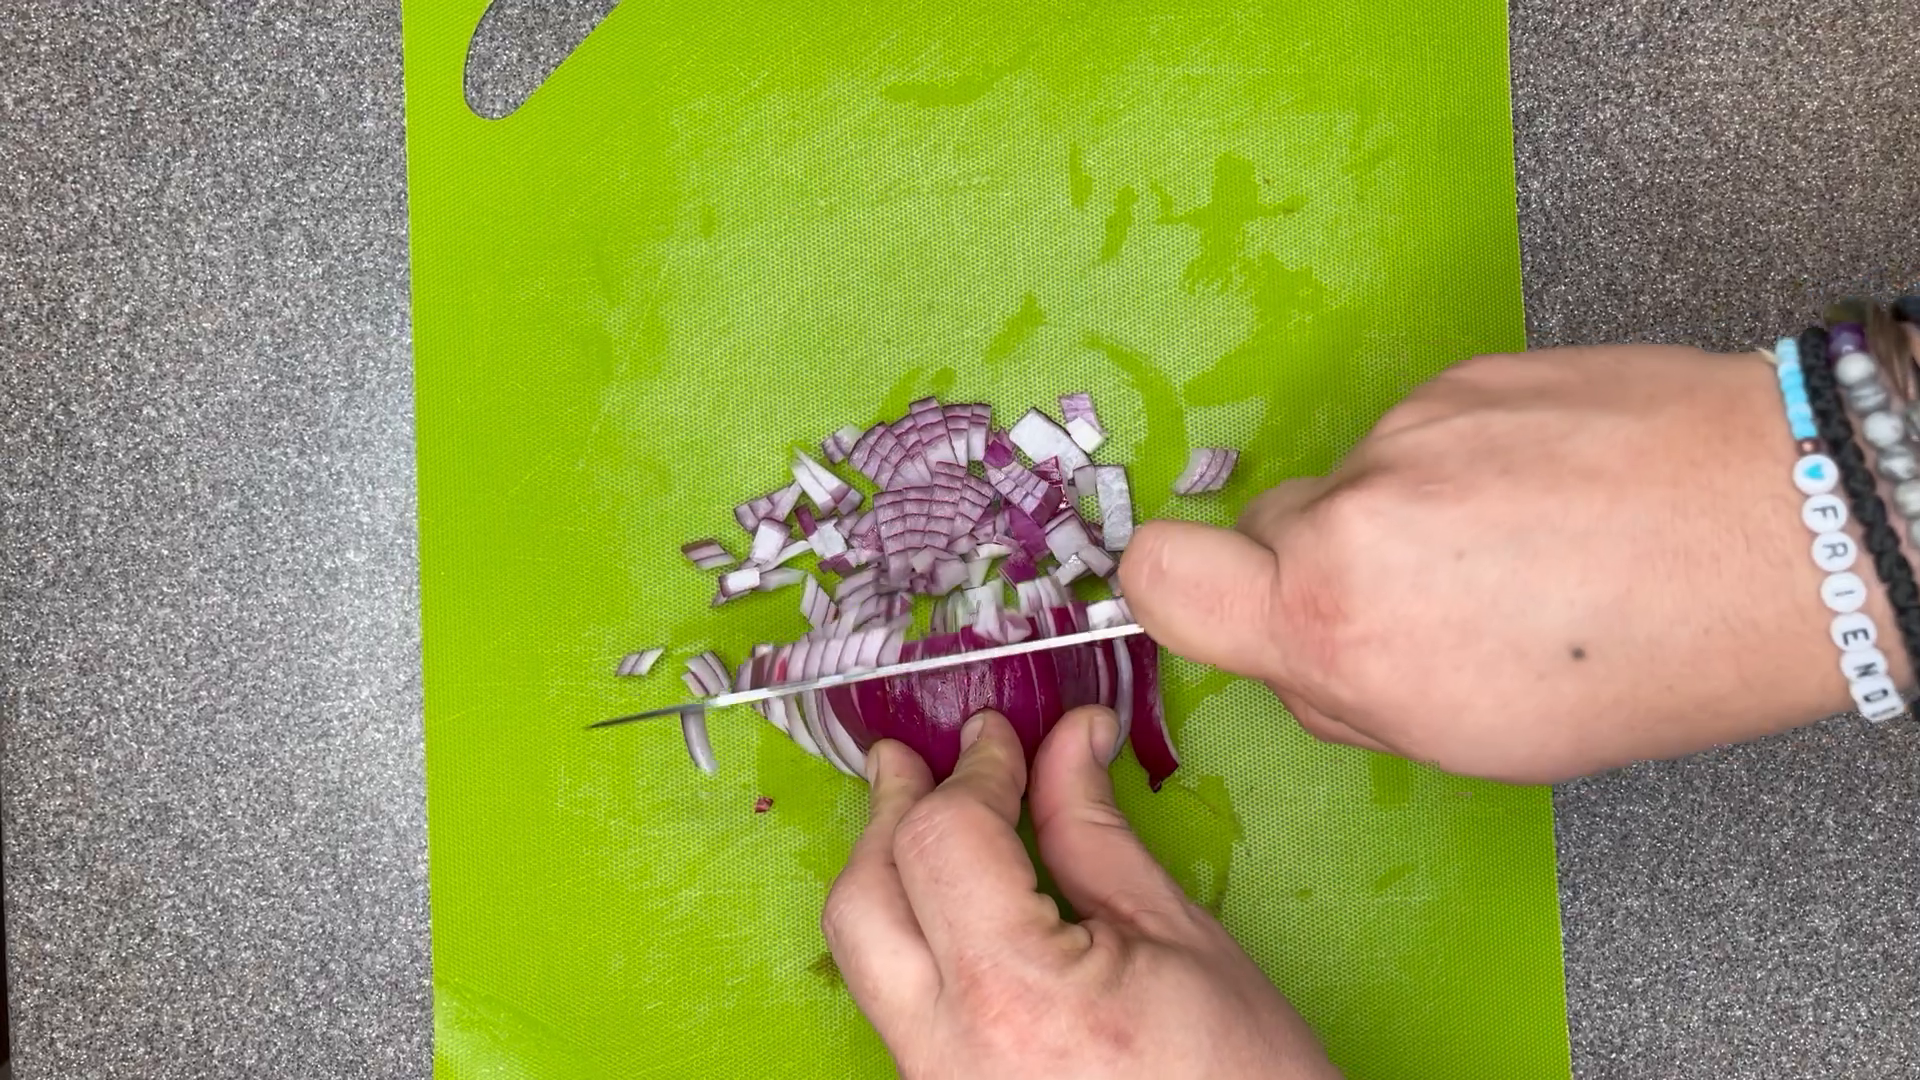
Set an onion half flat-side down on the board so it does not roll. Slice it thinly, keeping the fingertips of your guiding hand tucked back from the blade.
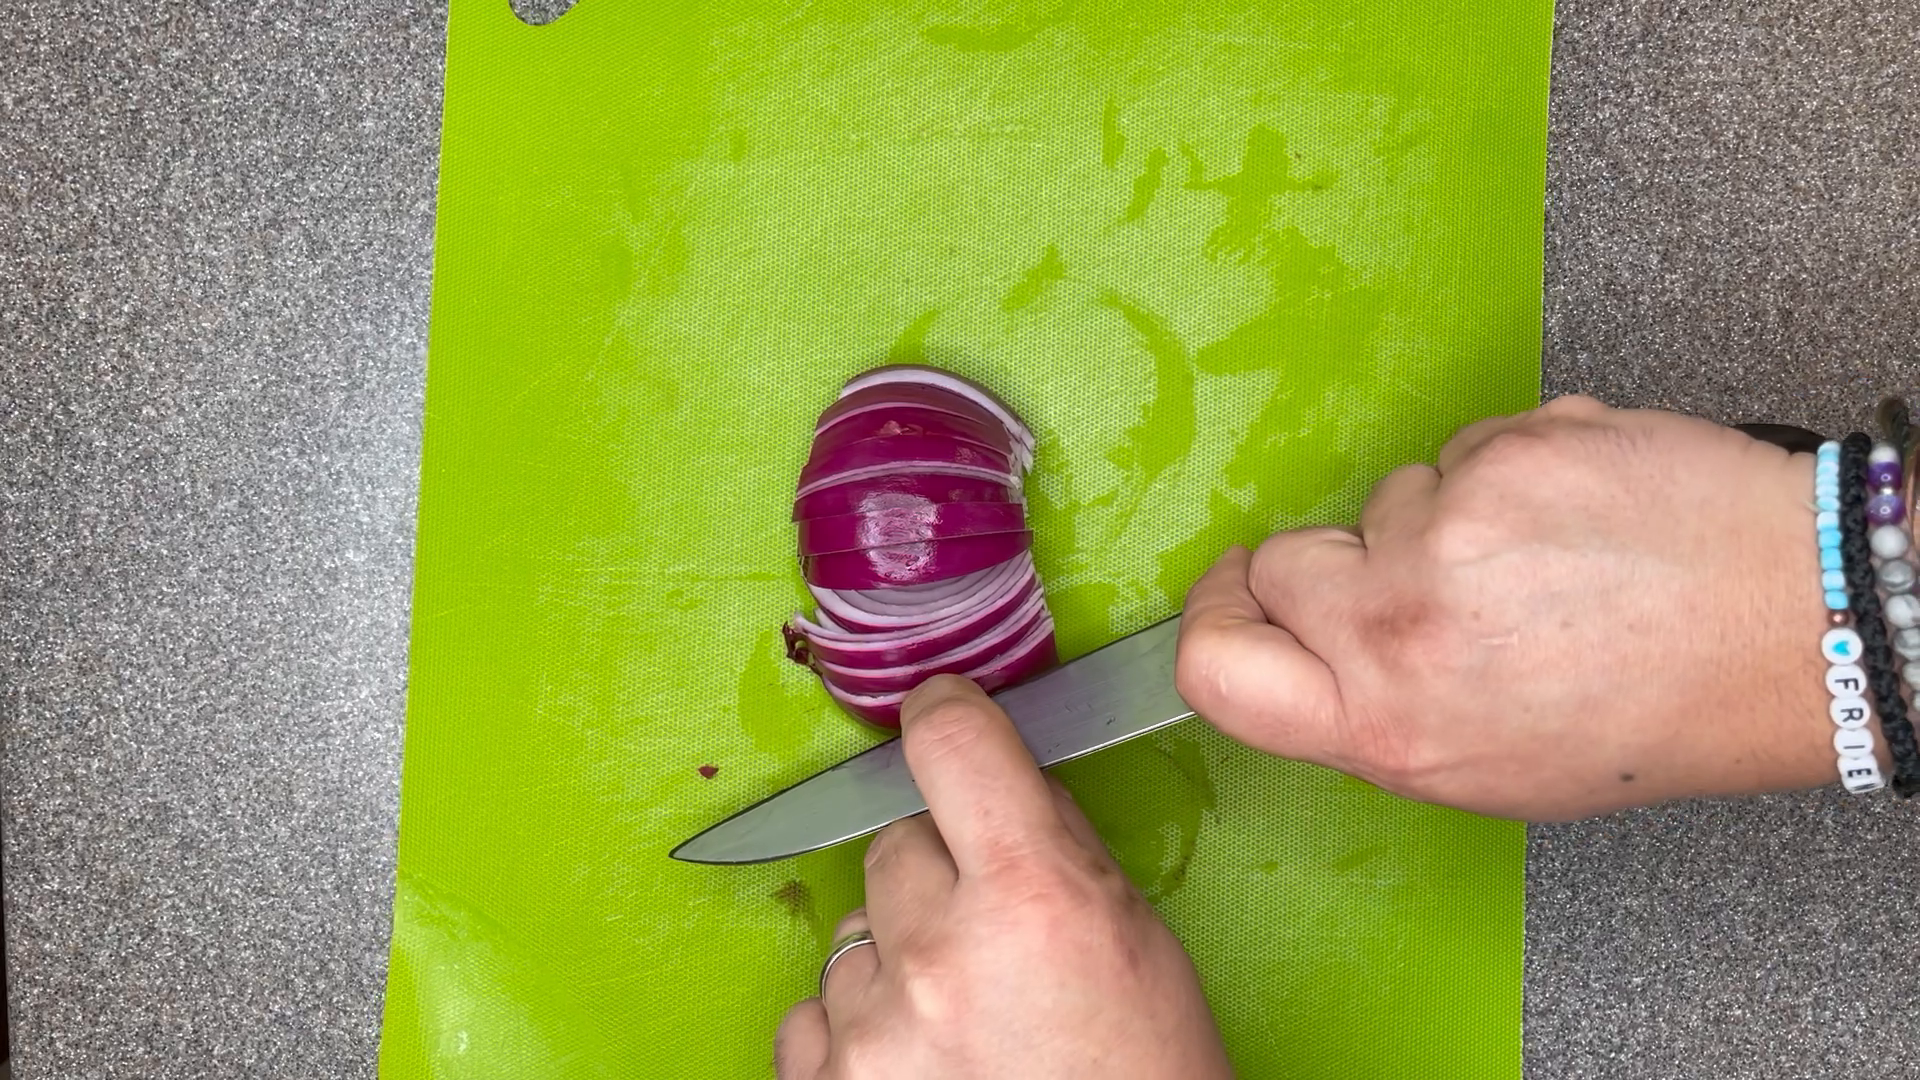
Cut across the onion slices to make small, reasonably even dice, roughly 1/4 inch. Separate any pieces that are still joined together before moving on.
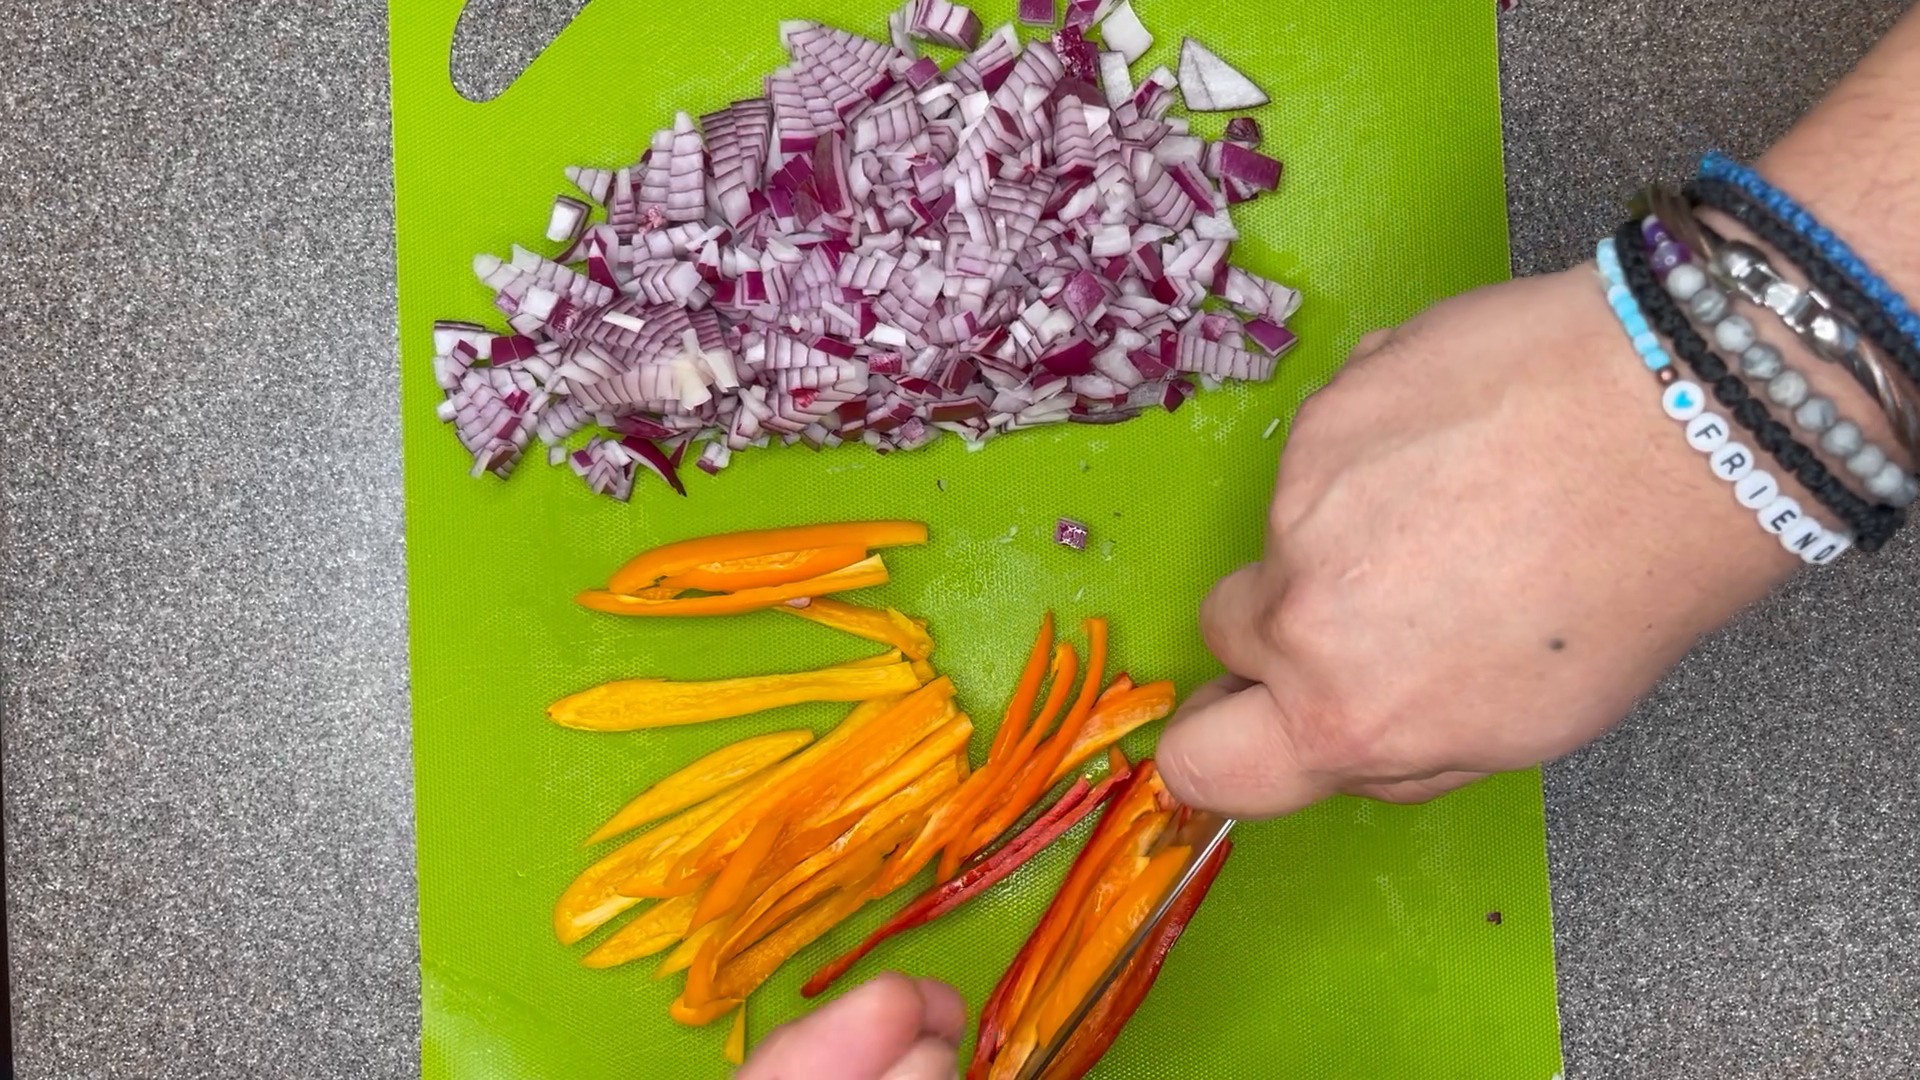
Trim the sweet peppers and remove their stems and seed cores. Lay the opened peppers flat and cut them lengthwise into thin strips. This is the julienne stage: strips first, dice second.
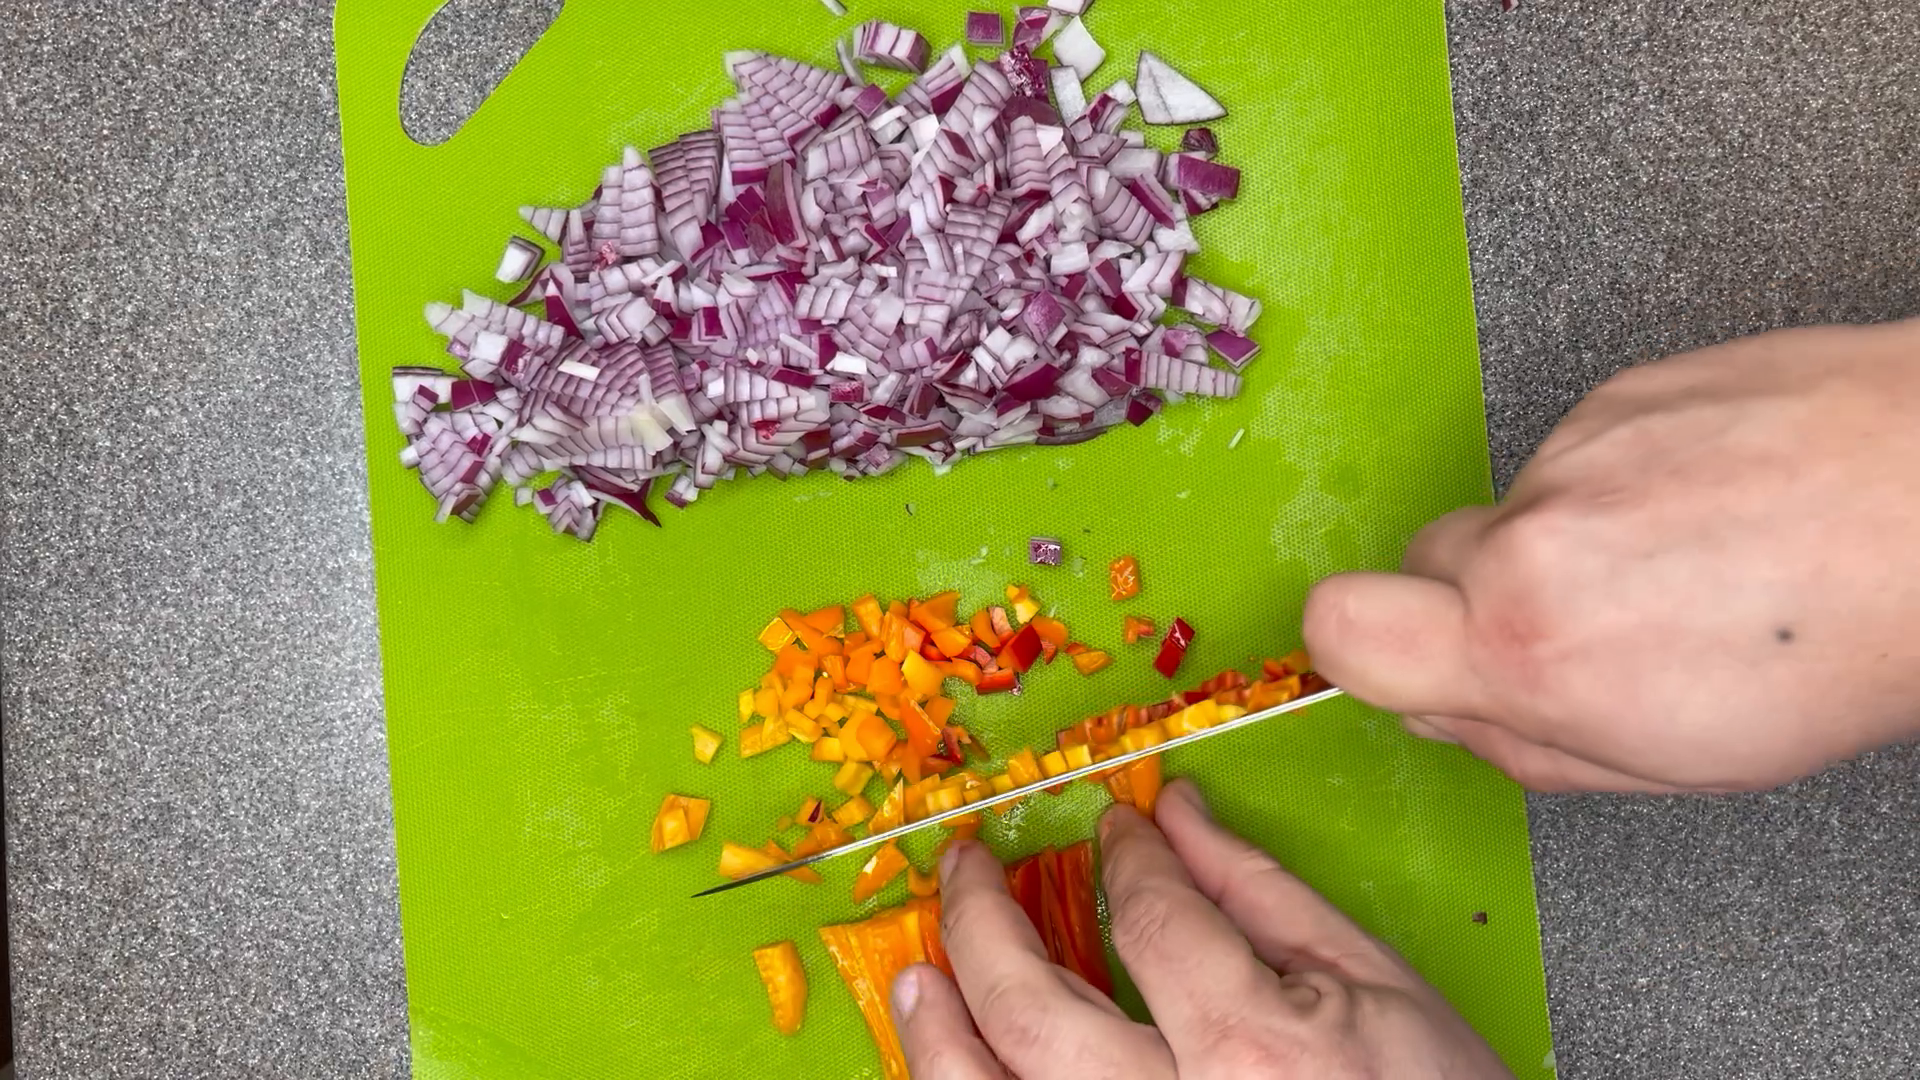
Gather a few pepper strips together and cut across them to make small dice, about the same size as the onion. Repeat with the different colored peppers so they cook at a similar rate.
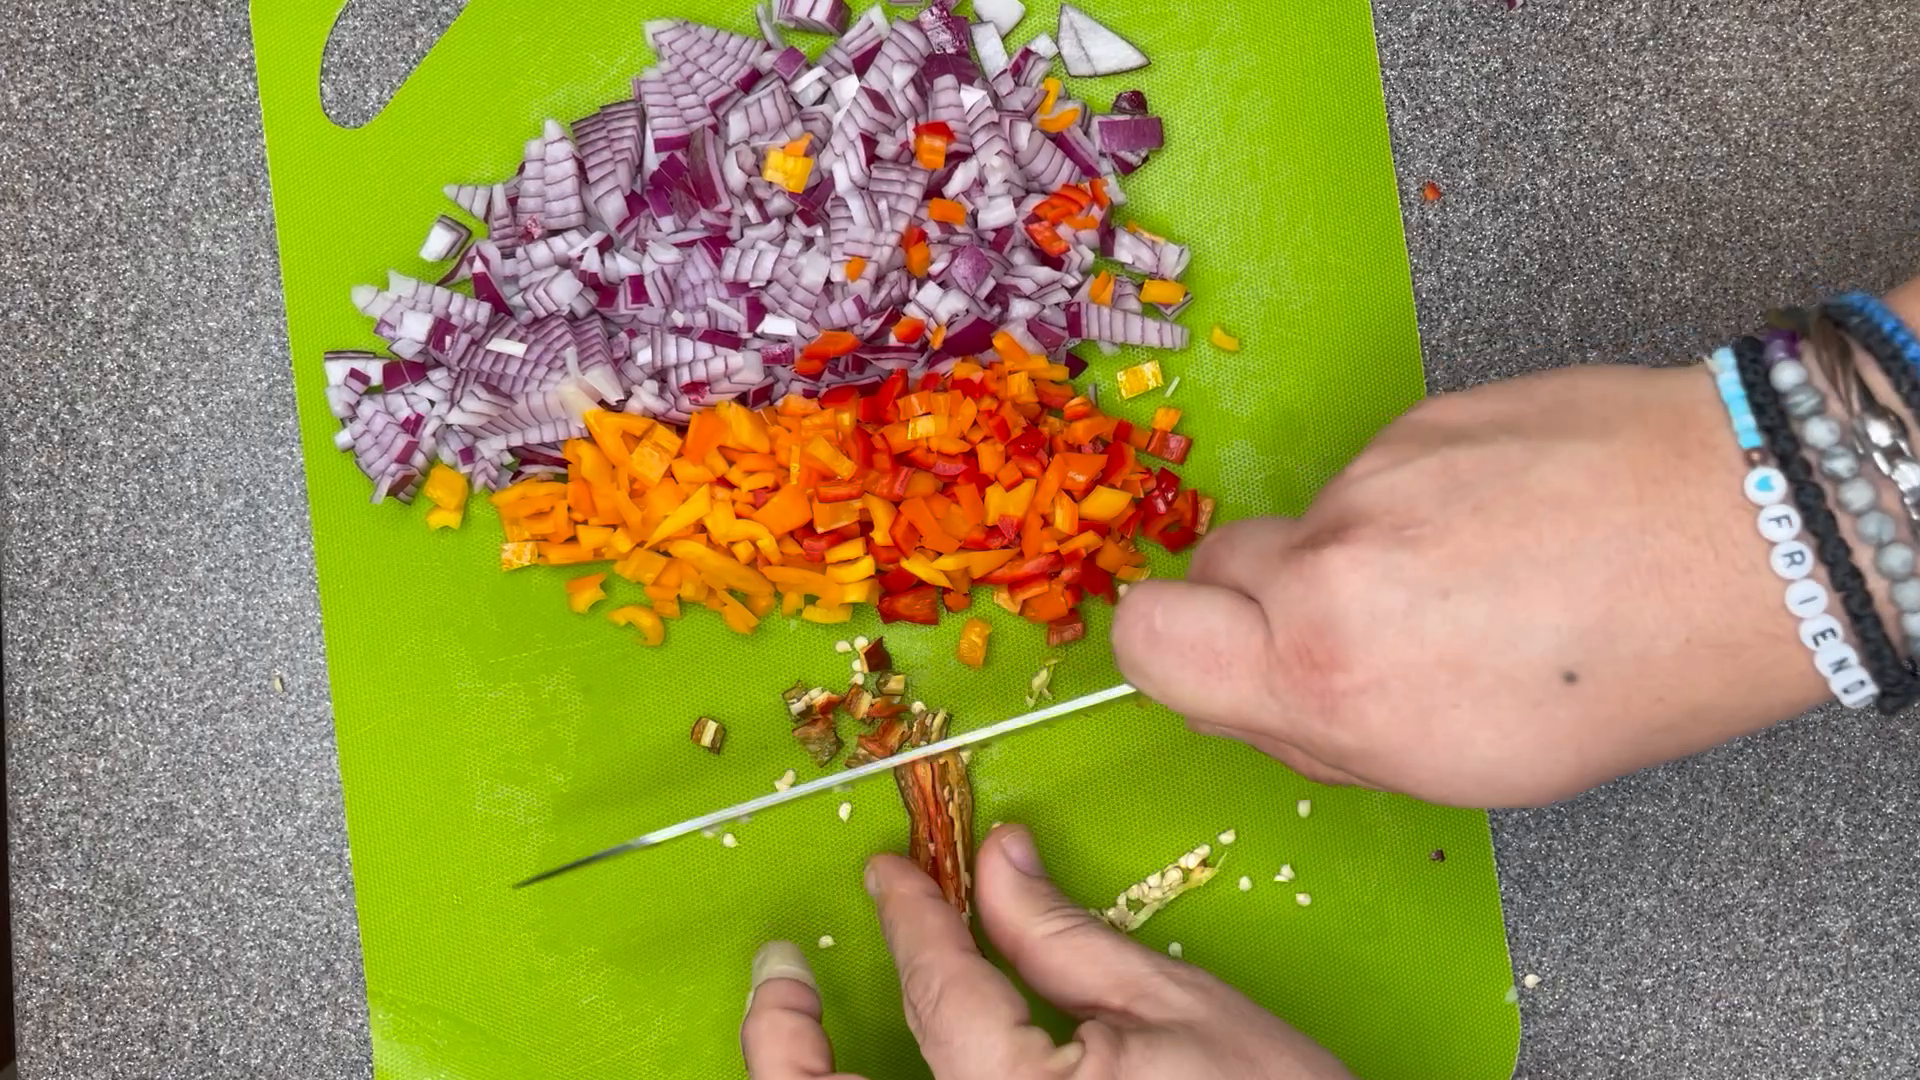
Split the hot chili lengthwise and cut it into narrow strips. Cut across those strips if you want smaller pieces that distribute through the filling. Leave it out altogether if heat is not your thing.
Peel the garlic cloves, flatten them gently with the broad side of the knife, and slice them thinly. The flatter cloves are easier to keep steady on the board.
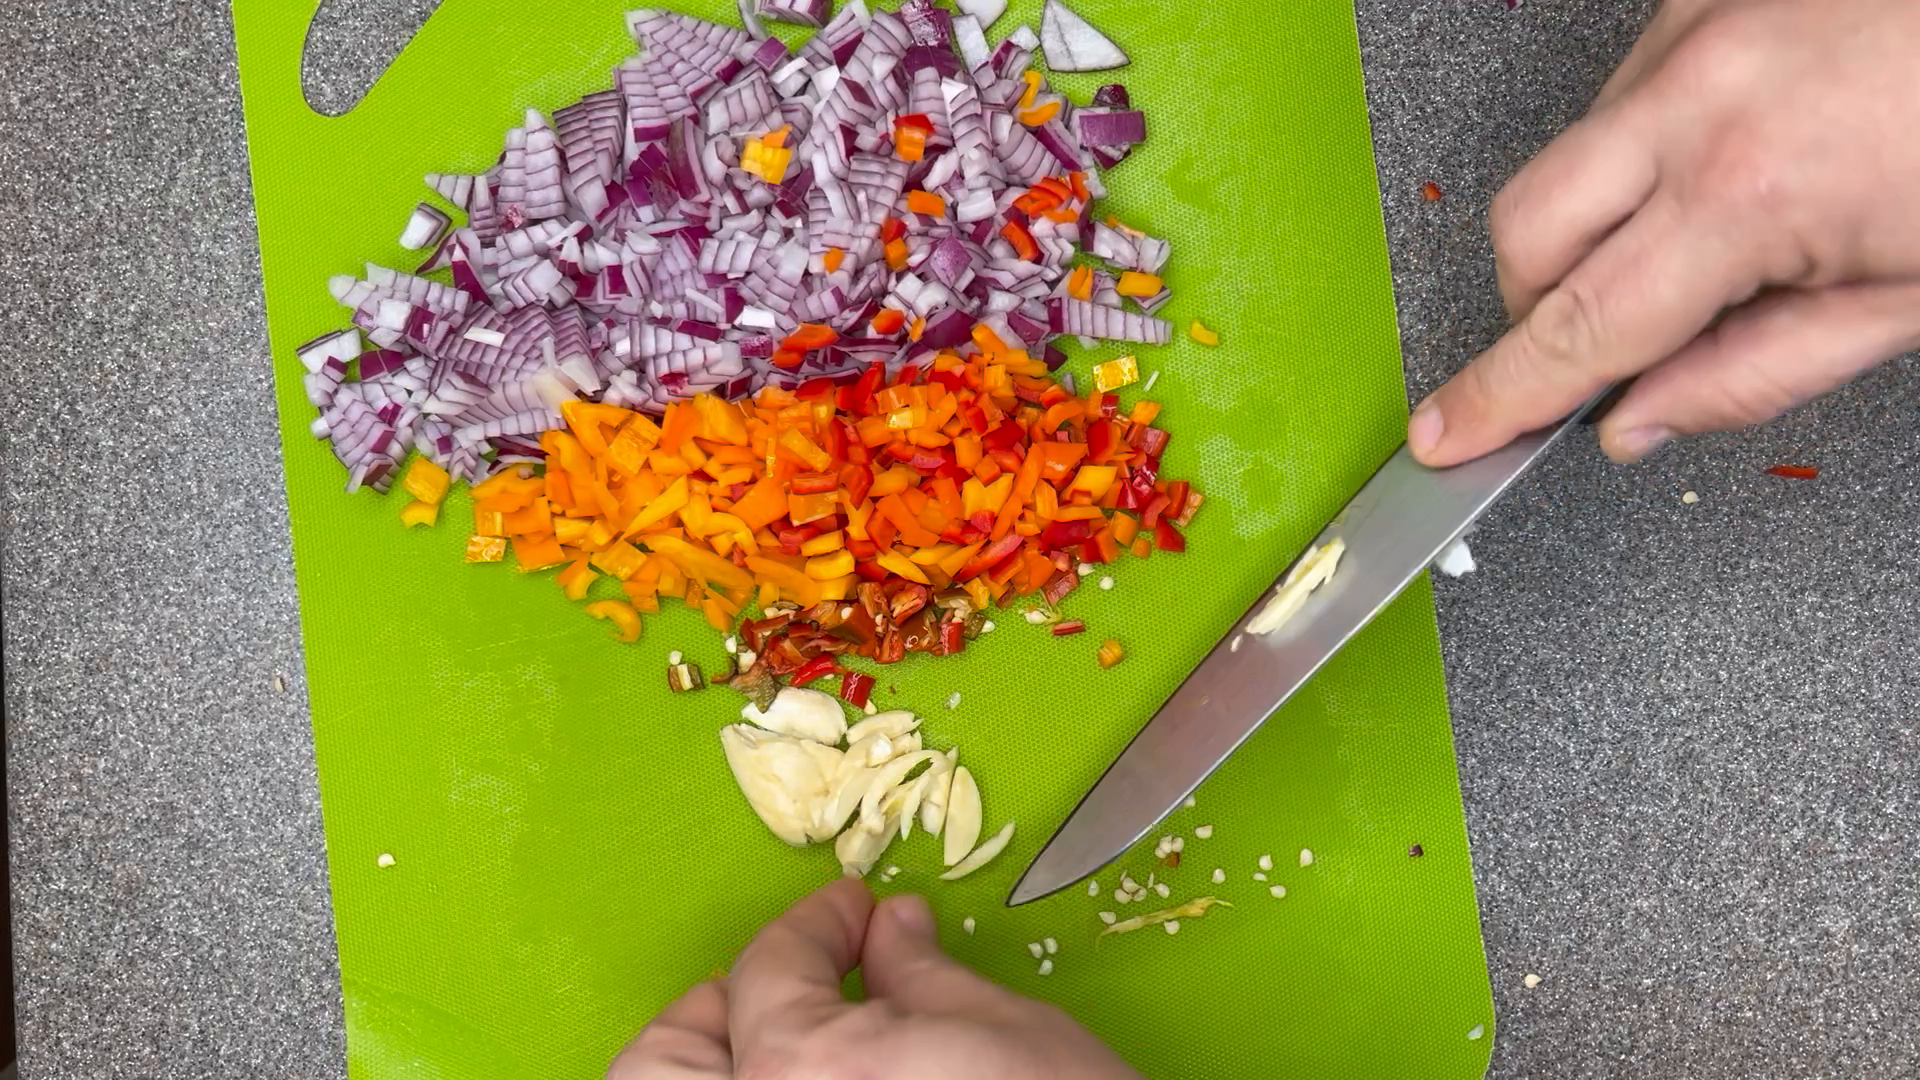
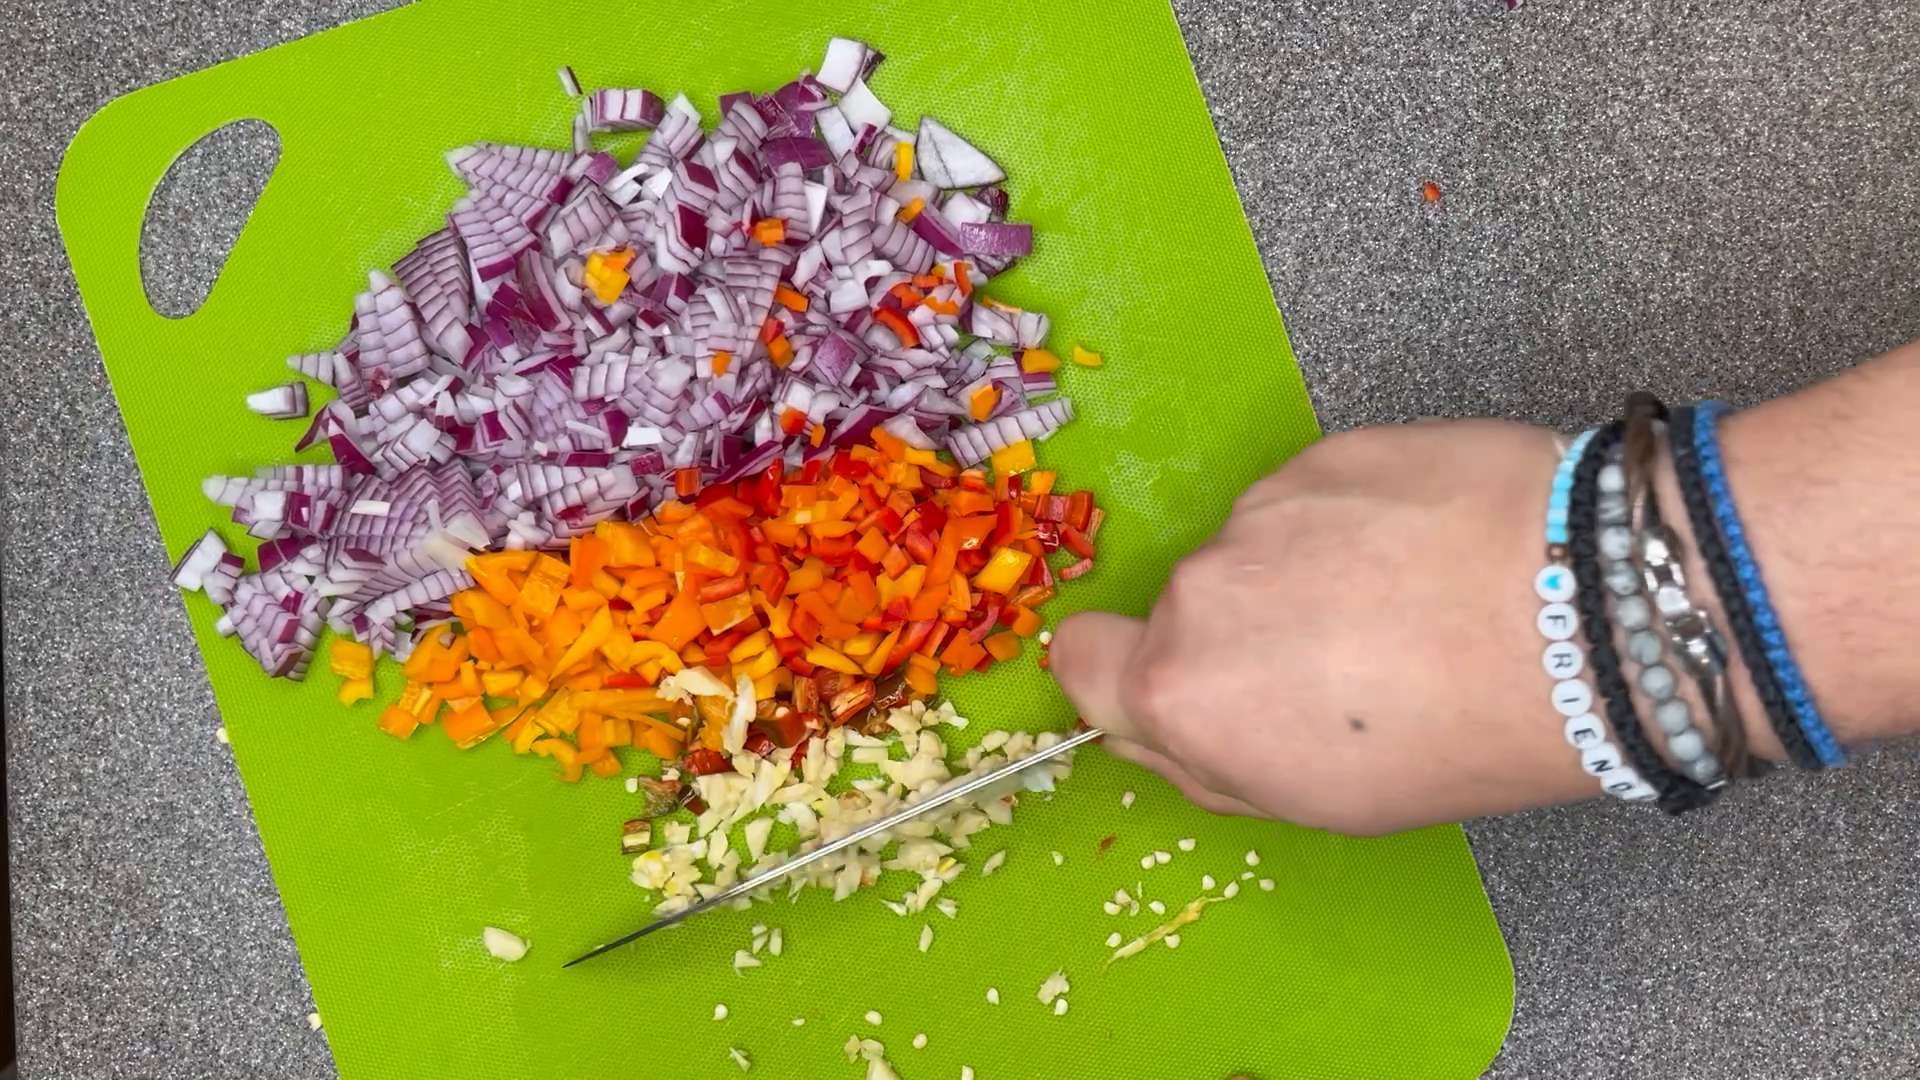
Gather the sliced garlic into a small pile and chop across it until finely minced. Scrape it back together and repeat as needed; you want small pieces that will spread through the meat rather than a surprise chunk of garlic in one bite.
2. Brown the beef
Heat a large skillet and cook the beef until its released water has evaporated and the meat begins to brown. Yes, the usual advice is to brown in batches so you do not crowd the pan. I was too lazy for that. I let it cook down in one pan, and once the water was gone, the meat could lightly fry and brown.
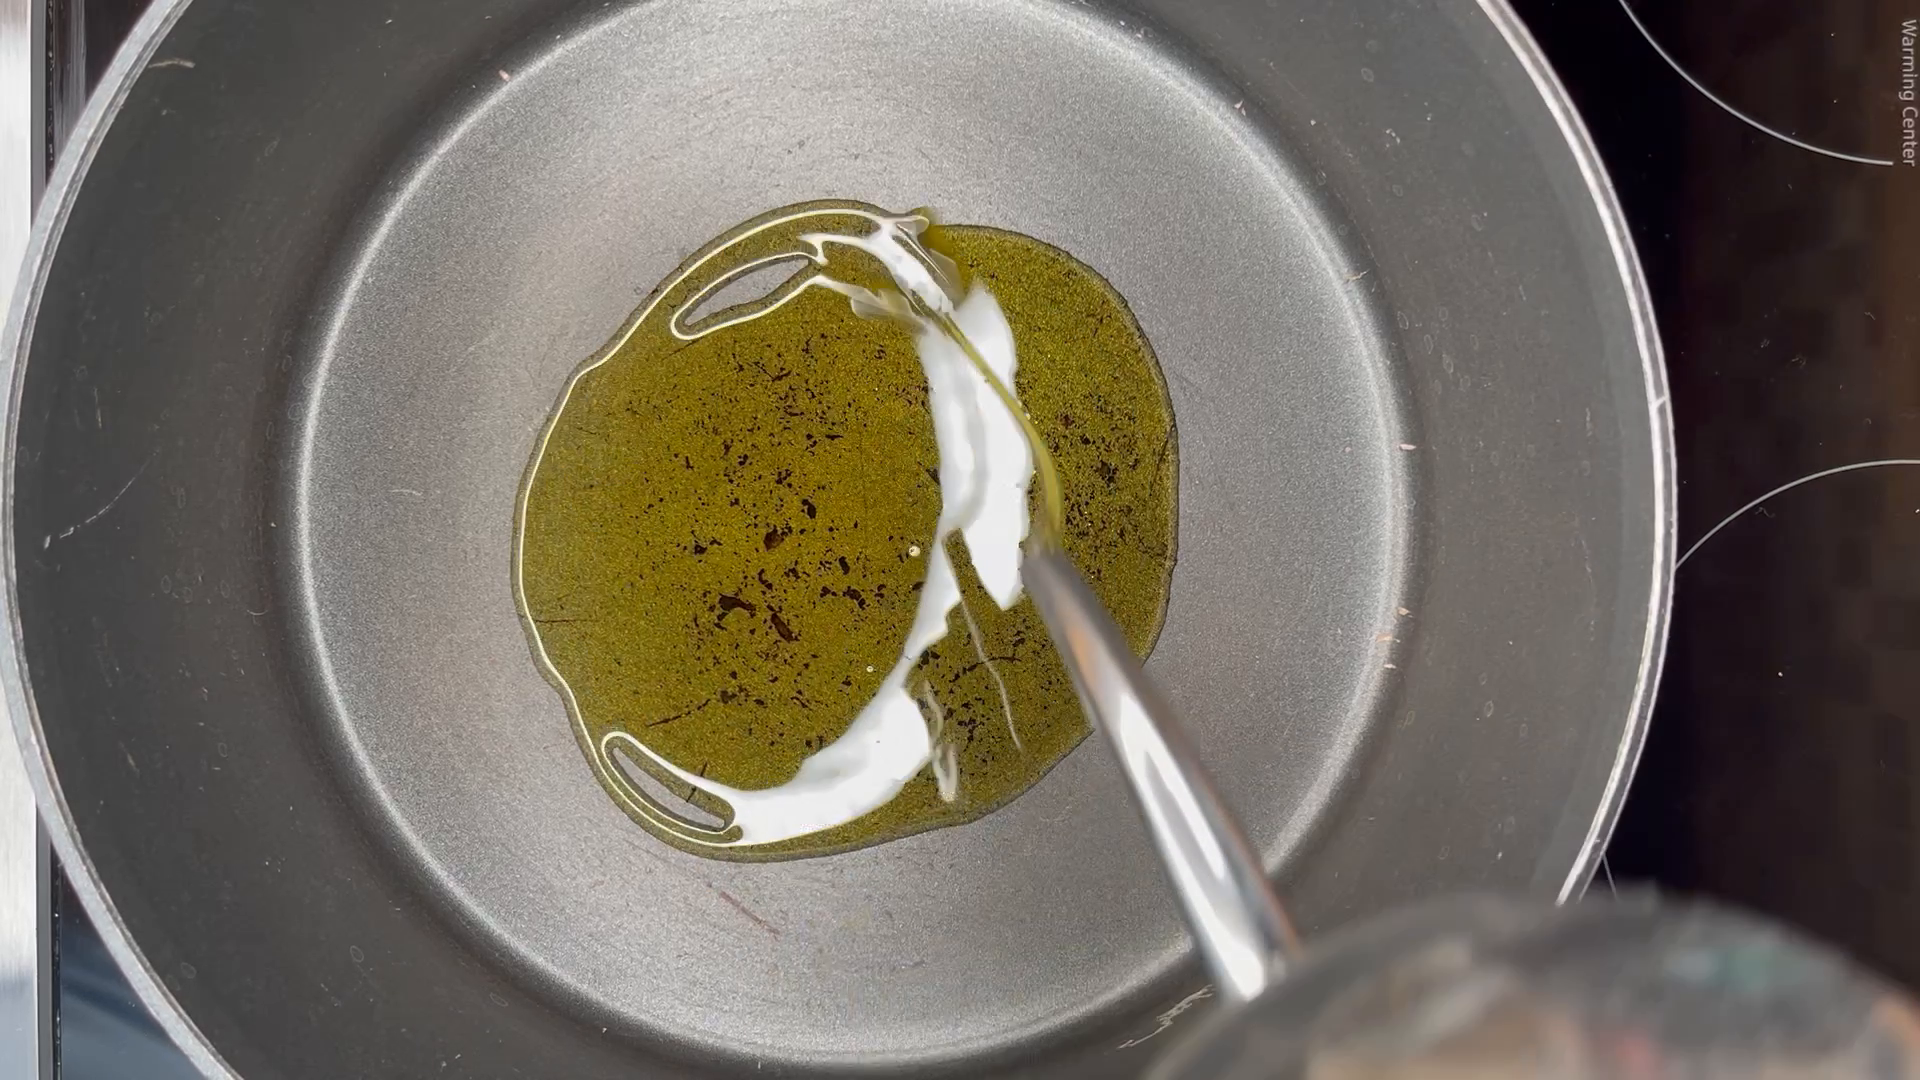
Heat the large skillet and add the olive oil. Tilt the pan to spread the oil over the base; it is there to help the very lean beef cook and brown.
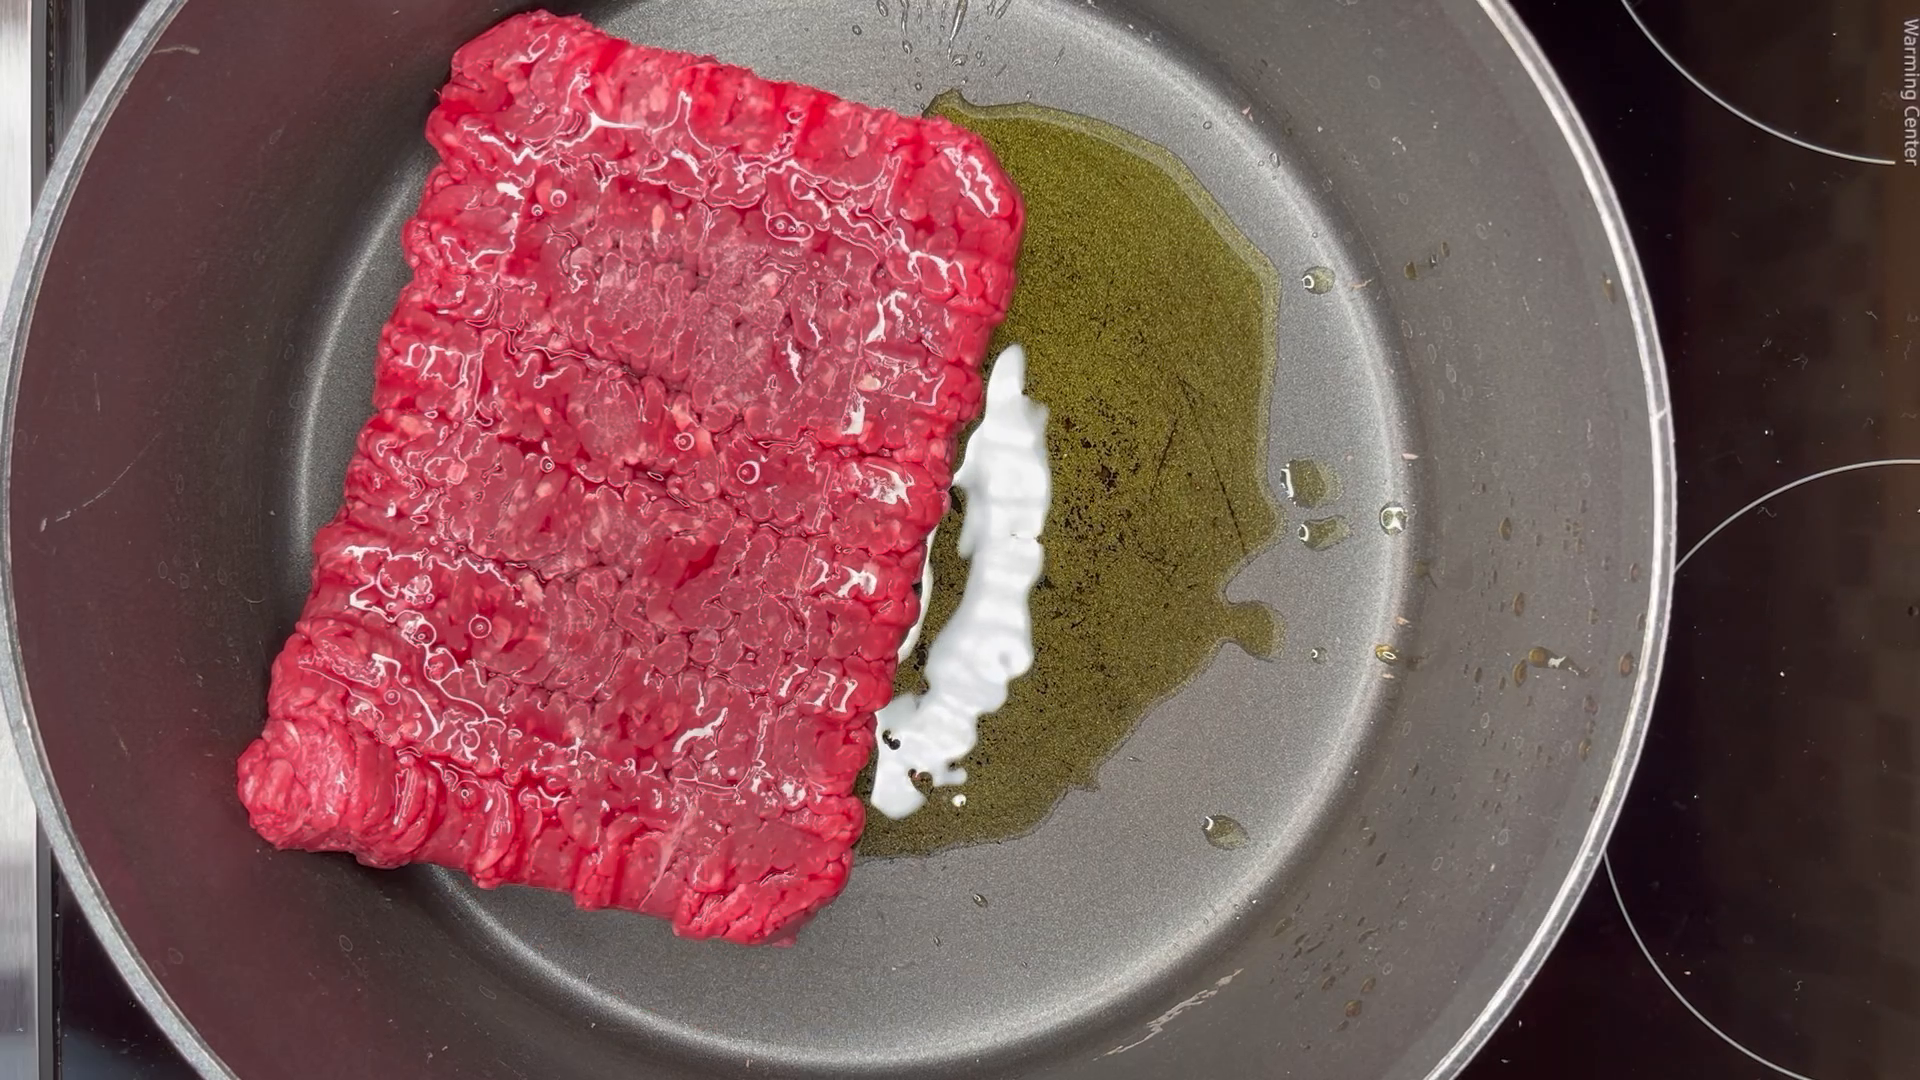
Add the ground beef to the oiled skillet. With three pounds going into one pan, do not expect it to brown immediately: first it needs to heat through and release its water.
Use the edge of a sturdy spatula to break the beef into smaller pieces. Turn and stir it as it cooks, breaking up the larger clumps so the filling will spread easily between the tortillas.
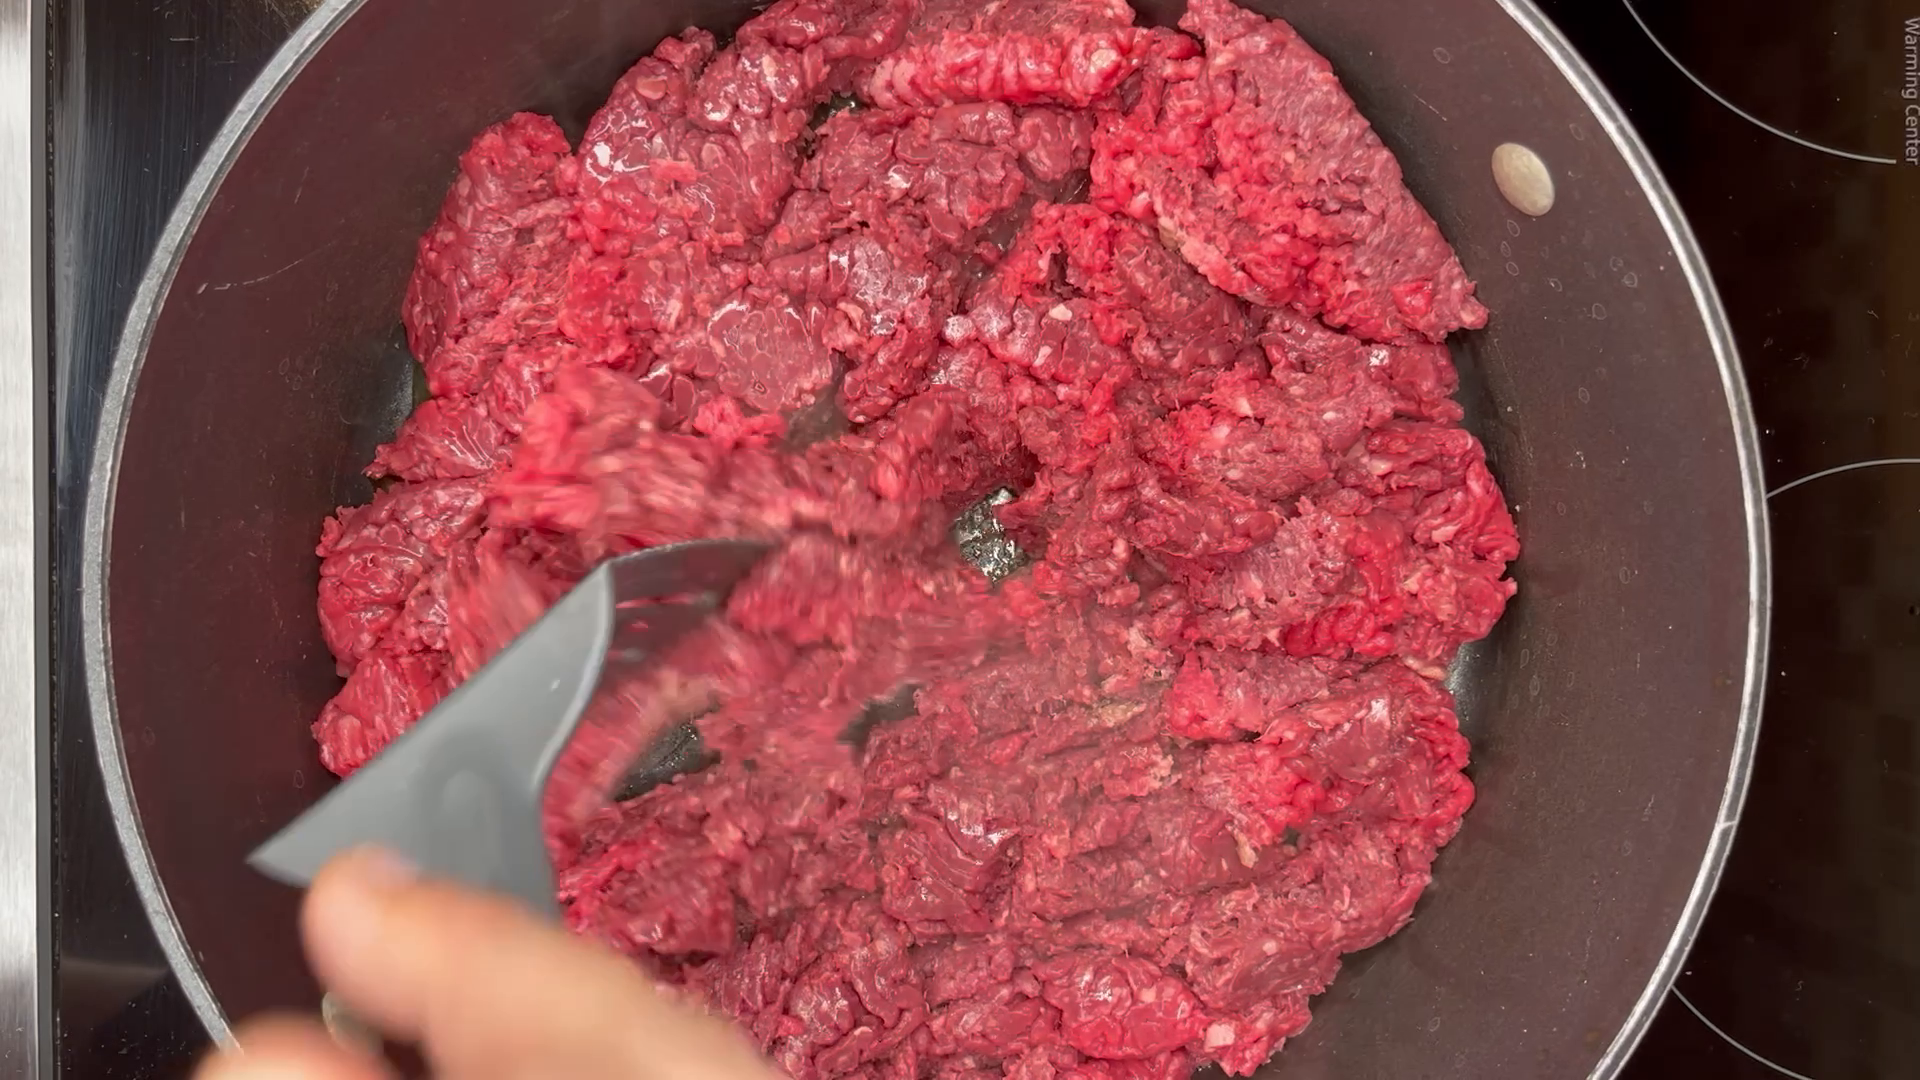
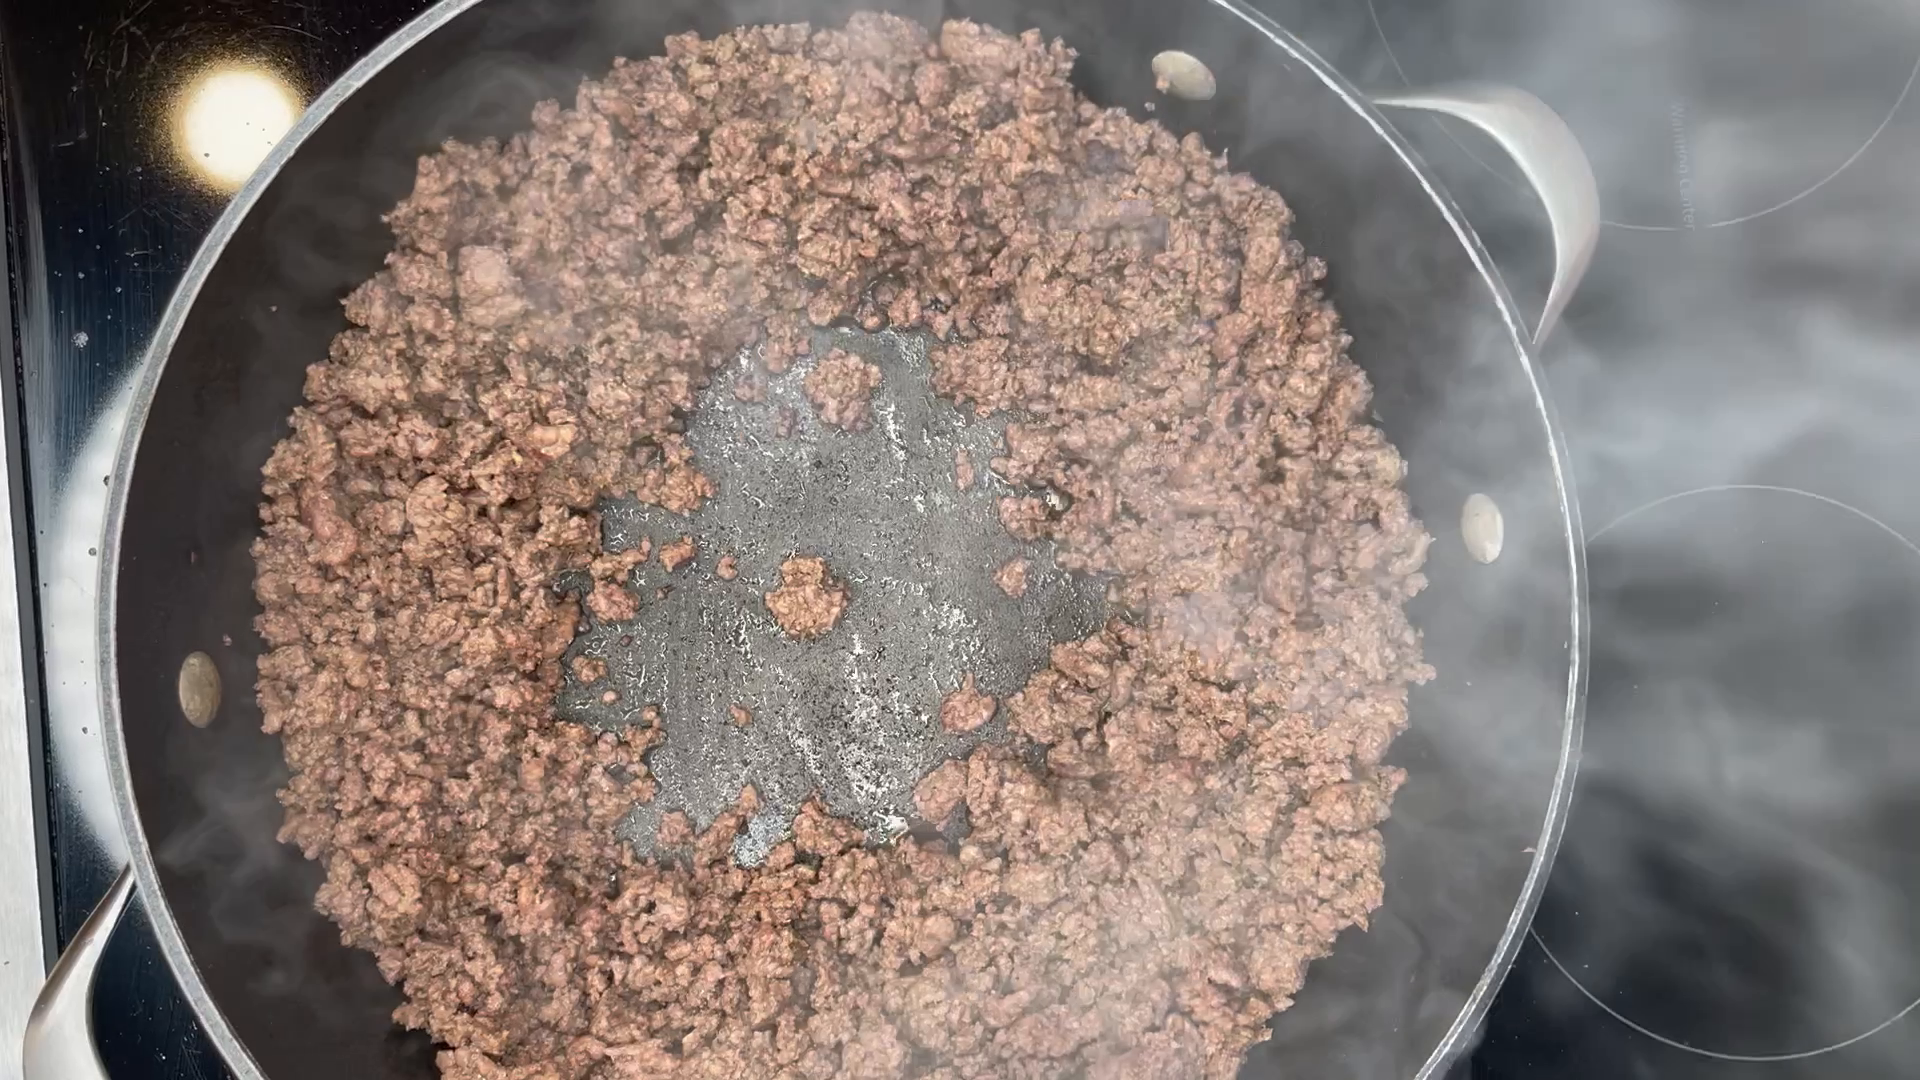
Keep cooking until the released liquid has evaporated and the crumbled meat begins to take on some color. Once the water is gone, the beef can lightly fry in the pan instead of simply steaming.
3. Add the vegetables
The vegetables go into the same pan as the browned beef. Give them a little time to soften before building the rest of the filling.
Push the browned meat aside to make a well in the middle. Slide the chopped onion, sweet peppers, hot chili if using, and minced garlic from the board into the skillet.
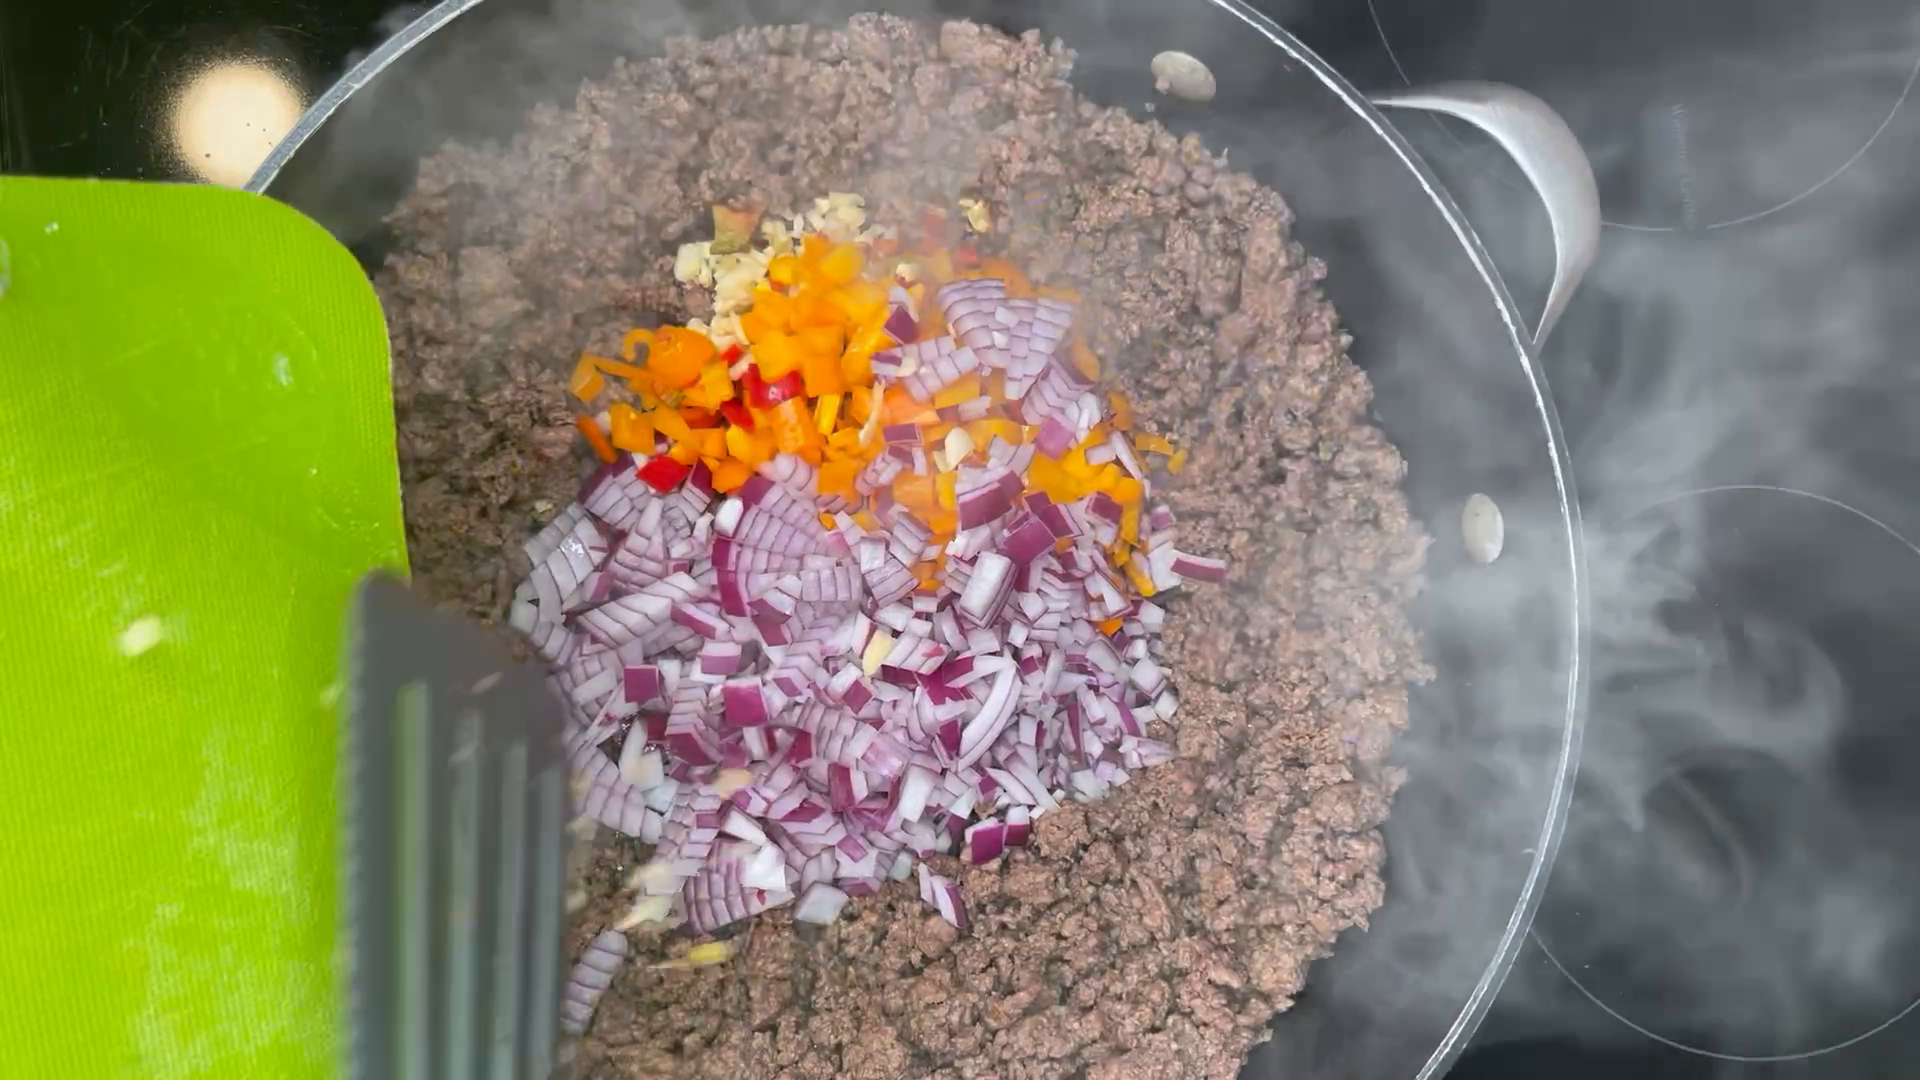
Stir the vegetables into the beef and give the mixture a light initial seasoning. Keep the salt restrained at this point: the seasoning packet, sauces, and cheeses will bring more of their own.
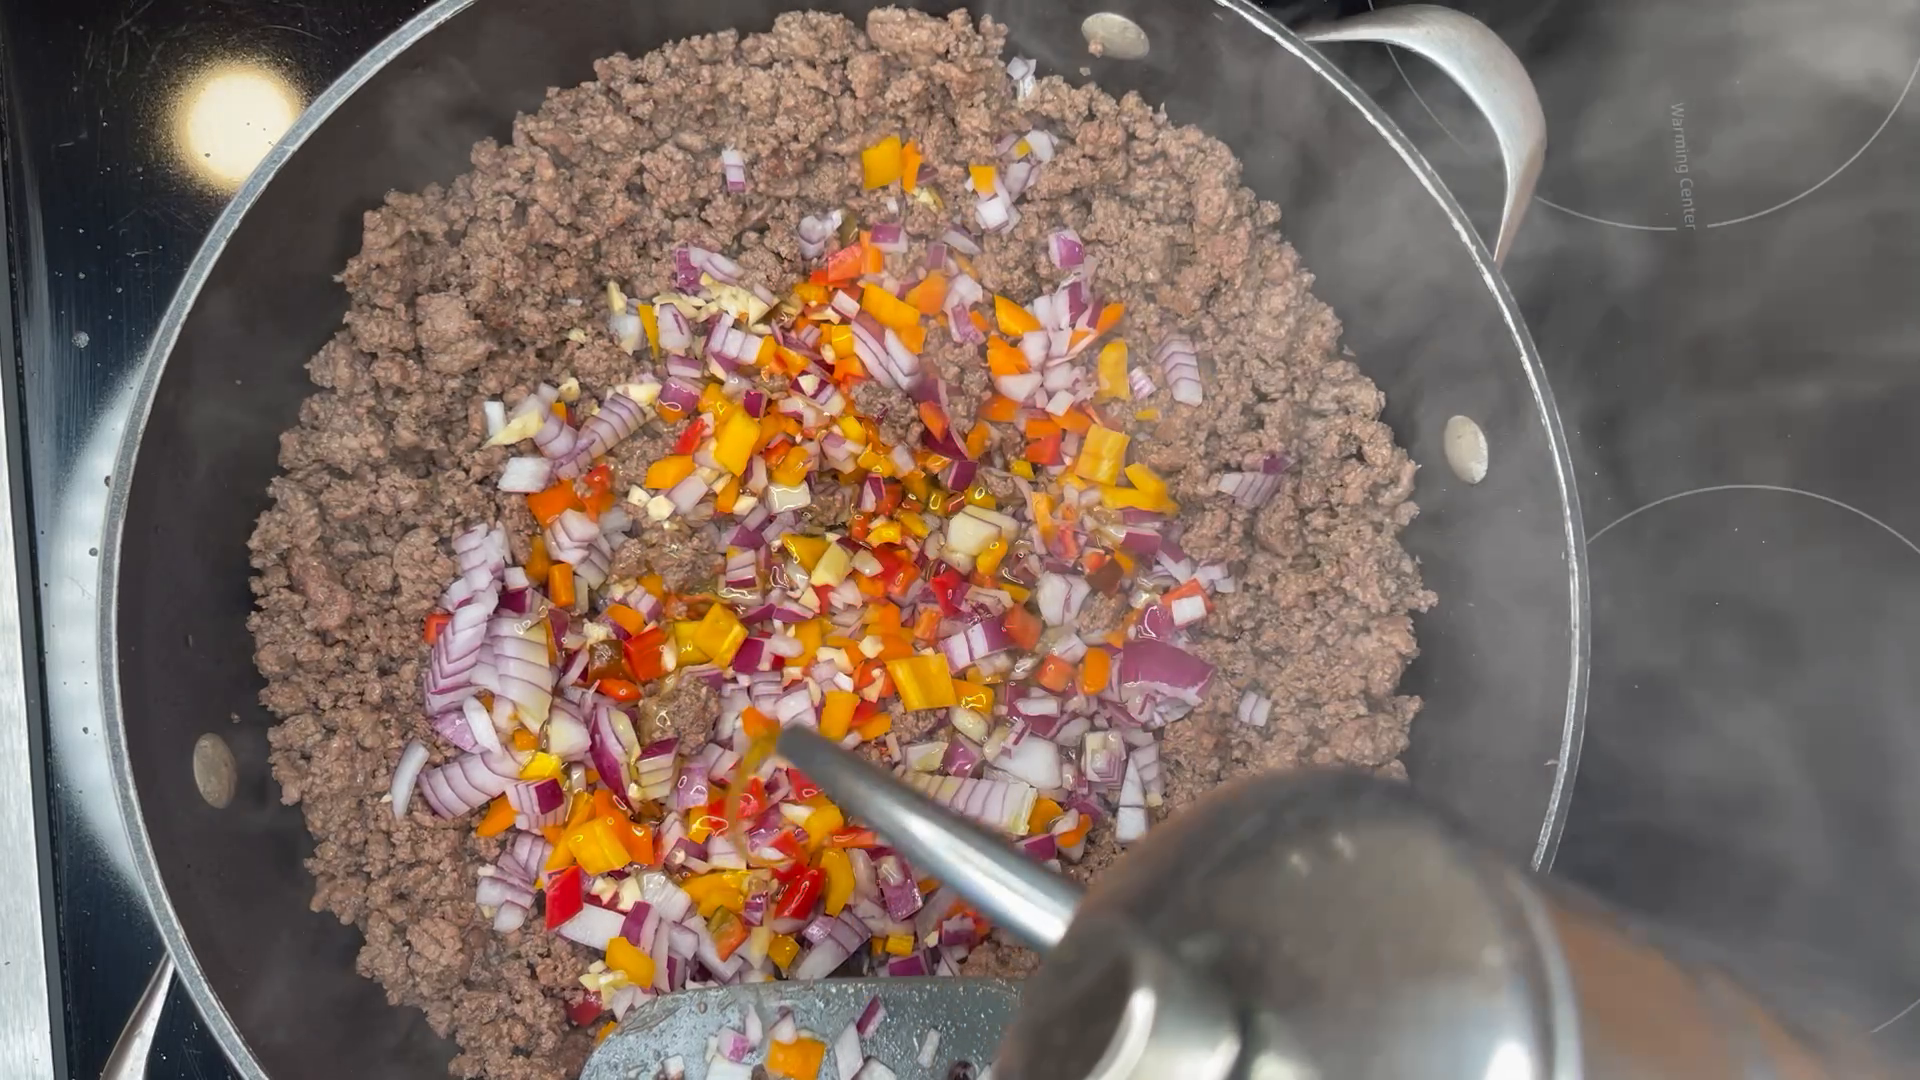
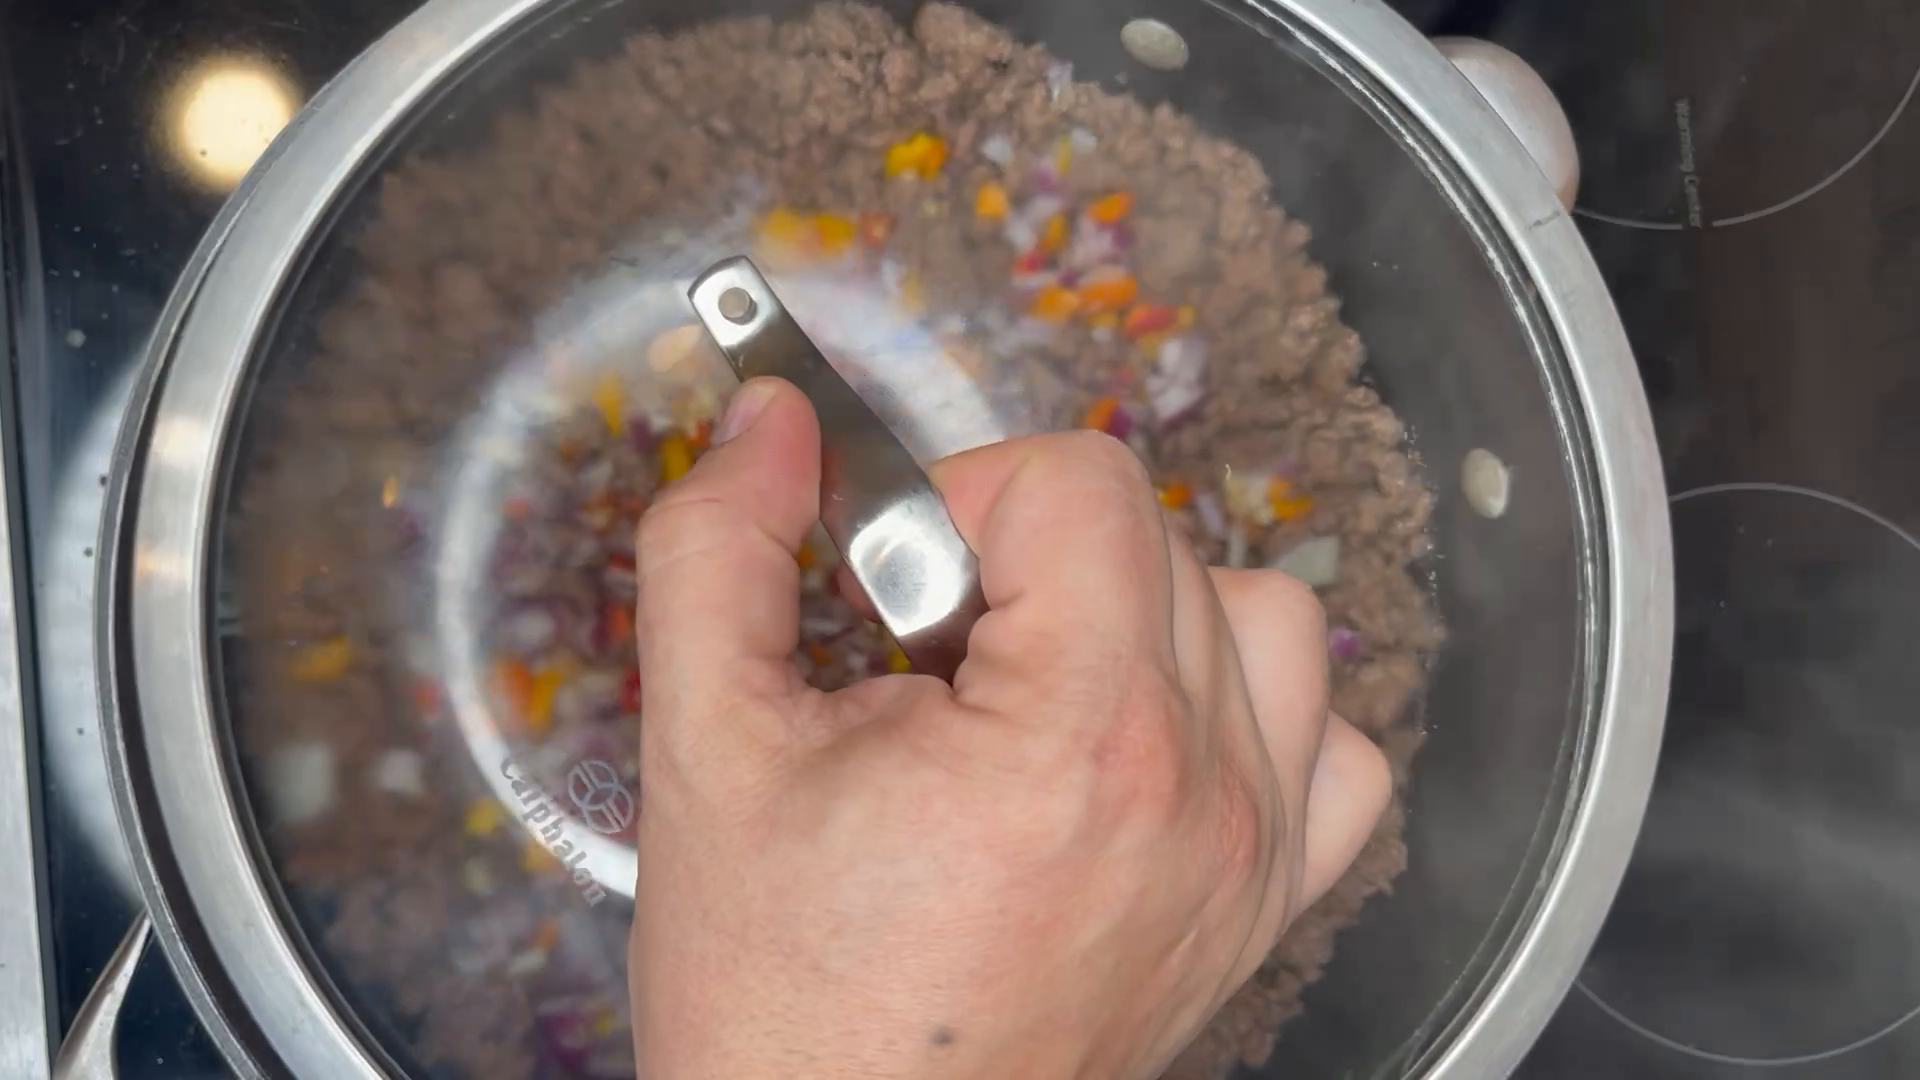
Cover the skillet briefly to help the vegetables soften in the trapped steam. Uncover and stir again so the onion and peppers are distributed through the meat.
4. Season, taste, and let the spices wake up
Season the meat and vegetables in stages, stirring and tasting as you go. Use the flavors you like: there is no sacred seasoning formula for a dish that is neither Mexican nor lasagna.
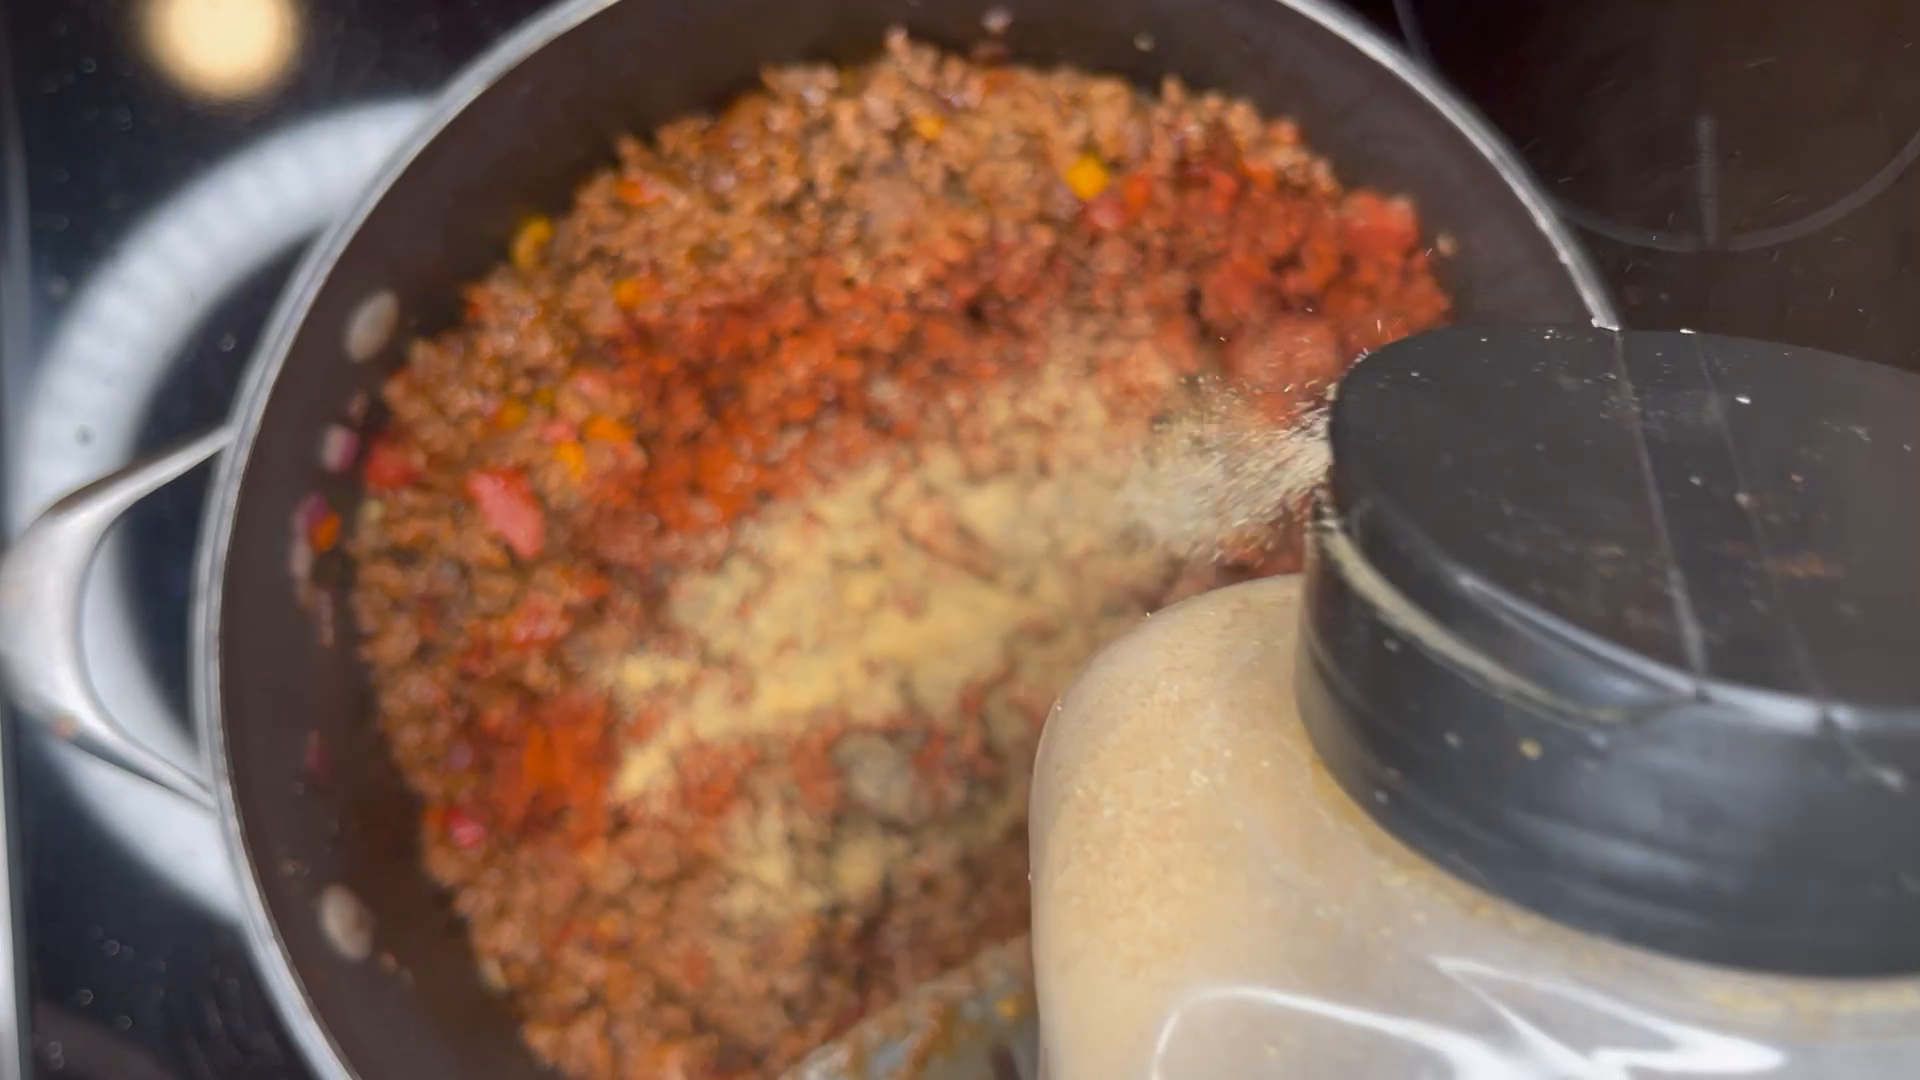
Sprinkle the taco seasoning over the meat and vegetables, then stir it through. Break up any little piles of powder rather than leaving all the seasoning in one spot.
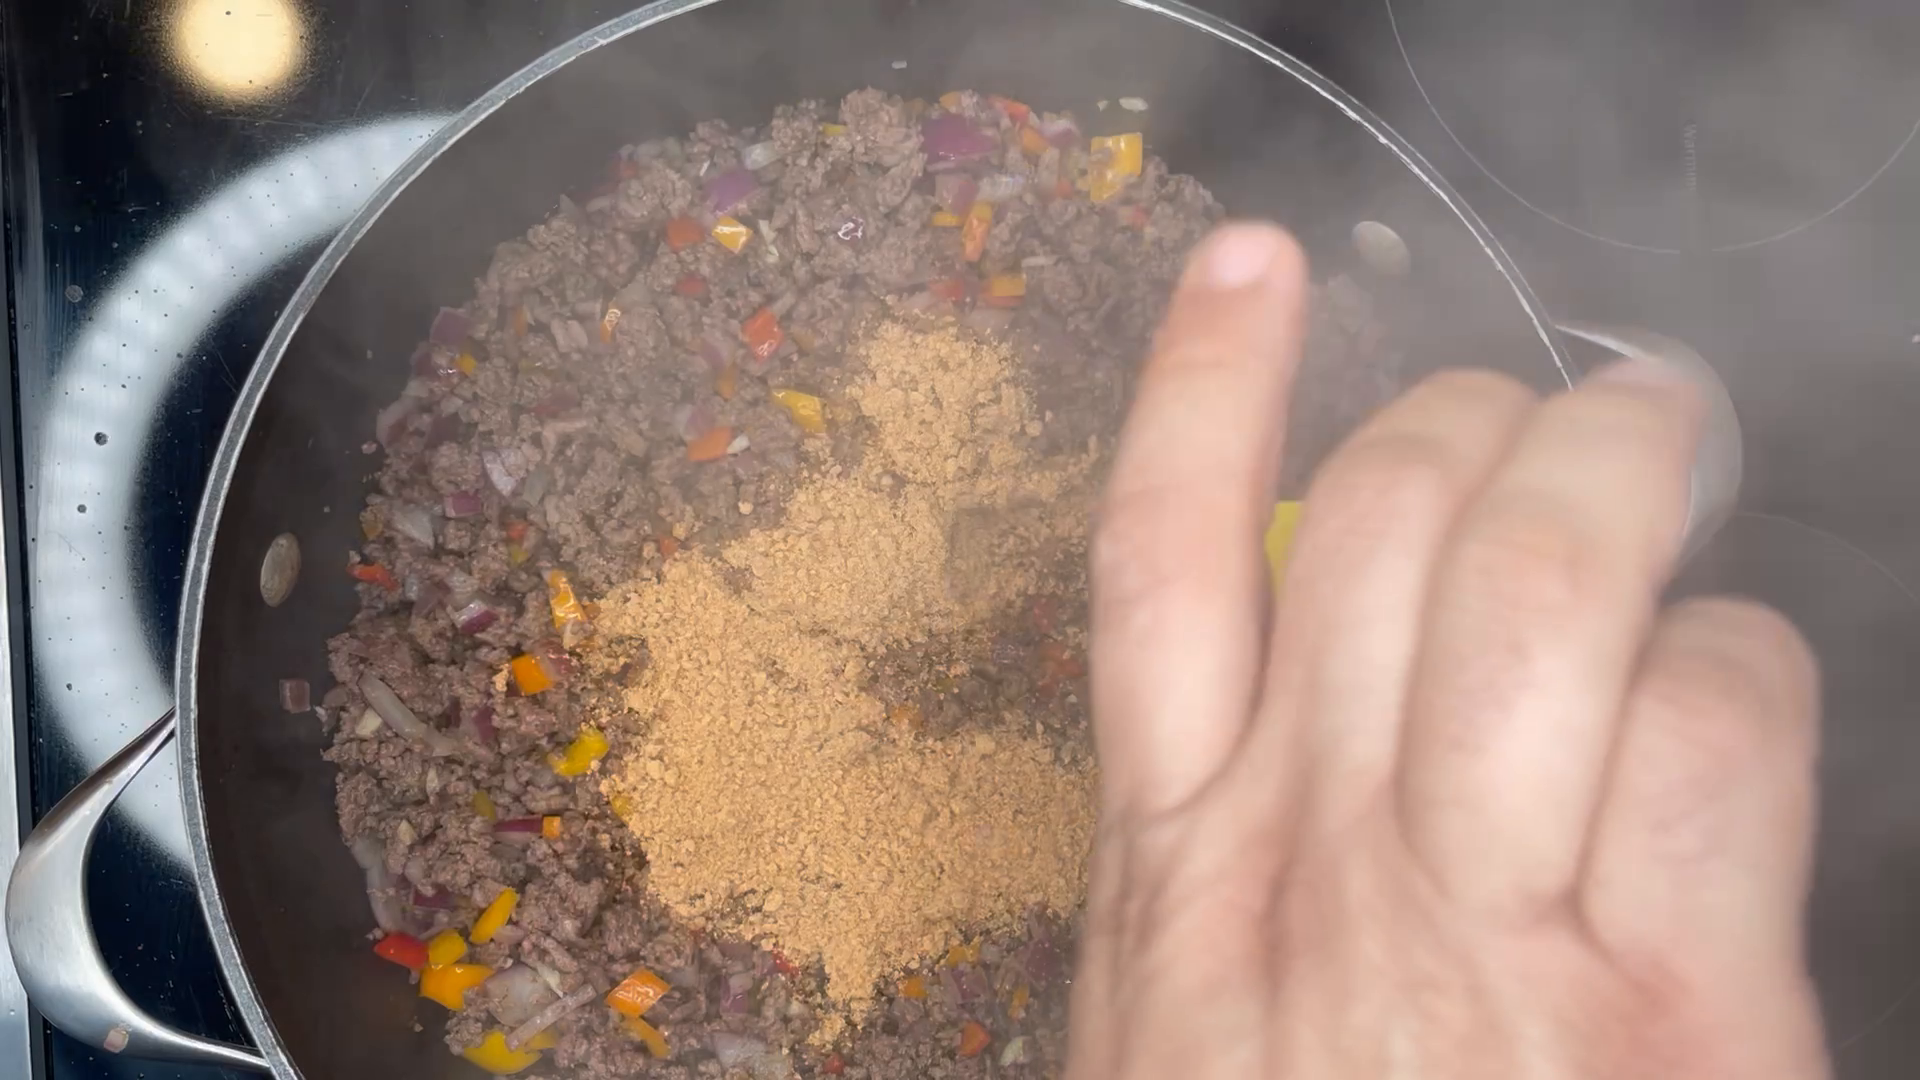
Add the smoked paprika and any cumin you want to use. Stir well and let the spices cook briefly with the meat so their aroma develops before you move on to the wetter ingredients.
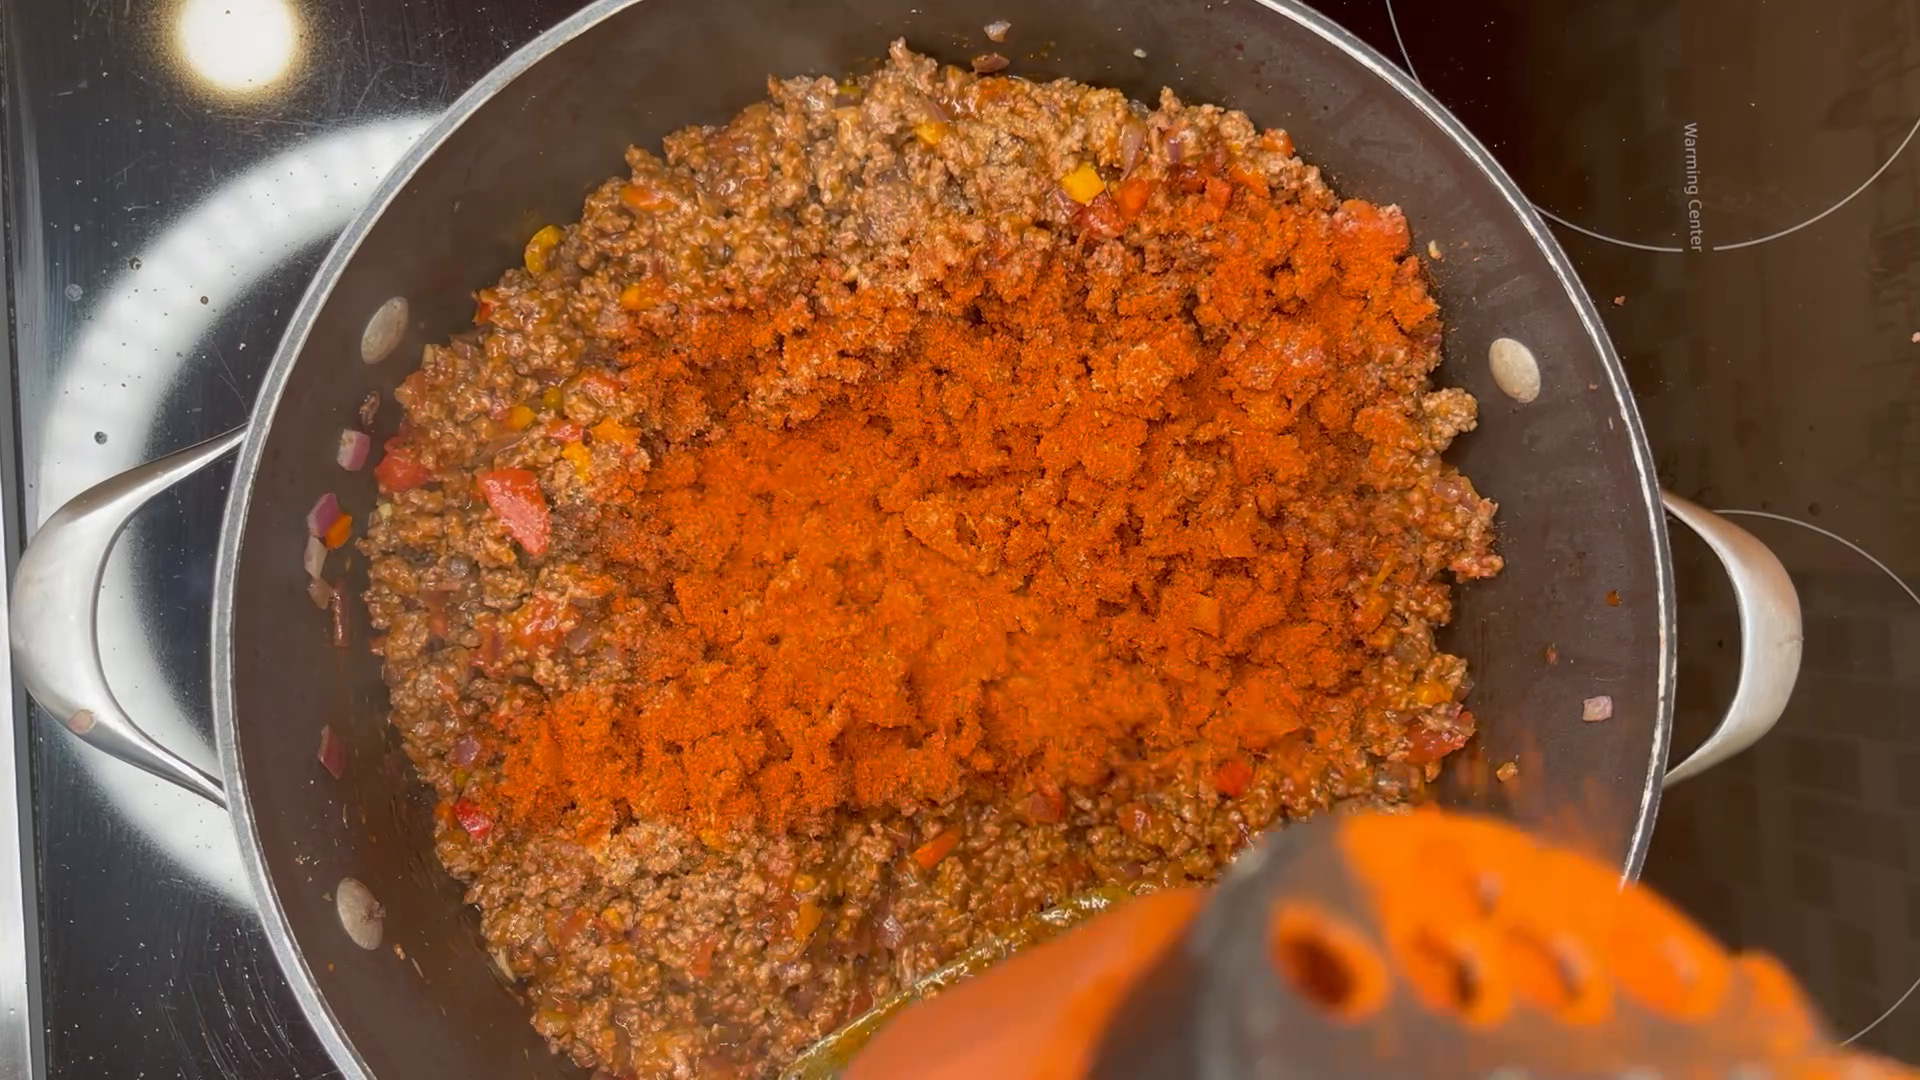
Grind in black pepper to taste. There is no need to chase an exact number of turns; the point is to season the whole pan and taste again as the filling comes together.
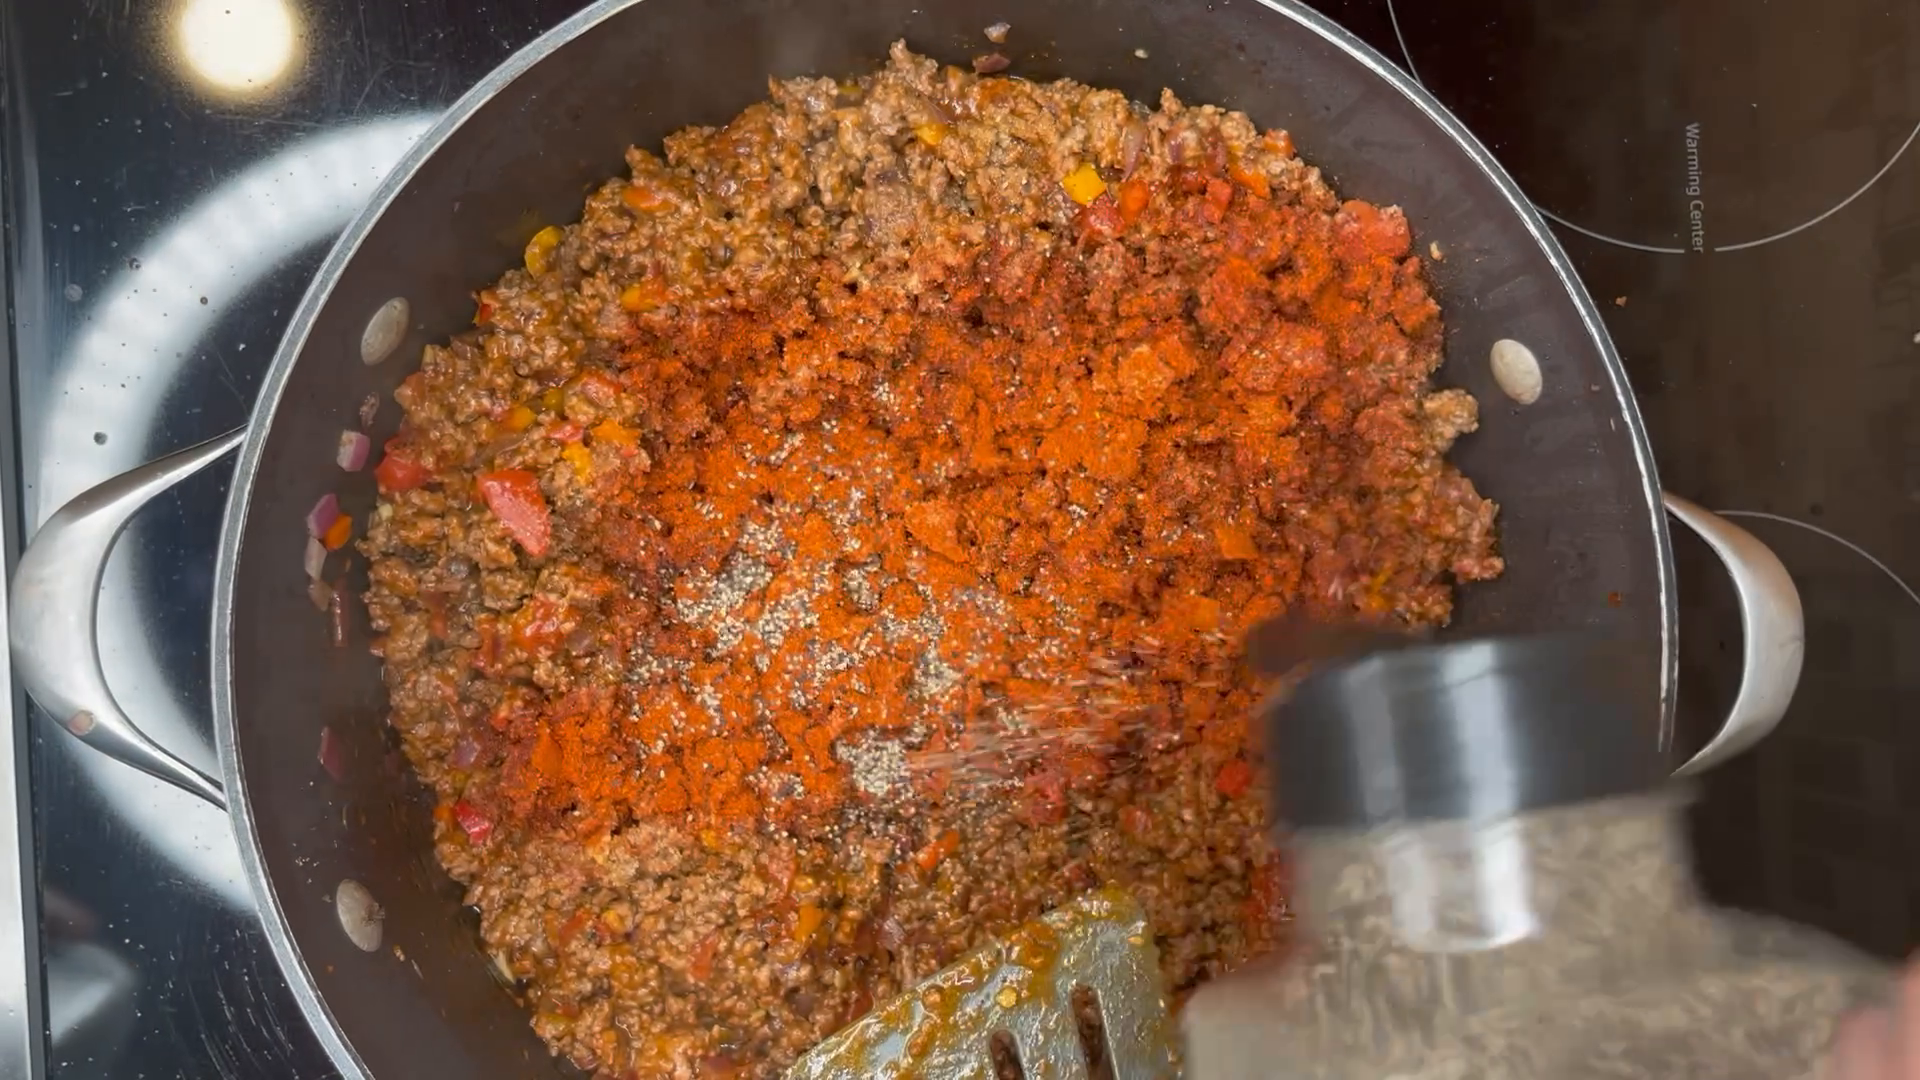
Add the dried onion and dried garlic, or their powdered versions, and stir them through. Give them a little time to absorb moisture and soften, then taste before deciding whether the pan needs more salt.
5. Add the canned ingredients
Now add the canned ingredients and bring the filling together. Keep some enchilada sauce and adobo sauce aside for the tortilla layers; the rest goes into the skillet.
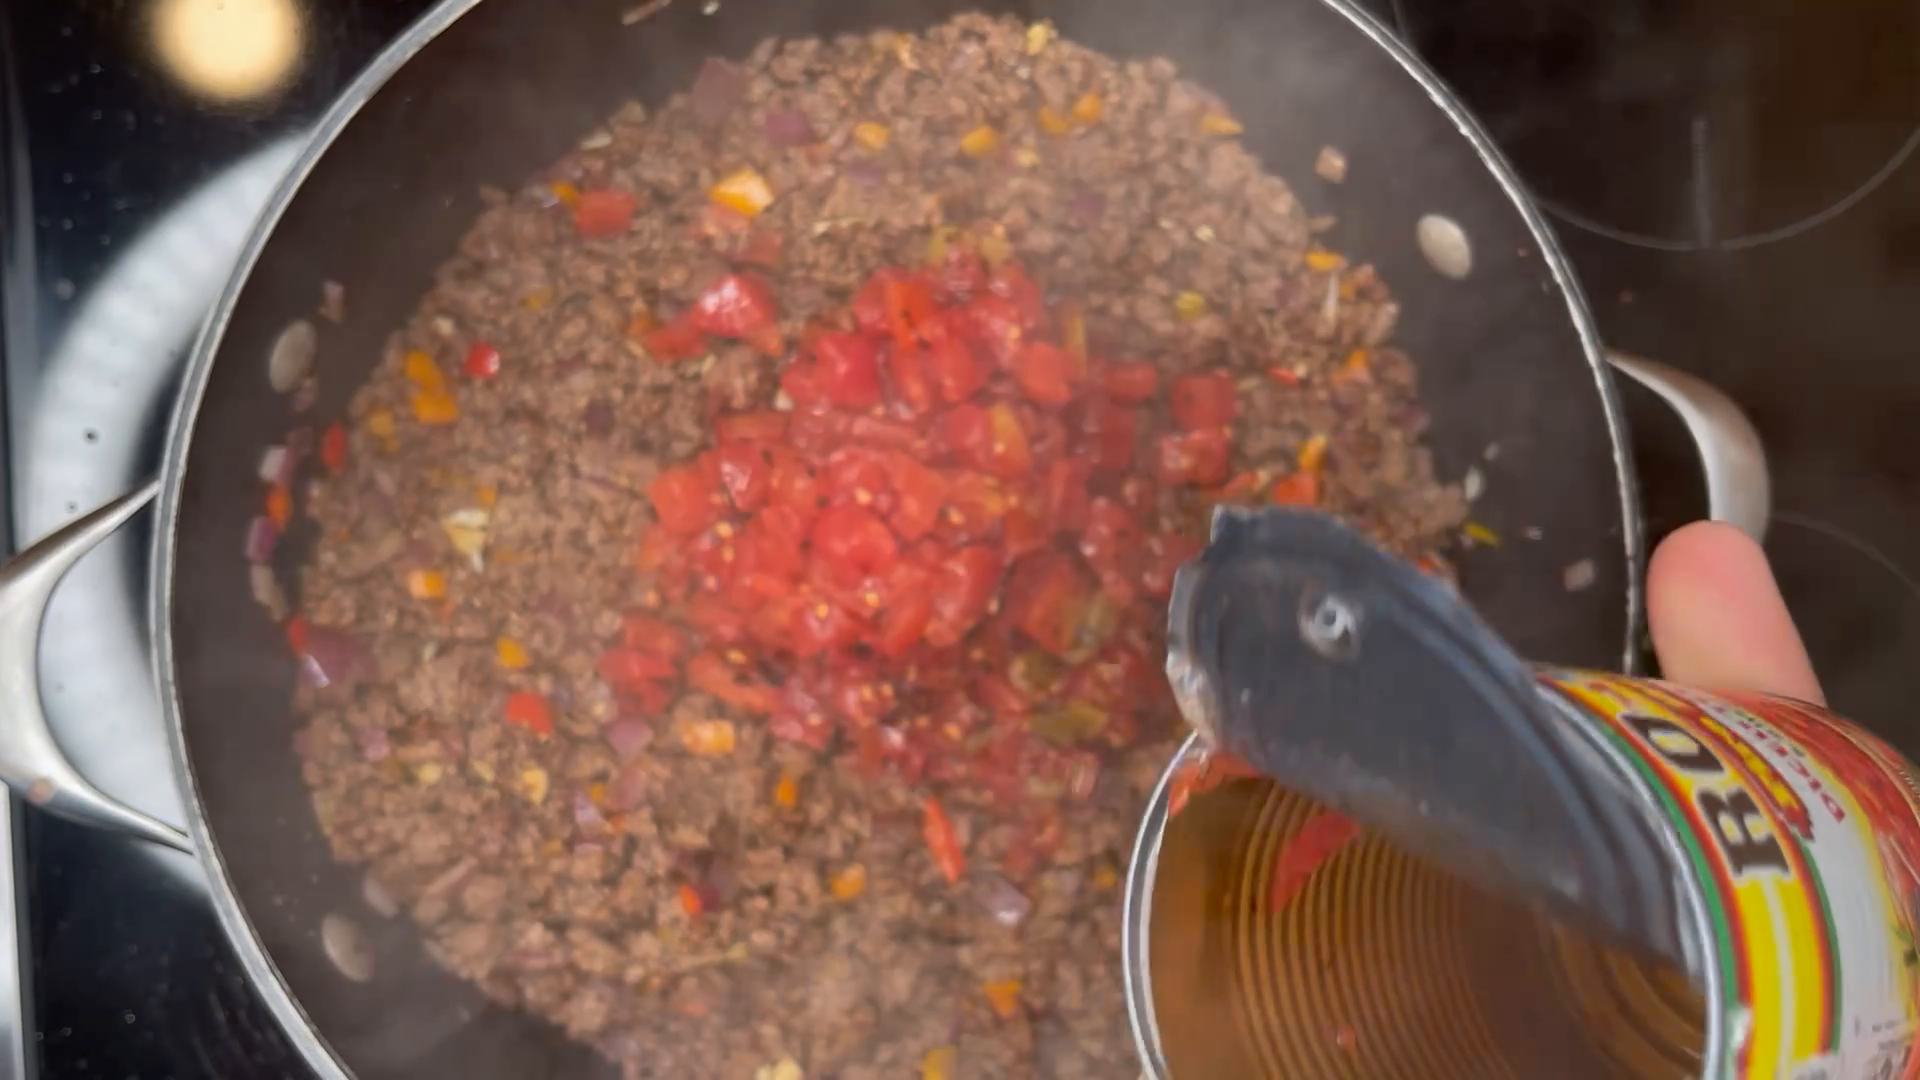
Tip the can of Rotel tomatoes and green chilies into the skillet. Stir through the meat, scraping any tomato pieces left in the can into the pan.
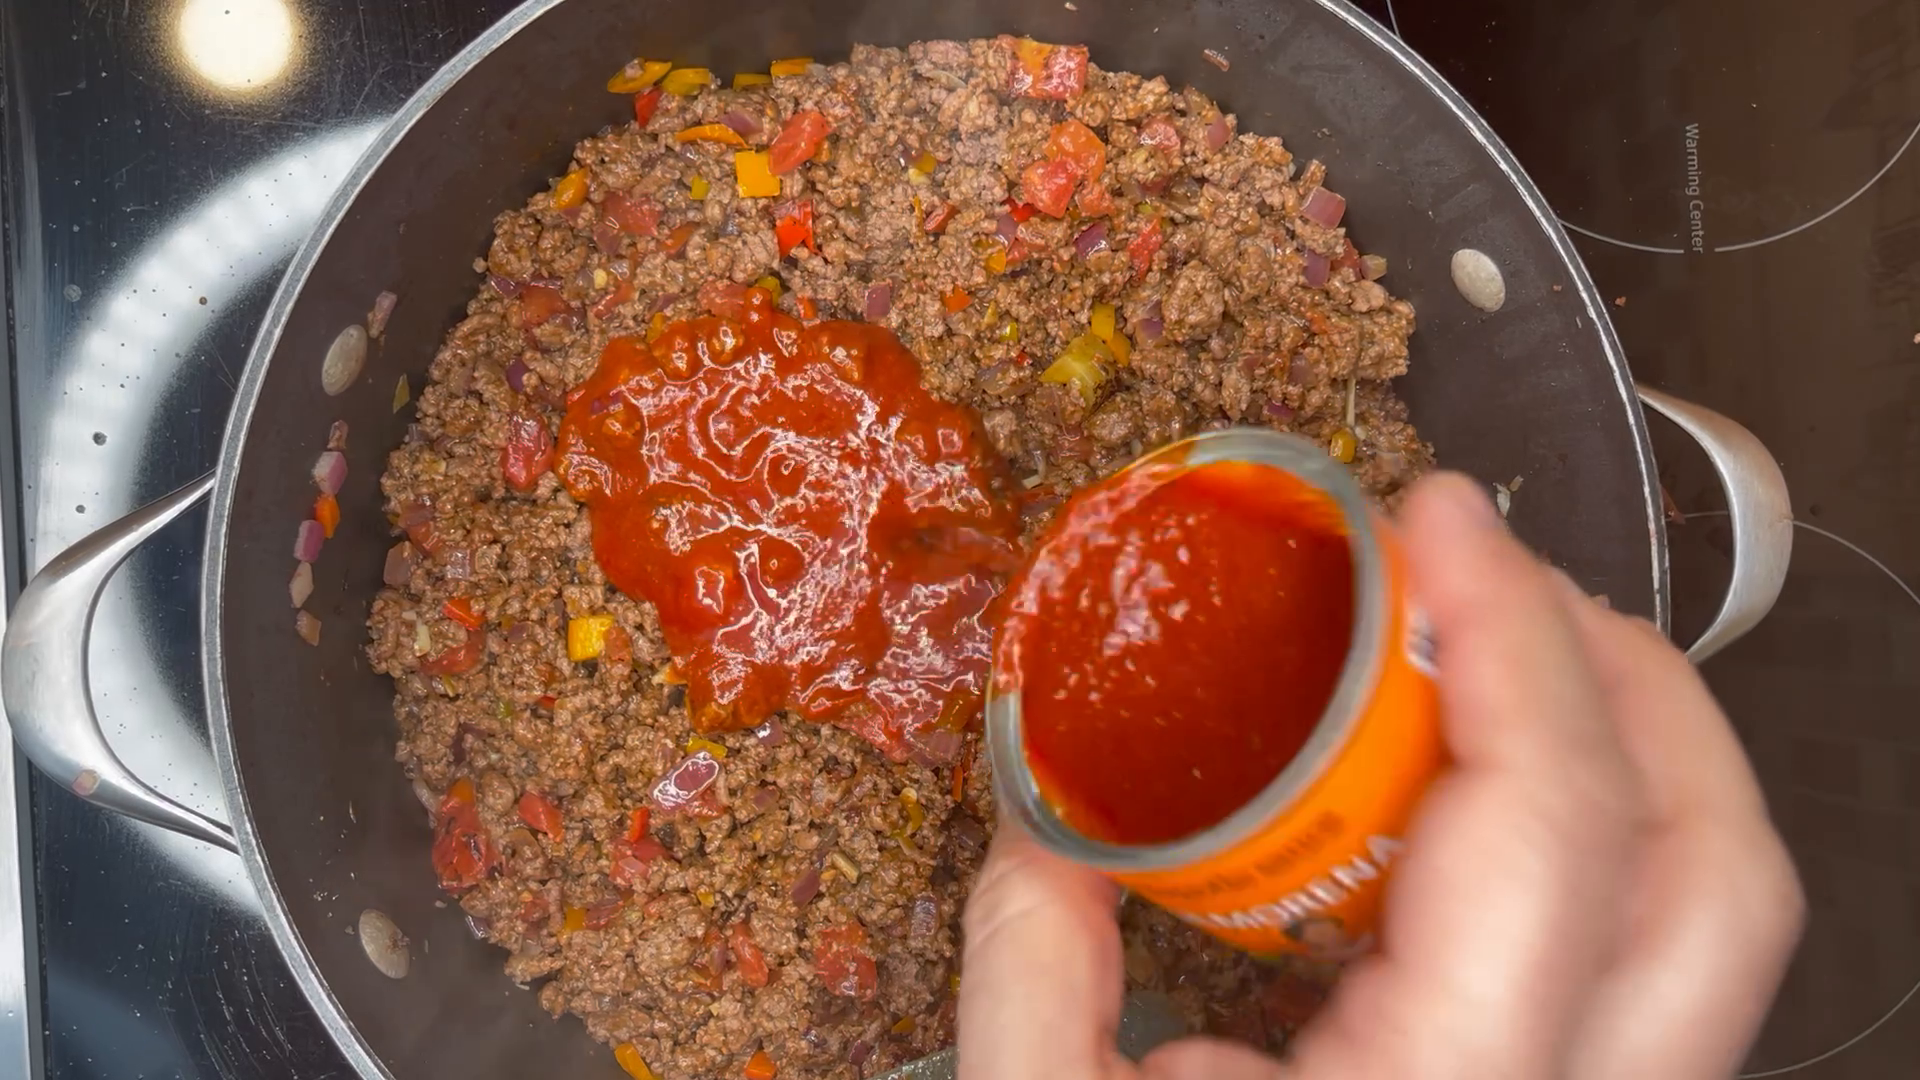
Stir in the chipotle adobo sauce you are using for the filling, reserving some for the tortilla sauce. Start with less if you are unsure of the heat; you can add more, but you cannot take it back out.
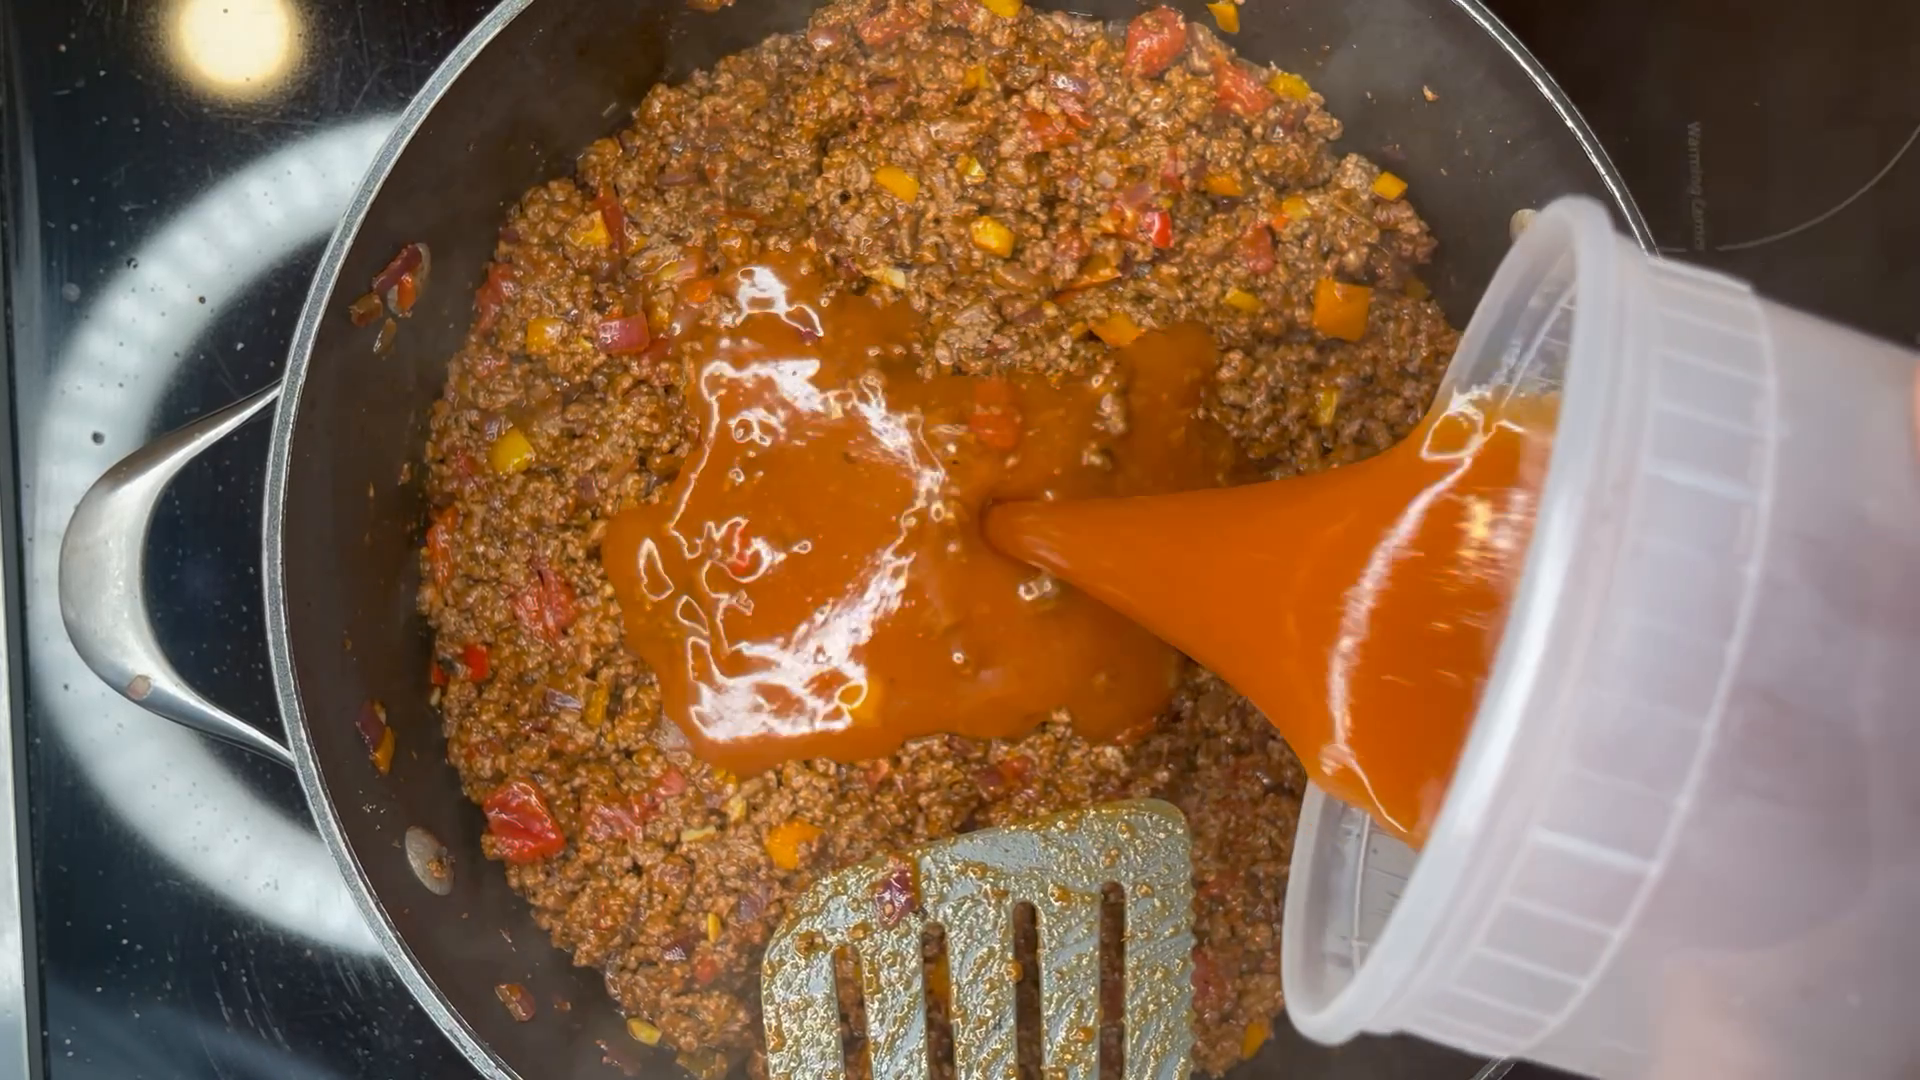
Pour in about half the enchilada sauce and stir until it coats the meat and vegetables. Keep the remaining sauce for moistening the tortilla layers later.
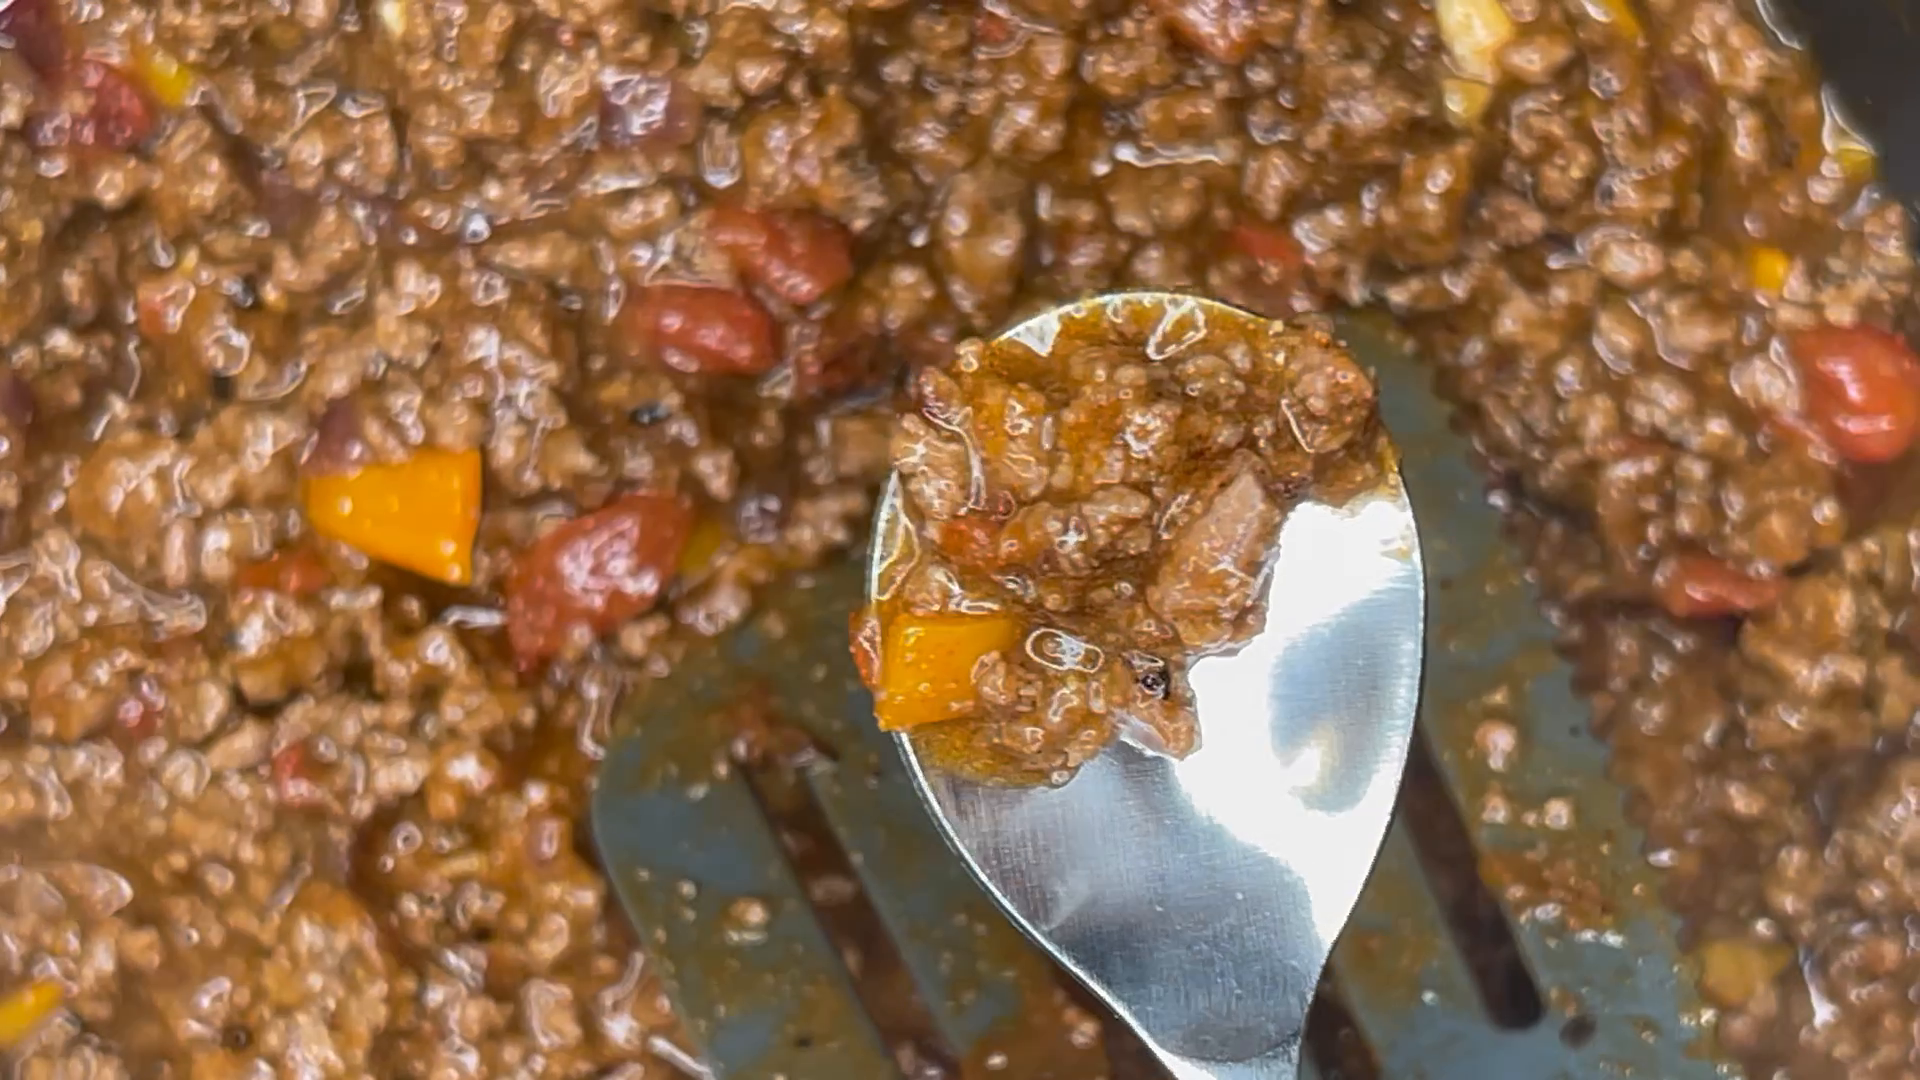
Let the sauced meat simmer briefly, then taste a small spoonful. Check the balance of heat and seasoning now, remembering that the cheese will add salt and richness when you assemble the casserole.
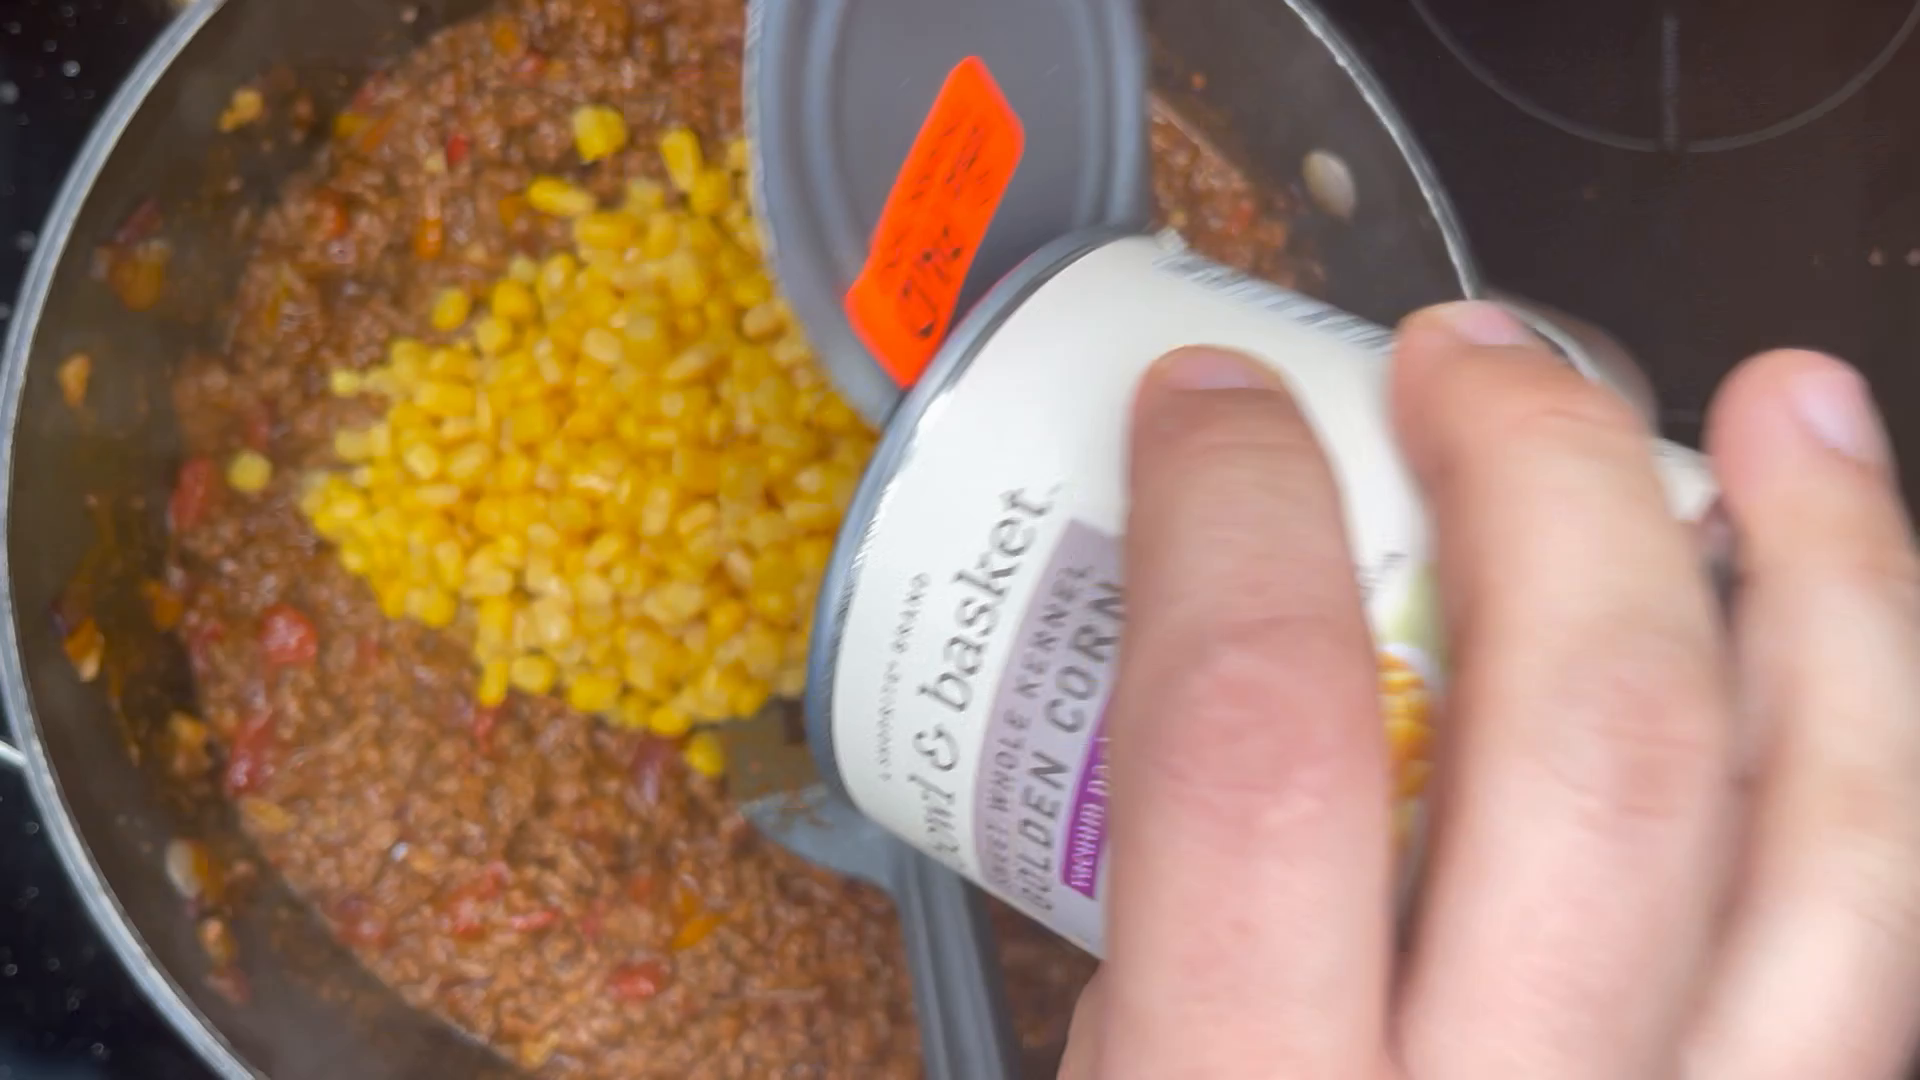
Add the corn to the skillet. Drain off excess packing liquid first if your can has much of it; the vacuum-packed corn I used had very little.
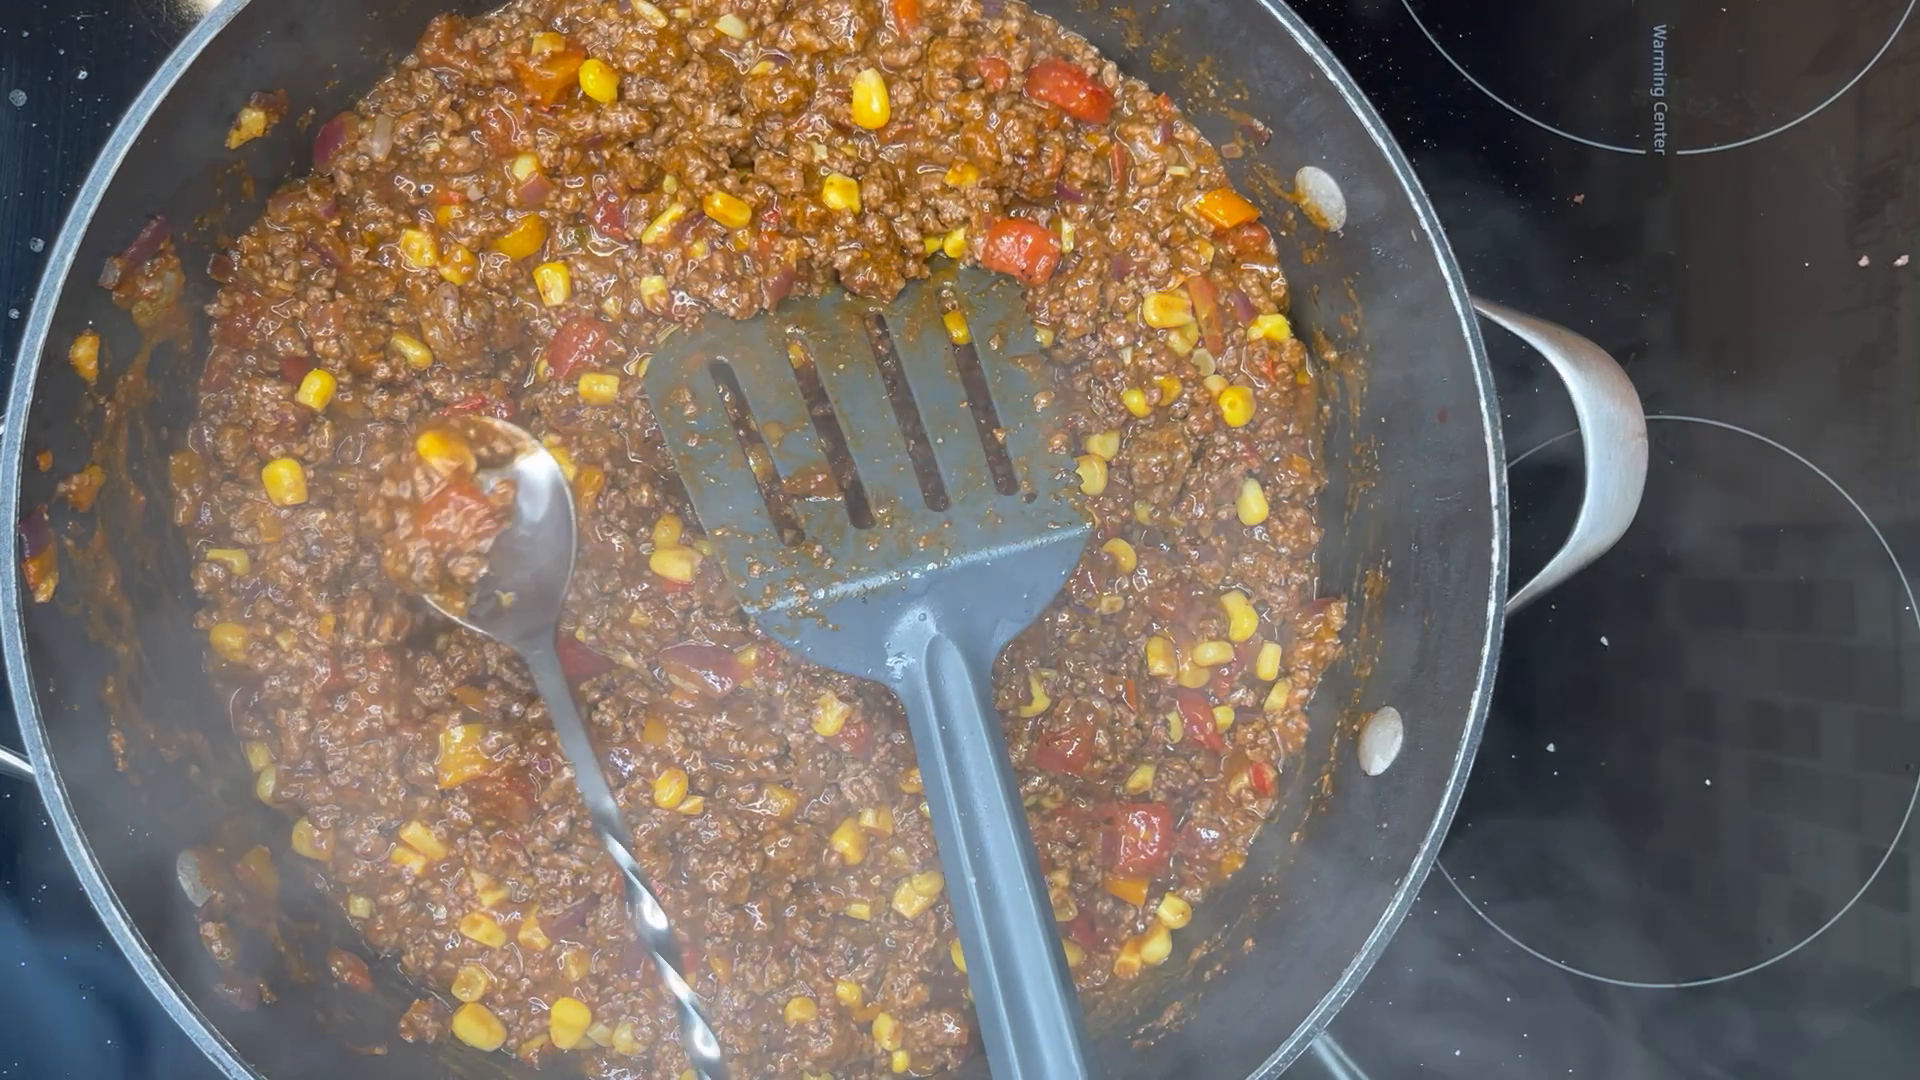
Stir until the corn is distributed throughout the filling. Check the consistency as well as the seasoning: you want a moist mixture that can be spooned and spread, without a pool of loose liquid around it.
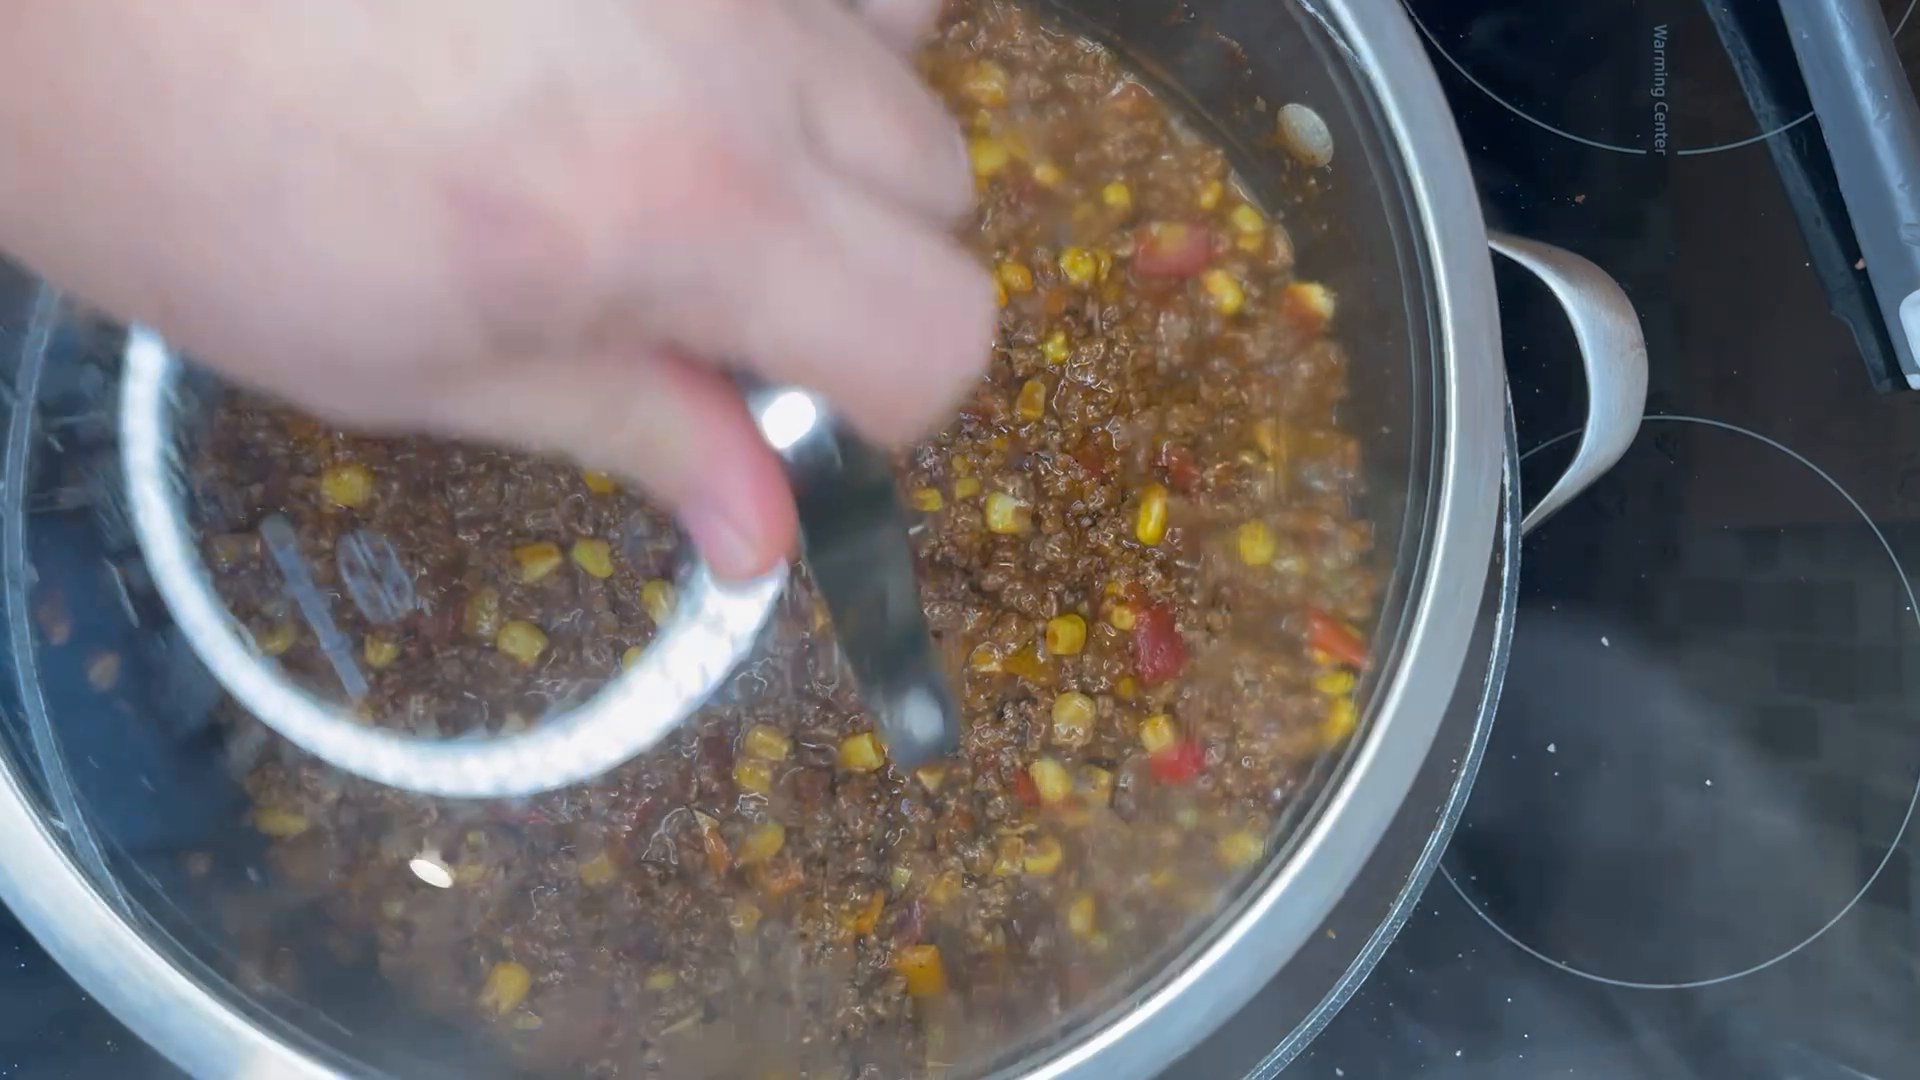
Let the filling simmer gently for a little while so the ingredients can get to know each other. Cover briefly if needed, then take it off the heat and allow it to cool slightly before assembling.
6. Make the tortilla sauce
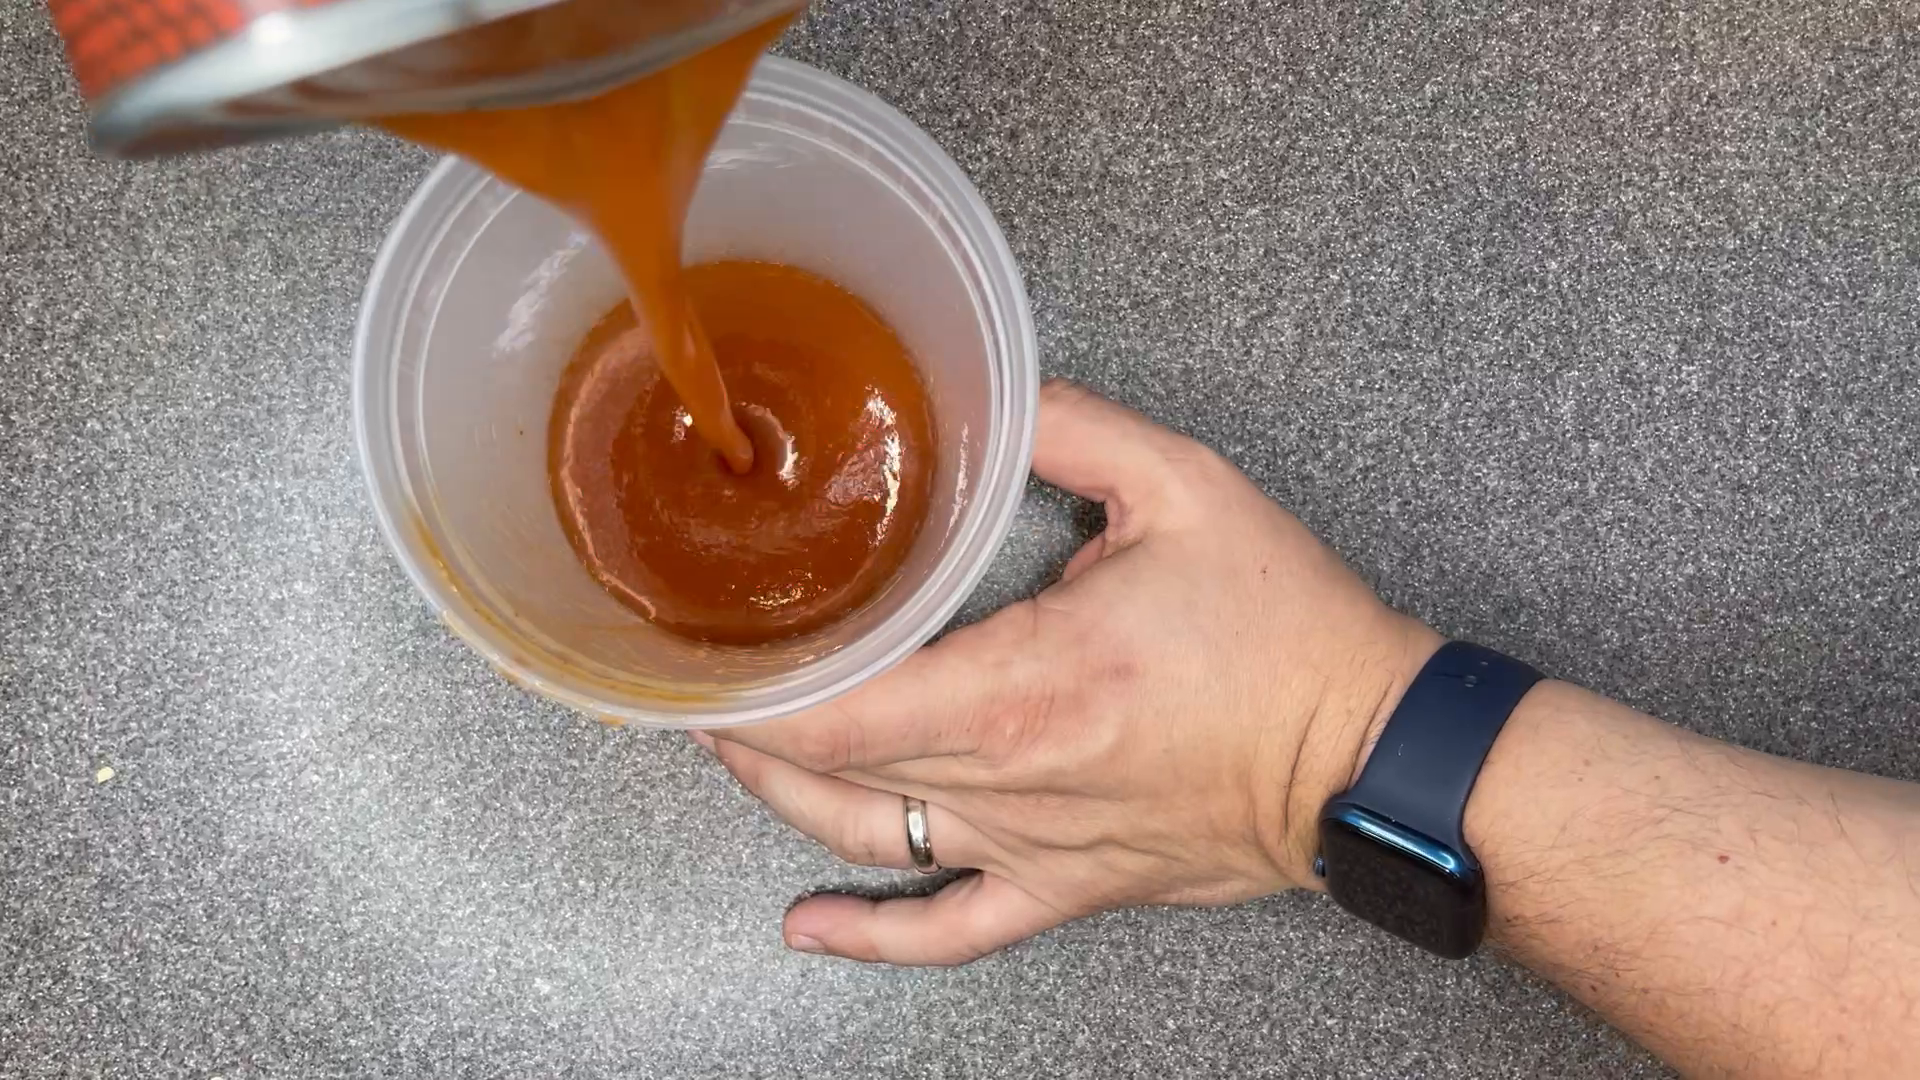
The tortilla sauce is simply the reserved enchilada sauce mixed with the adobo sauce you want to use. This is for moistening the corn tortillas as you assemble the casserole.
Pour the reserved enchilada sauce into a separate container and mix in the remaining adobo sauce you want to use. Keep a spoon handy for spreading it over the tortillas, and reserve enough to cover the very top layer.
7. Build the layers
Build the casserole in four tortilla layers, using six small corn tortillas per layer, 24 in total. Spread the filling and cheeses through the middle layers, and save sauce and shredded cheese for the top.
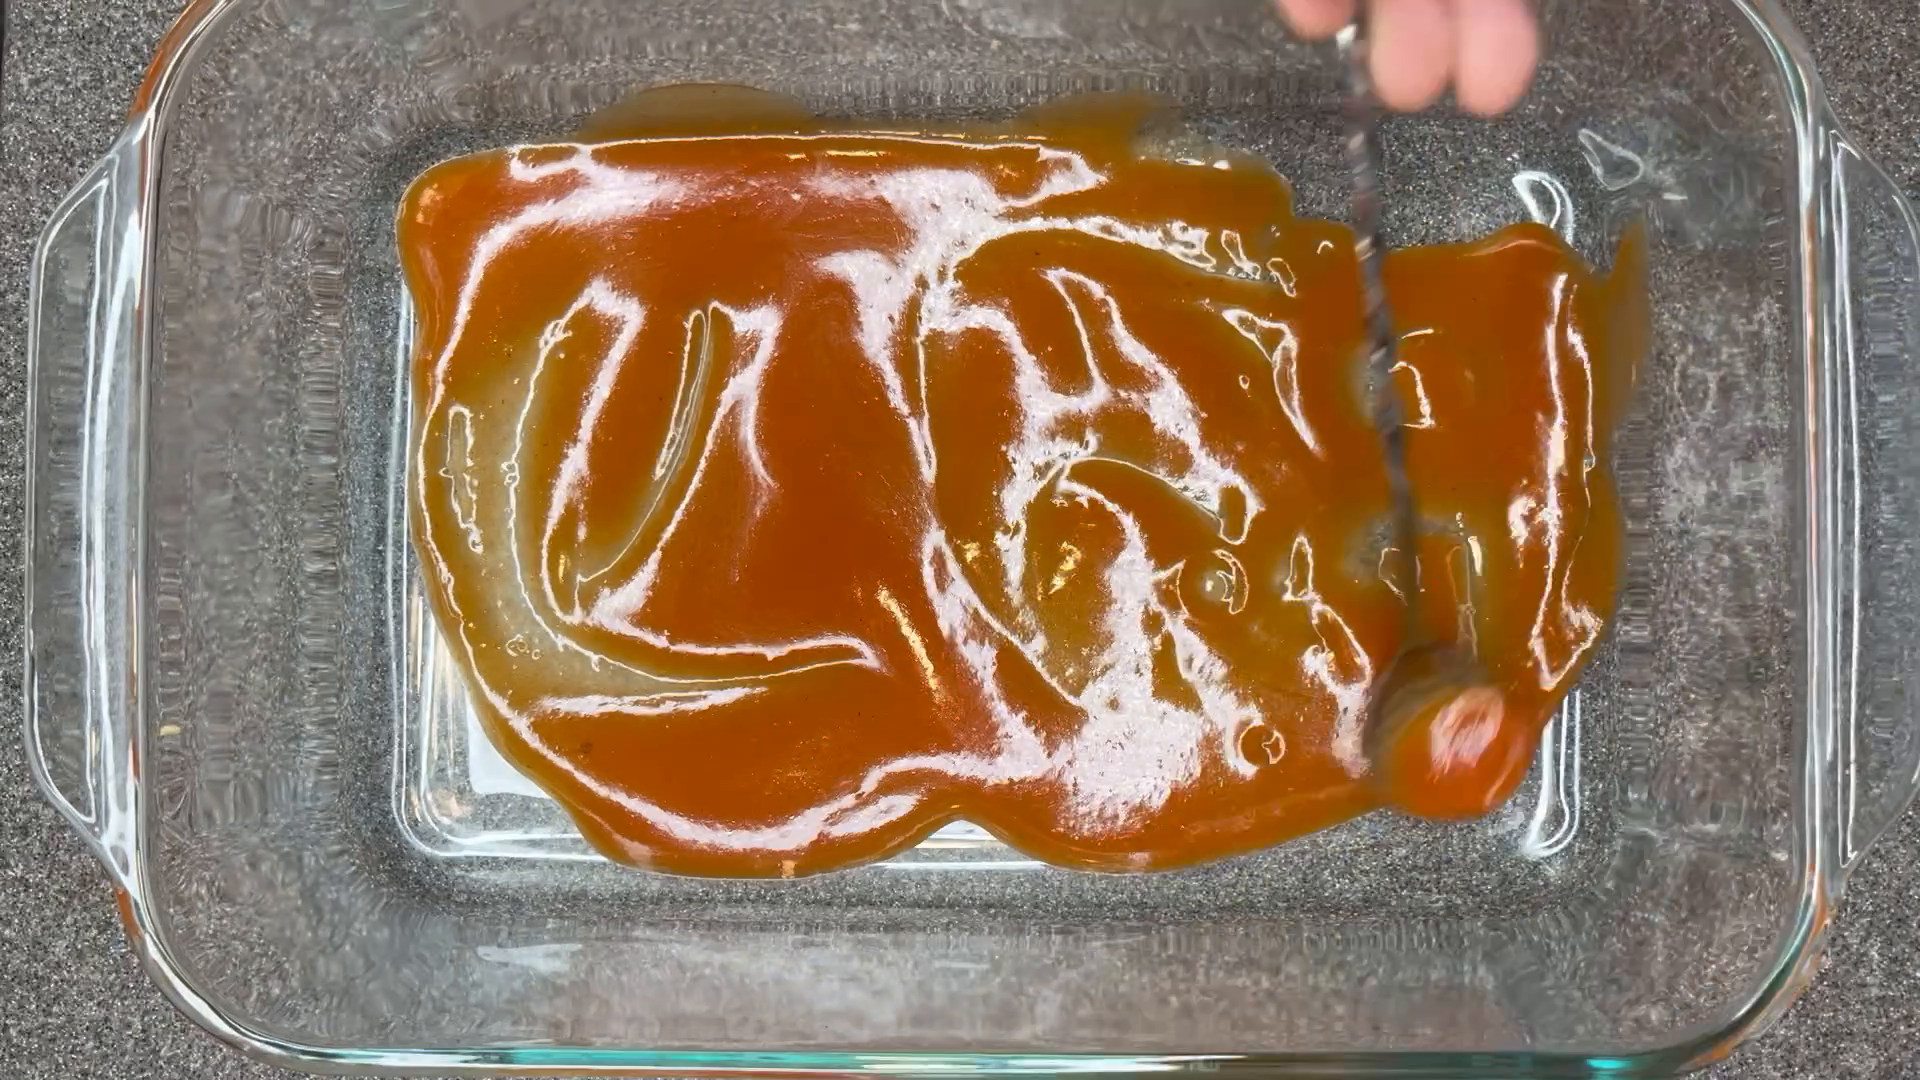
Spoon a thin layer of the tortilla sauce over the base of the baking dish and spread it with the back of the spoon. This gives the bottom tortillas some moisture from the start.
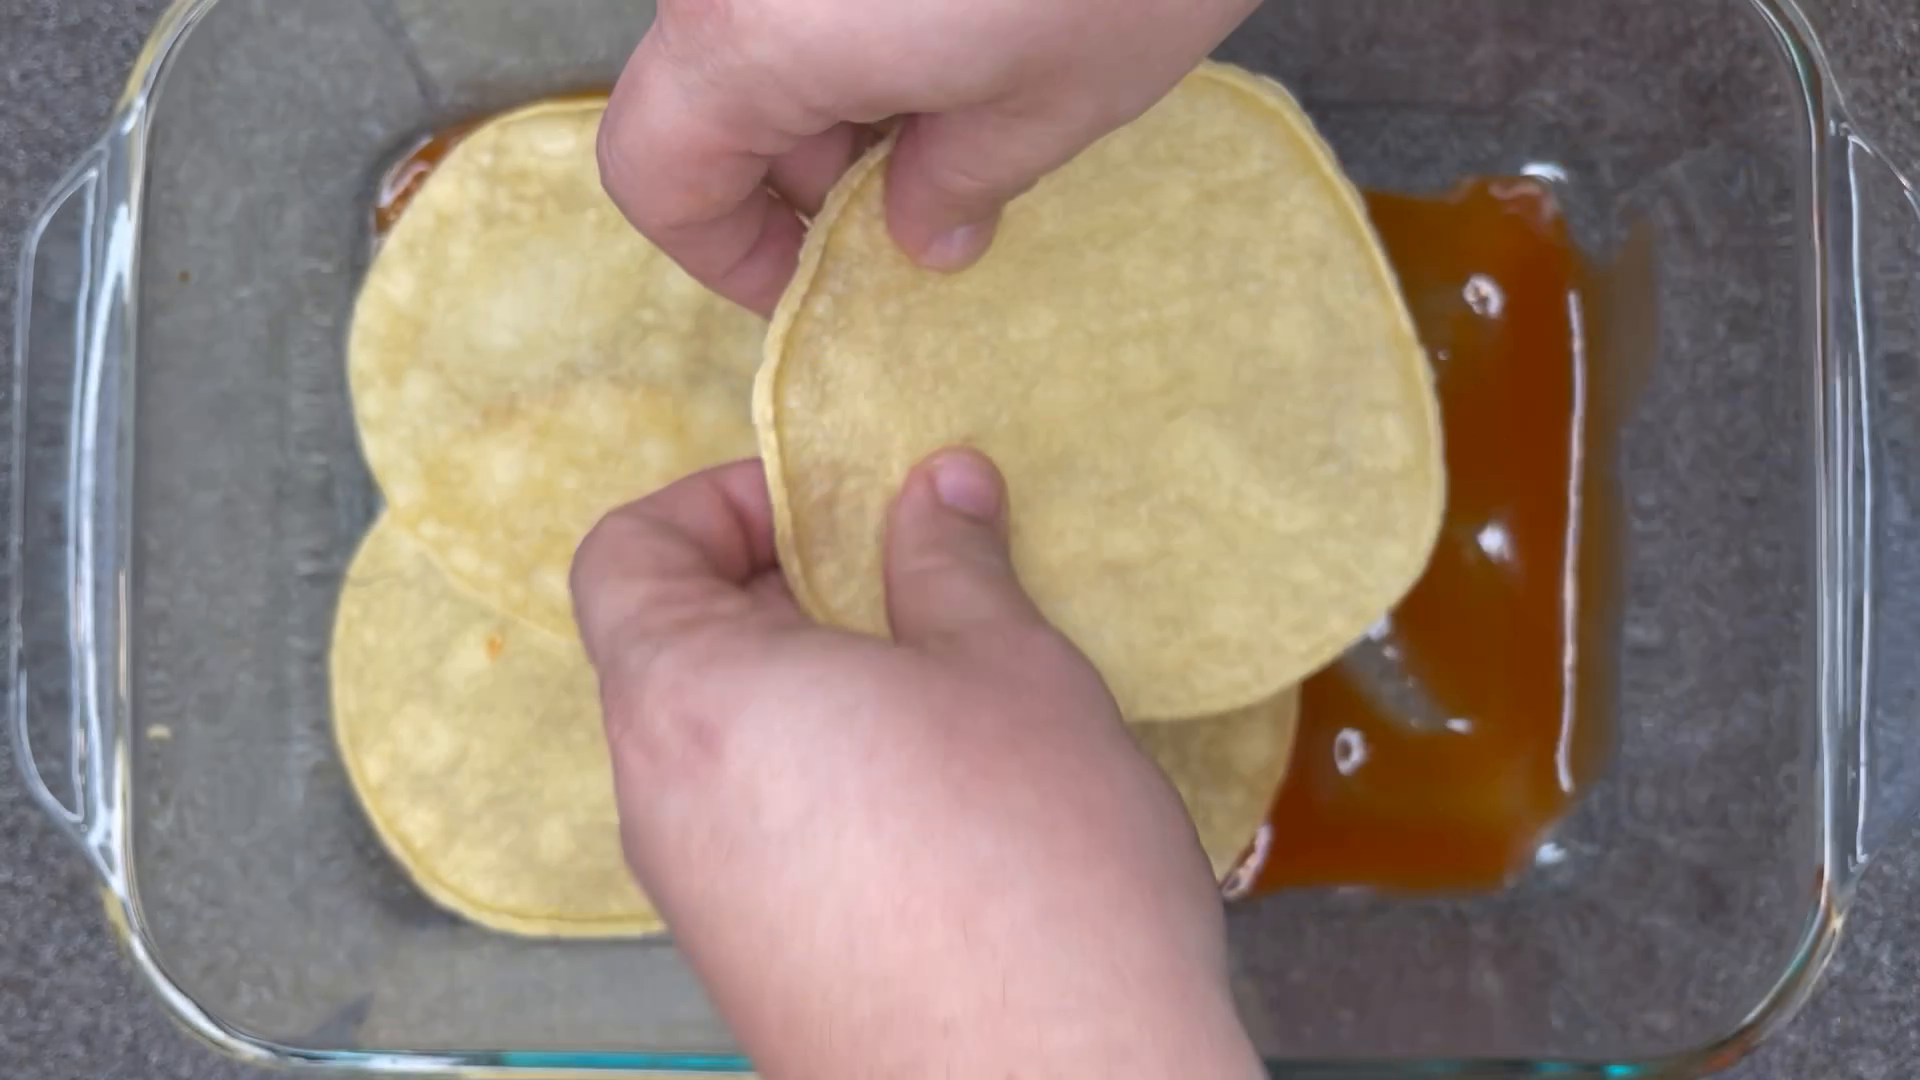
Arrange the first six corn tortillas over the sauce, overlapping their edges to cover the bottom of the dish. Work across the dish rather than building a tall stack in one corner.
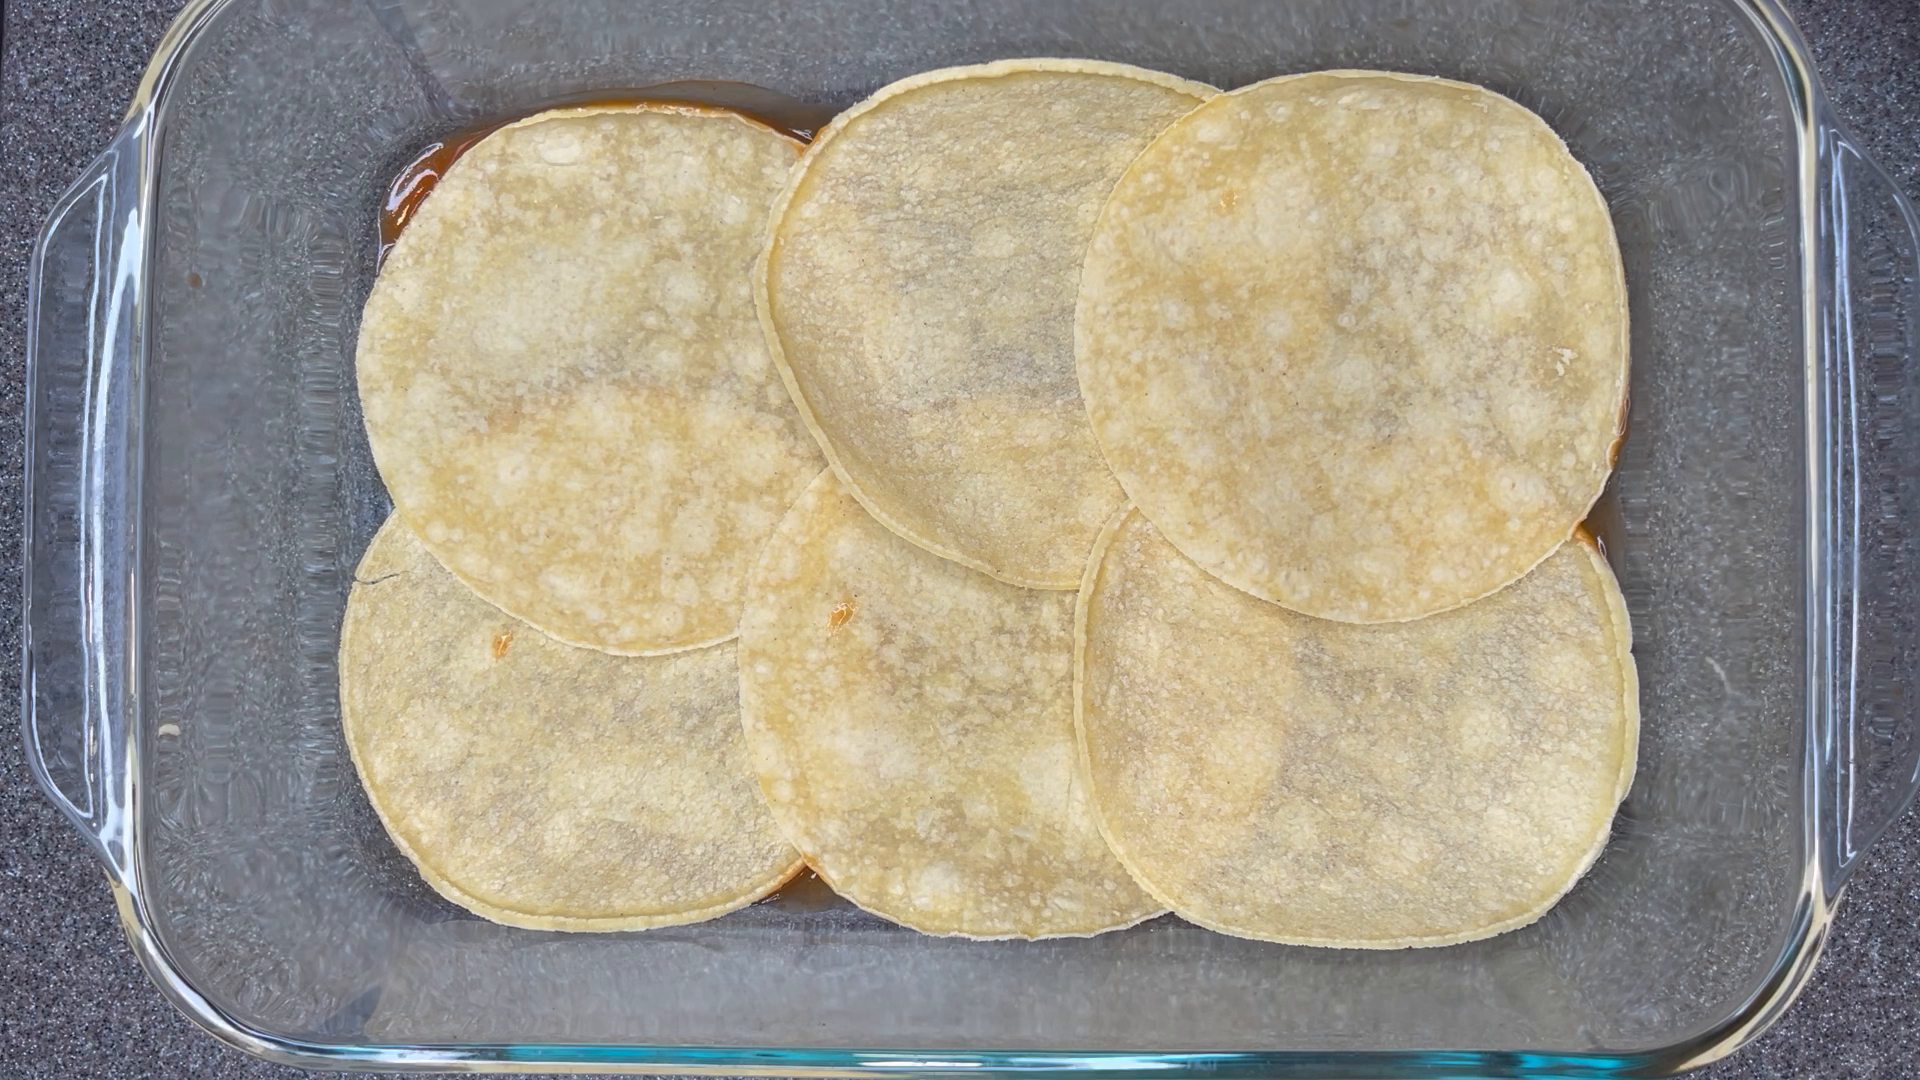
Check that the first tortilla layer covers the base reasonably evenly. A little overlap is expected; these are the layers that will hold the filling together, not a geometry exam.
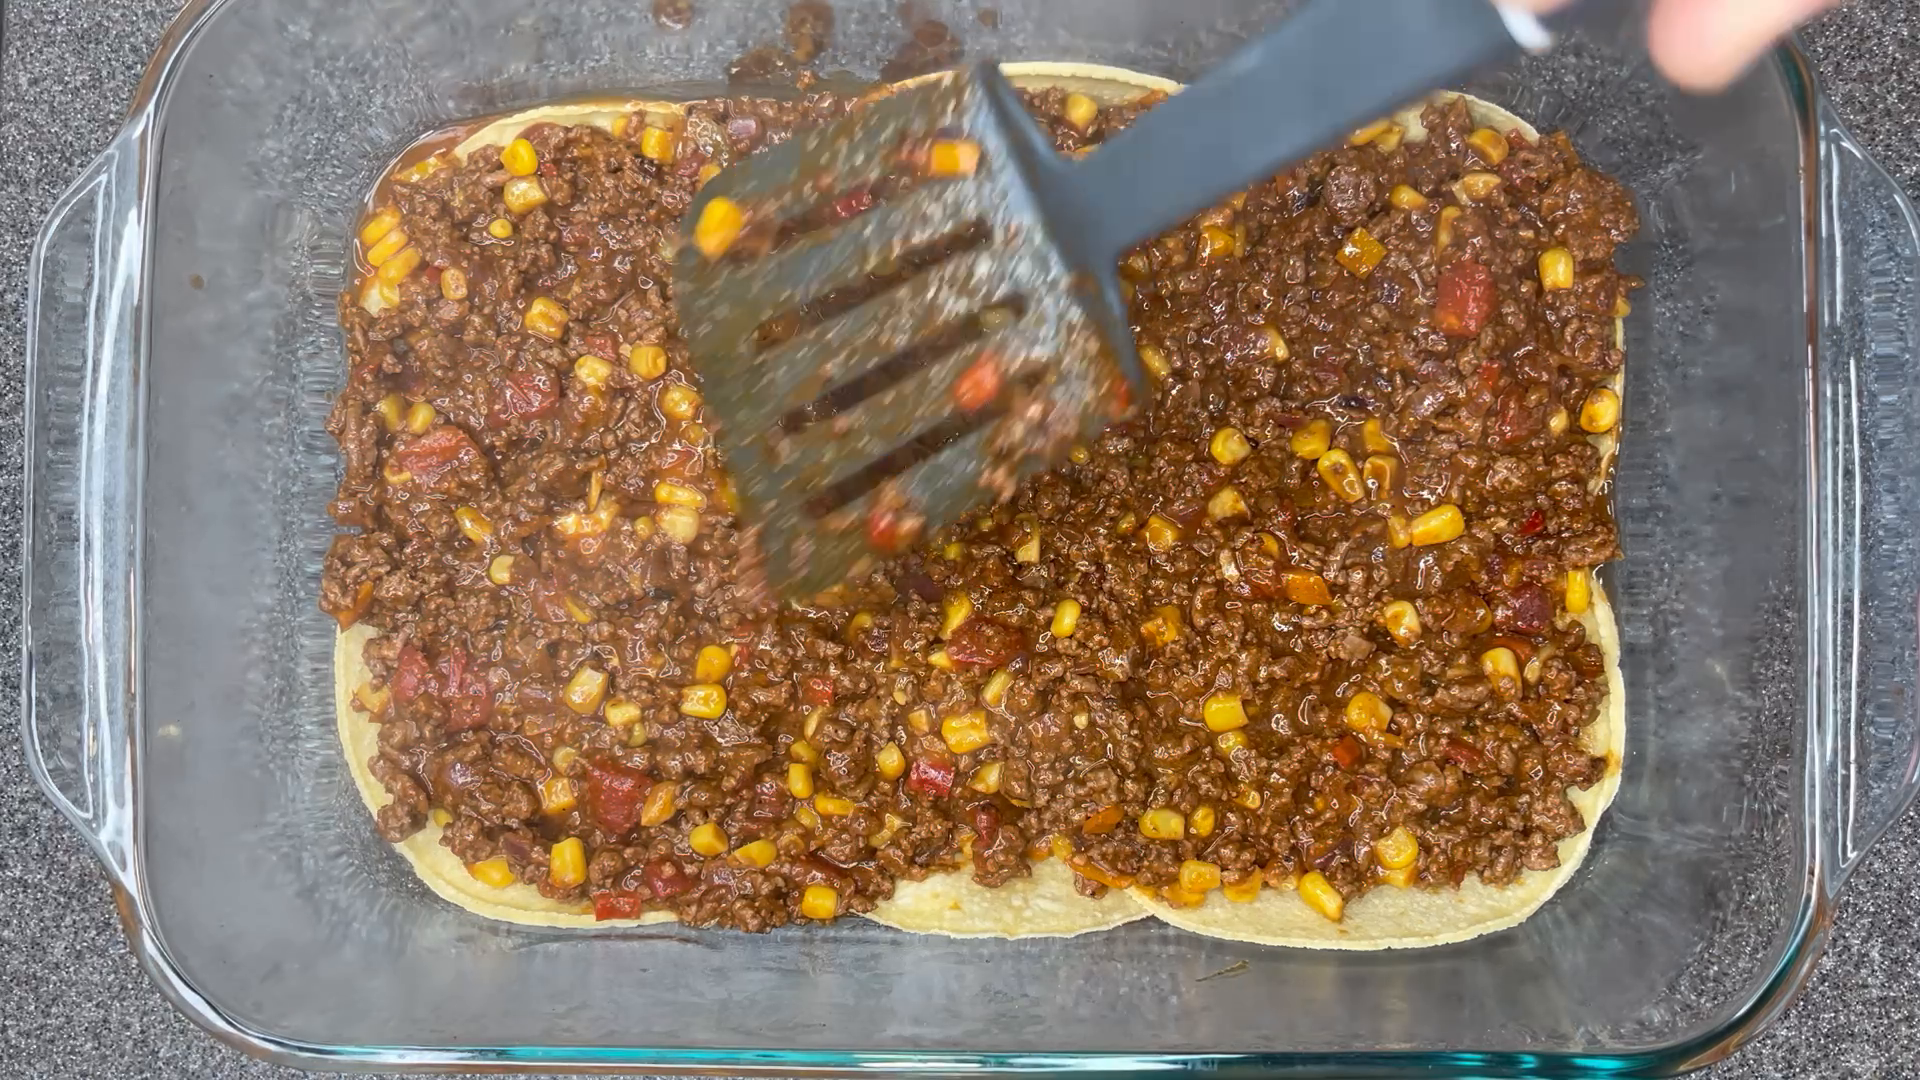
Spoon a portion of the meat-and-corn filling over the tortillas. Spread it gently into an even layer, reaching toward the edges without pushing all the filling into the corners.
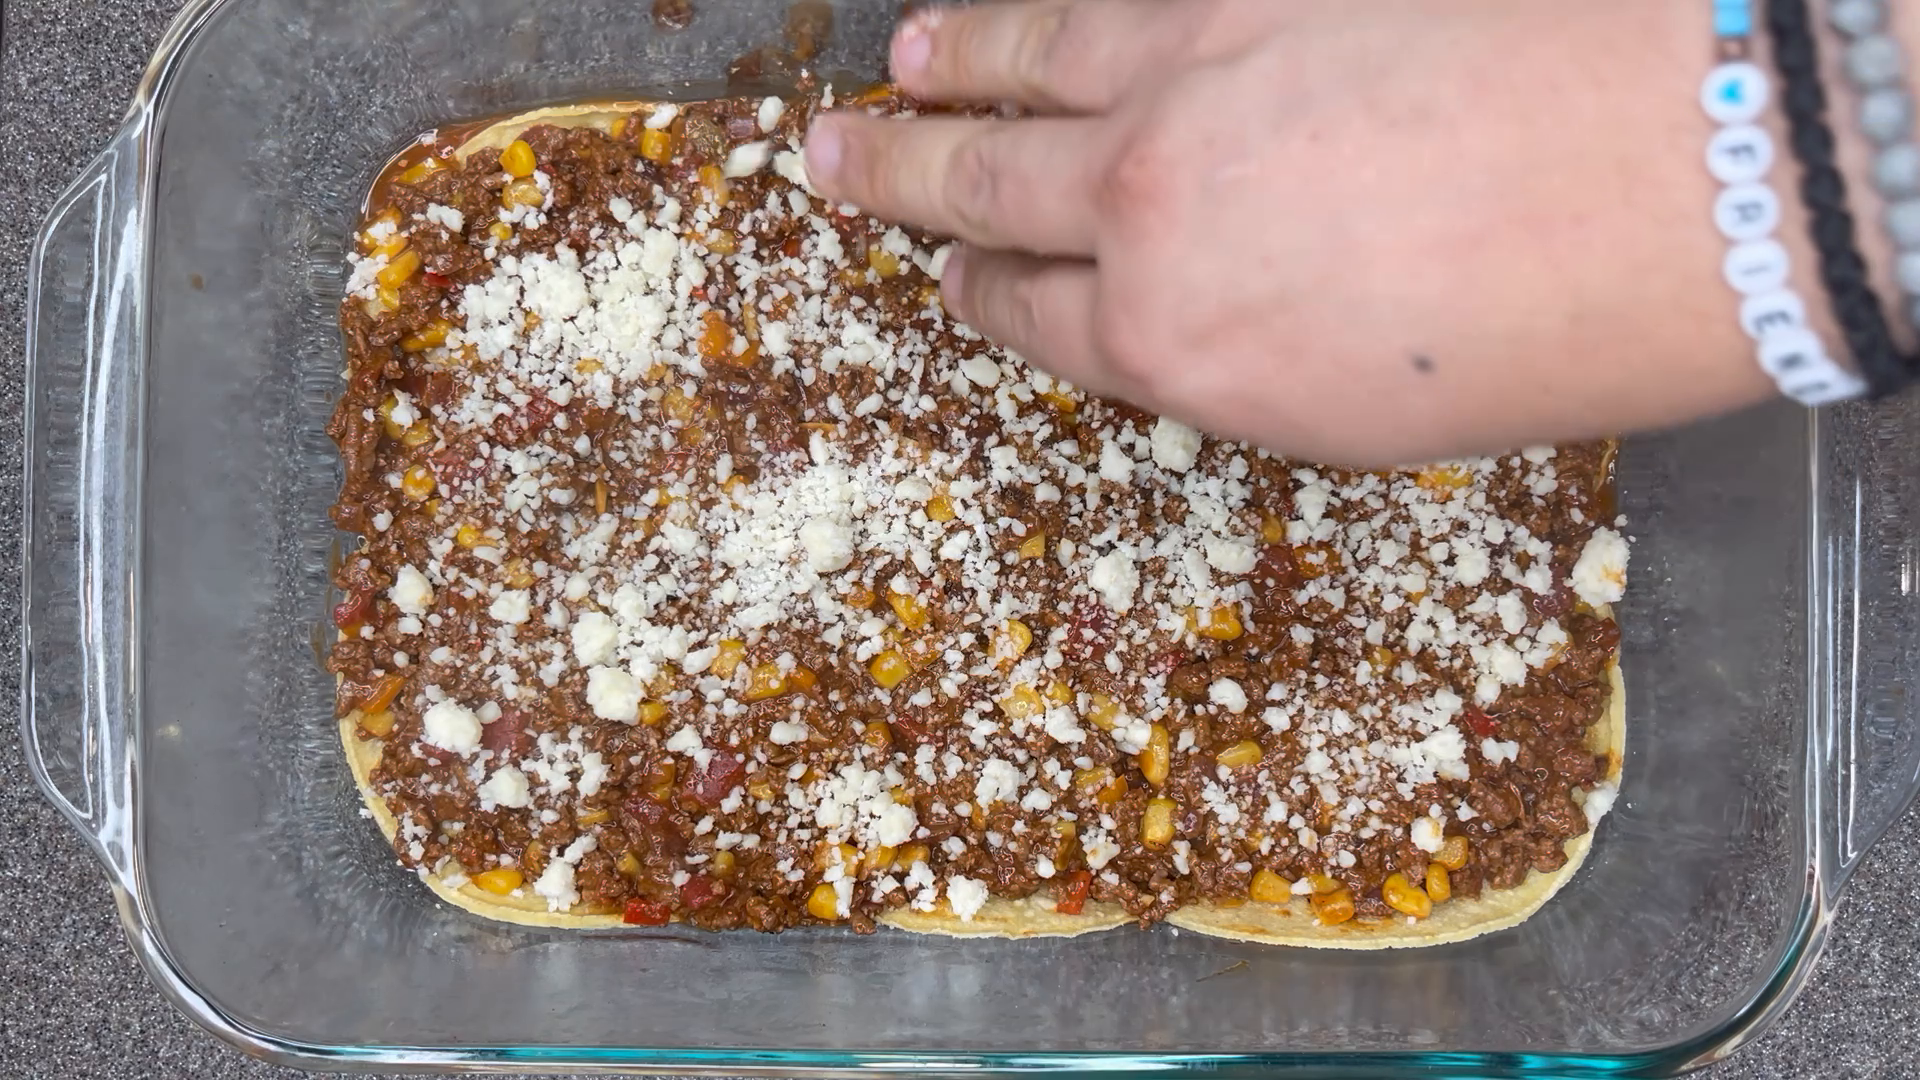
Sprinkle some of the crumbled Cotija across the filling. Aim for an even scatter so its salty accent is spread through the casserole.
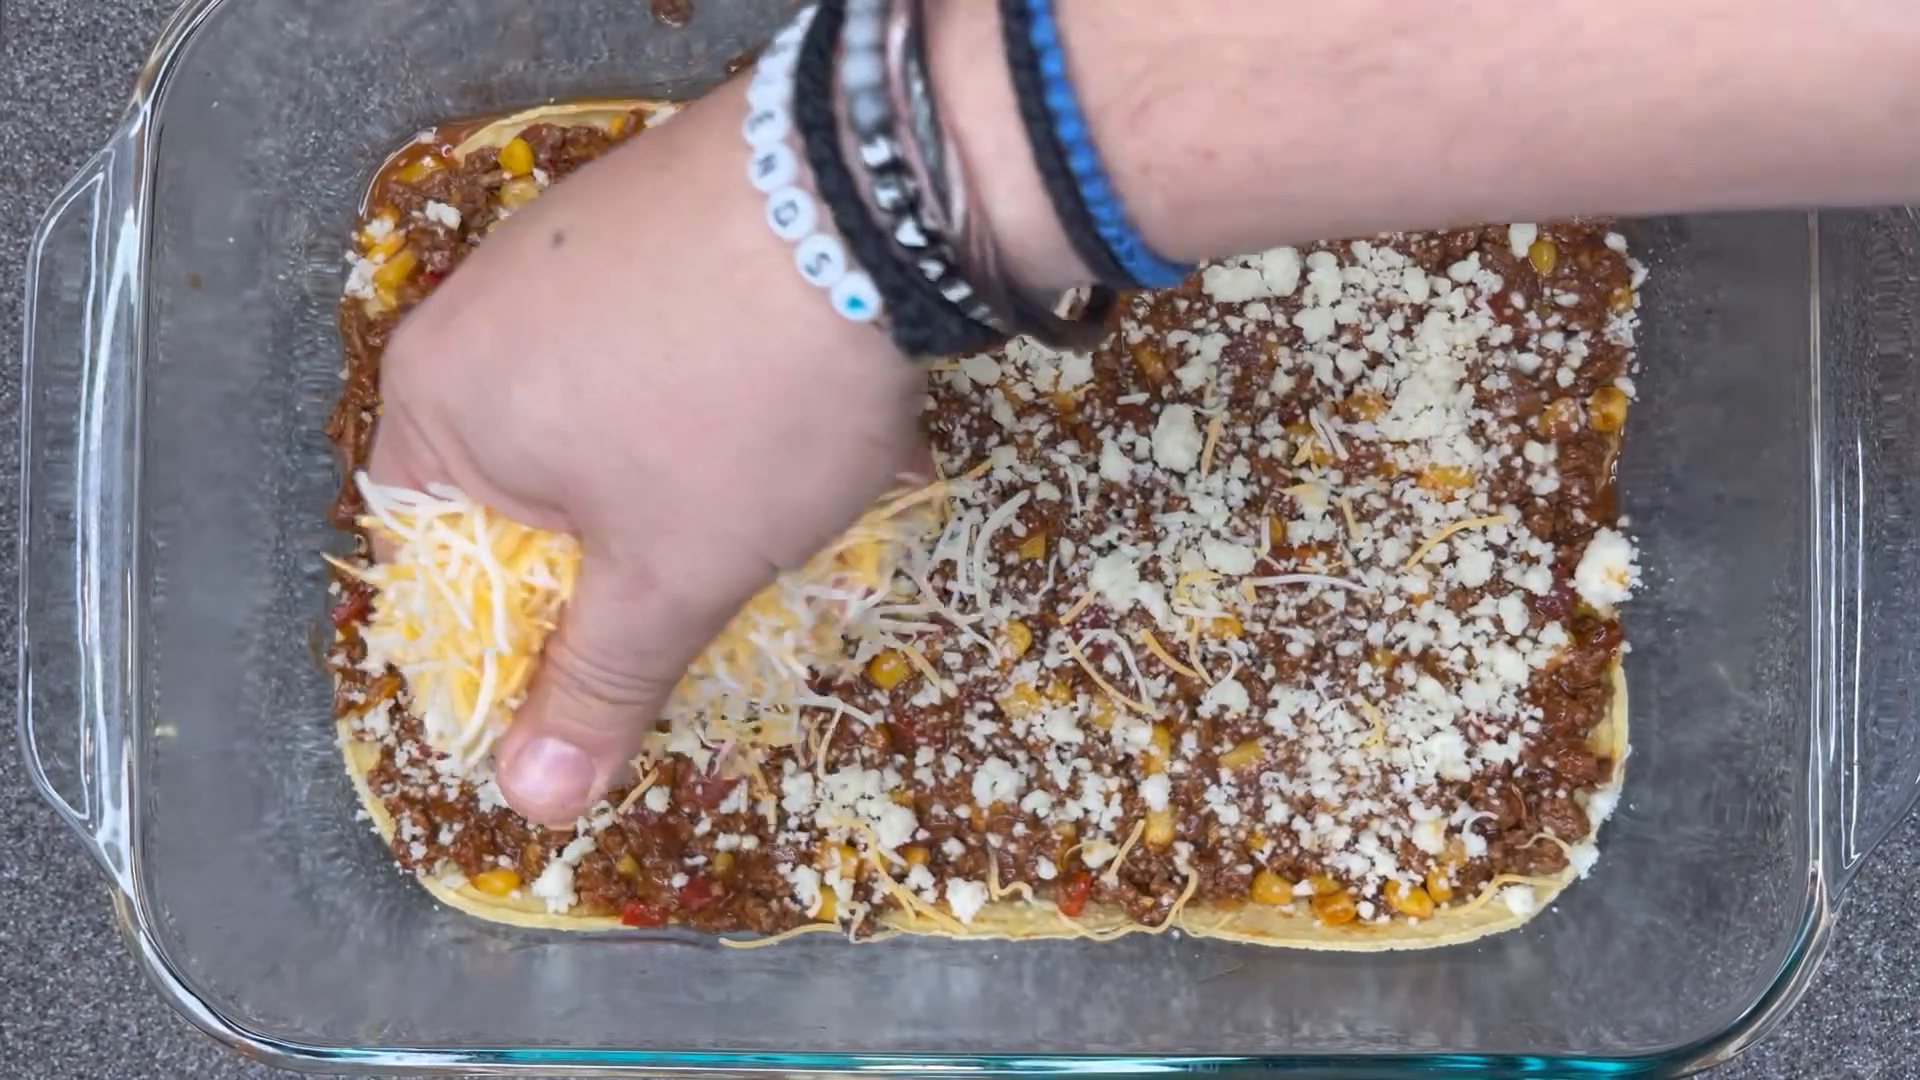
Add a layer of Mexican-blend shredded cheese over the meat and Cotija. Keep enough cheese back for the remaining layers and a generous covering on top.
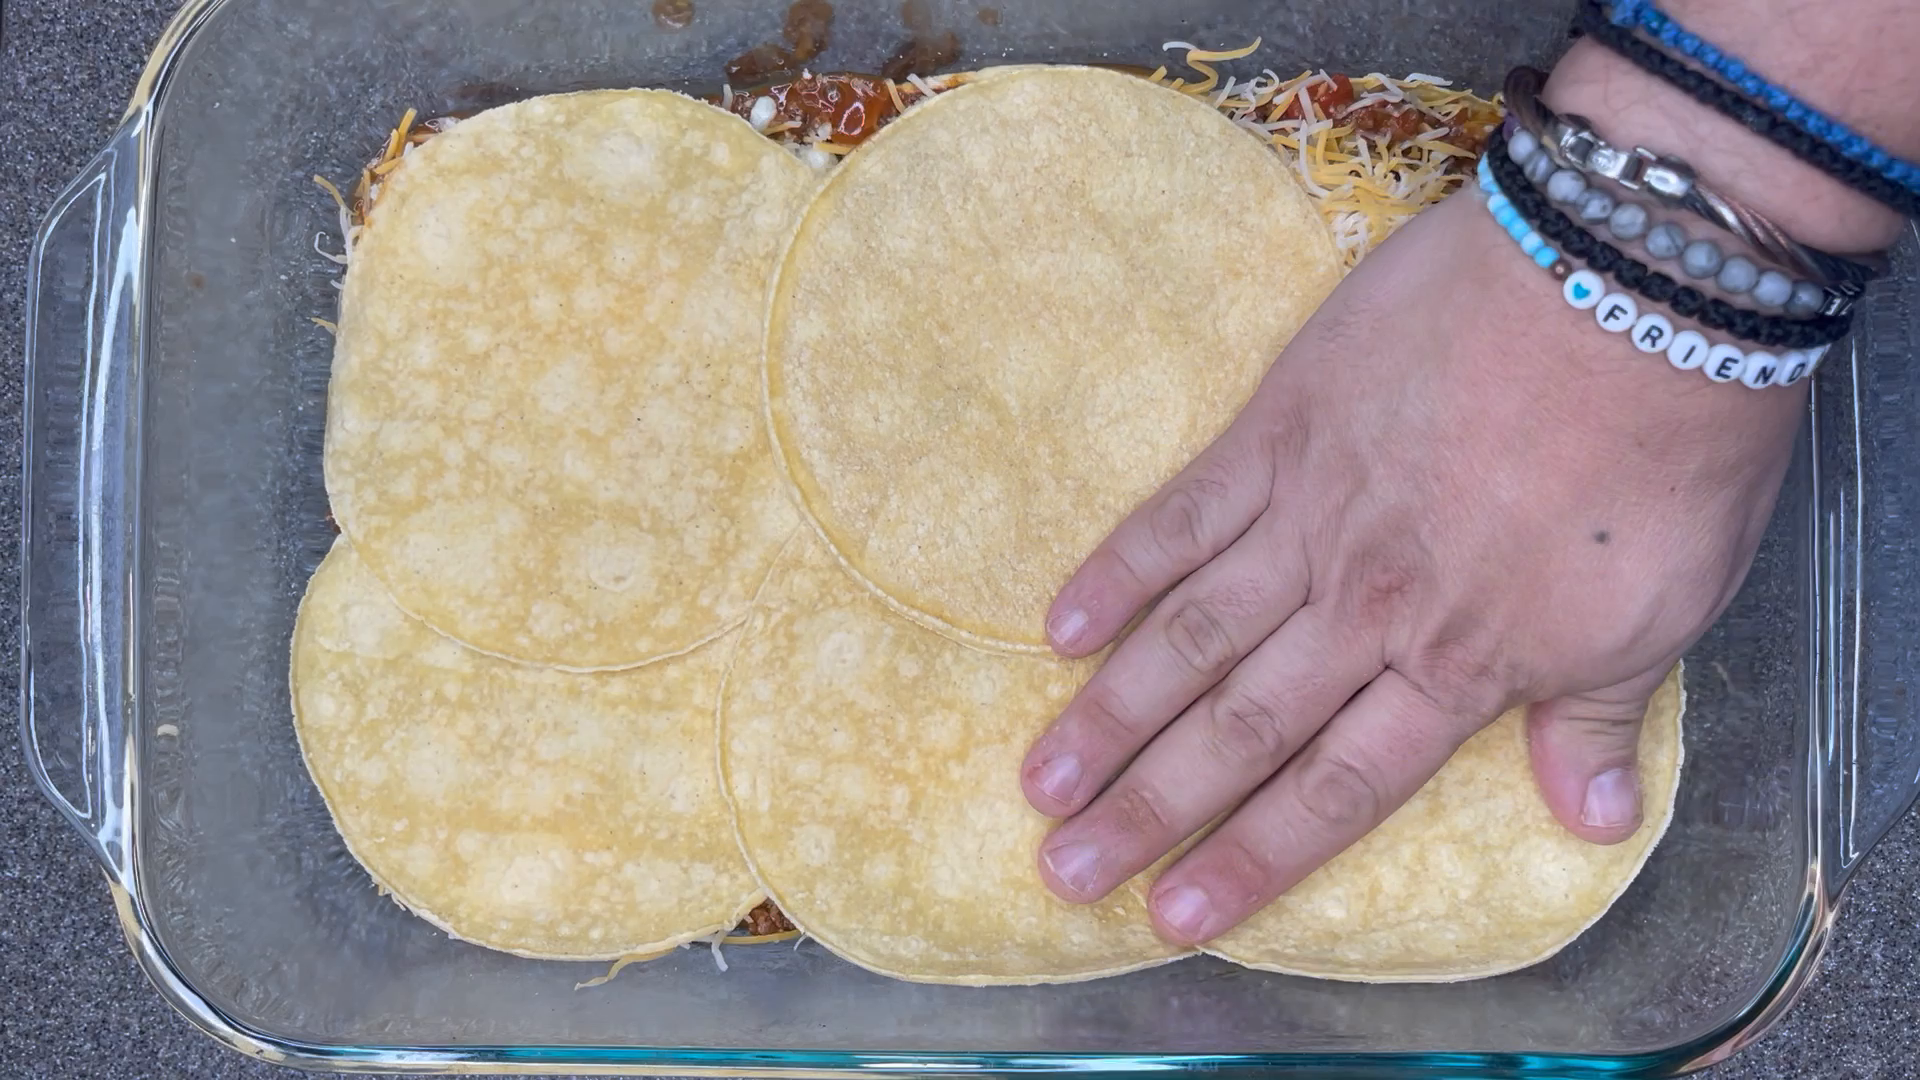
Lay the next six tortillas over the filling and cheese. Repeat the sauce, filling, and cheese stages for the middle layers, using four tortilla layers in total and reserving the final six tortillas for the top.
8. Protect the top layer
For the uppermost tortilla layer, use sauce and the remaining shredded cheese to cover the surface. I deliberately did not leave the tortillas exposed: at this oven temperature they can dry out, become overly crisp, or burn.
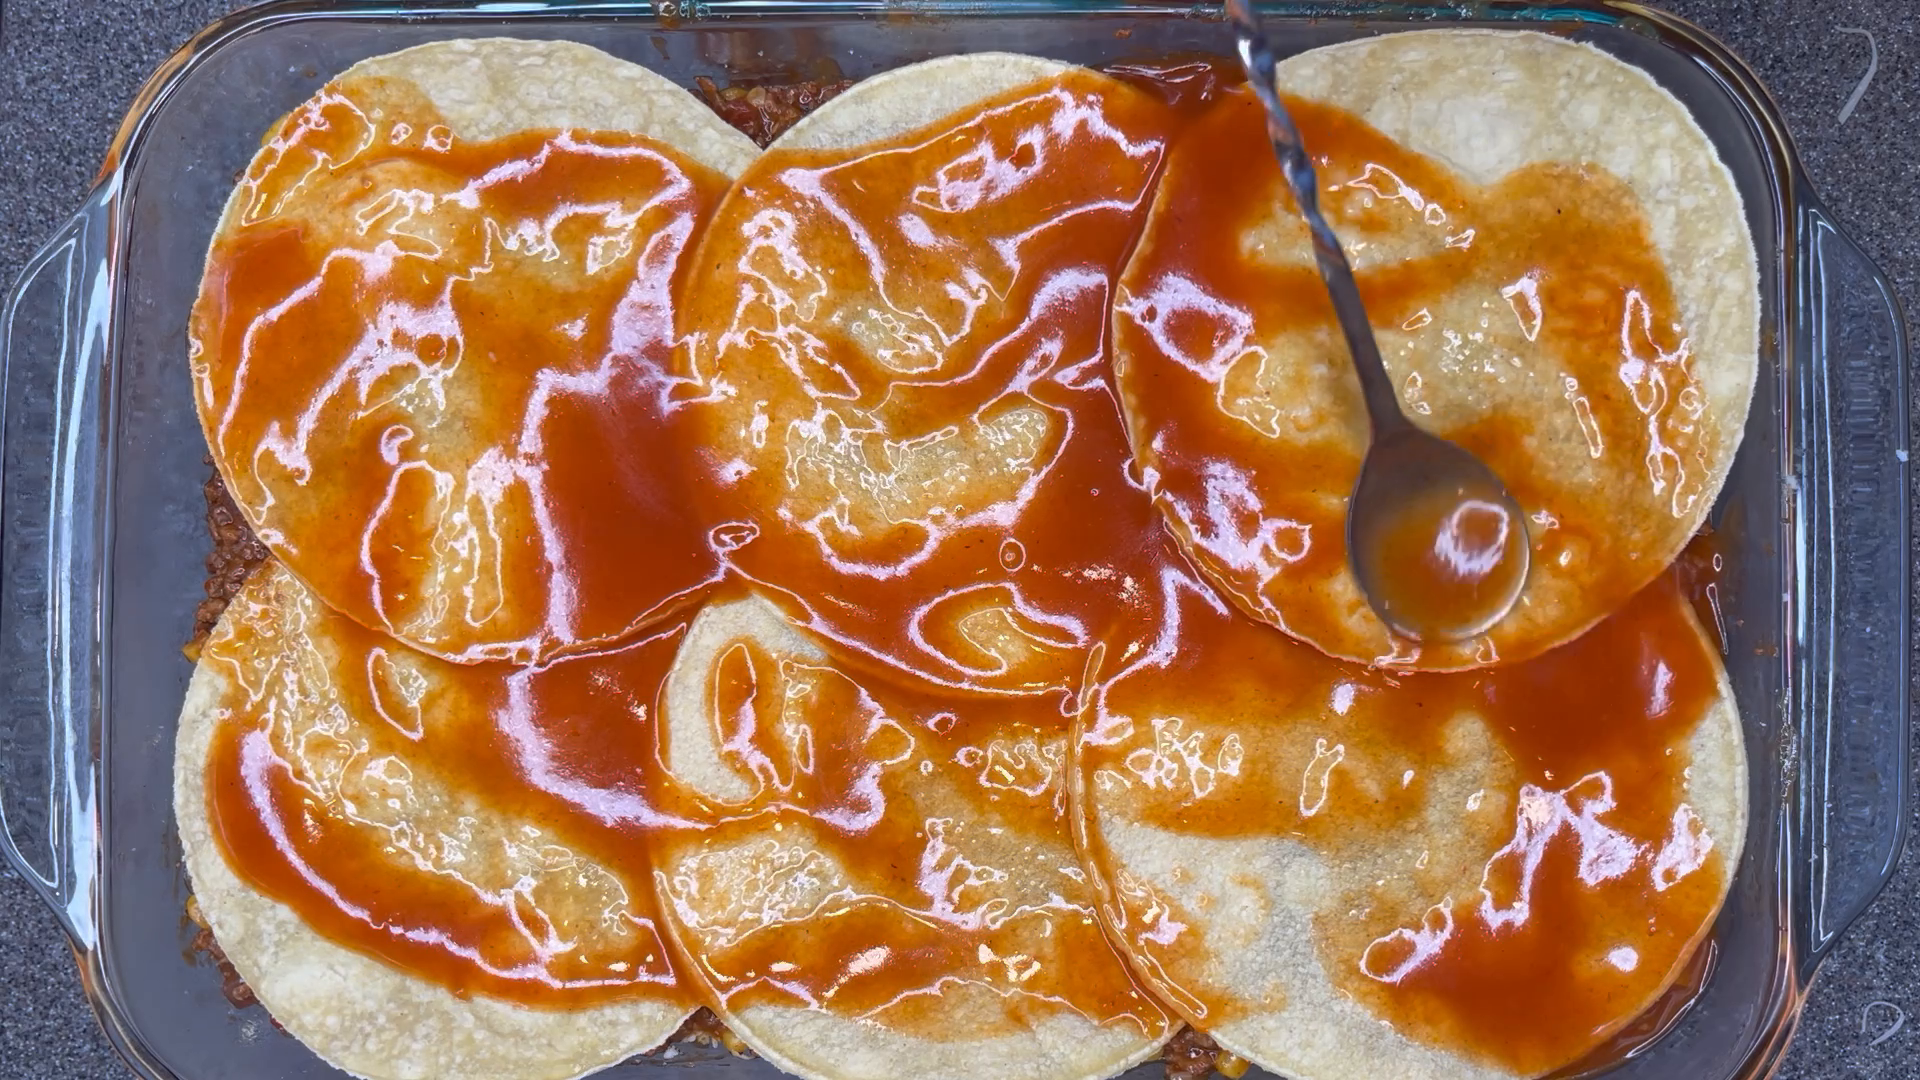
Arrange the final tortilla layer and spoon the reserved sauce over it. Spread the sauce across the surface and toward the edges so the upper tortillas are moistened rather than left exposed.
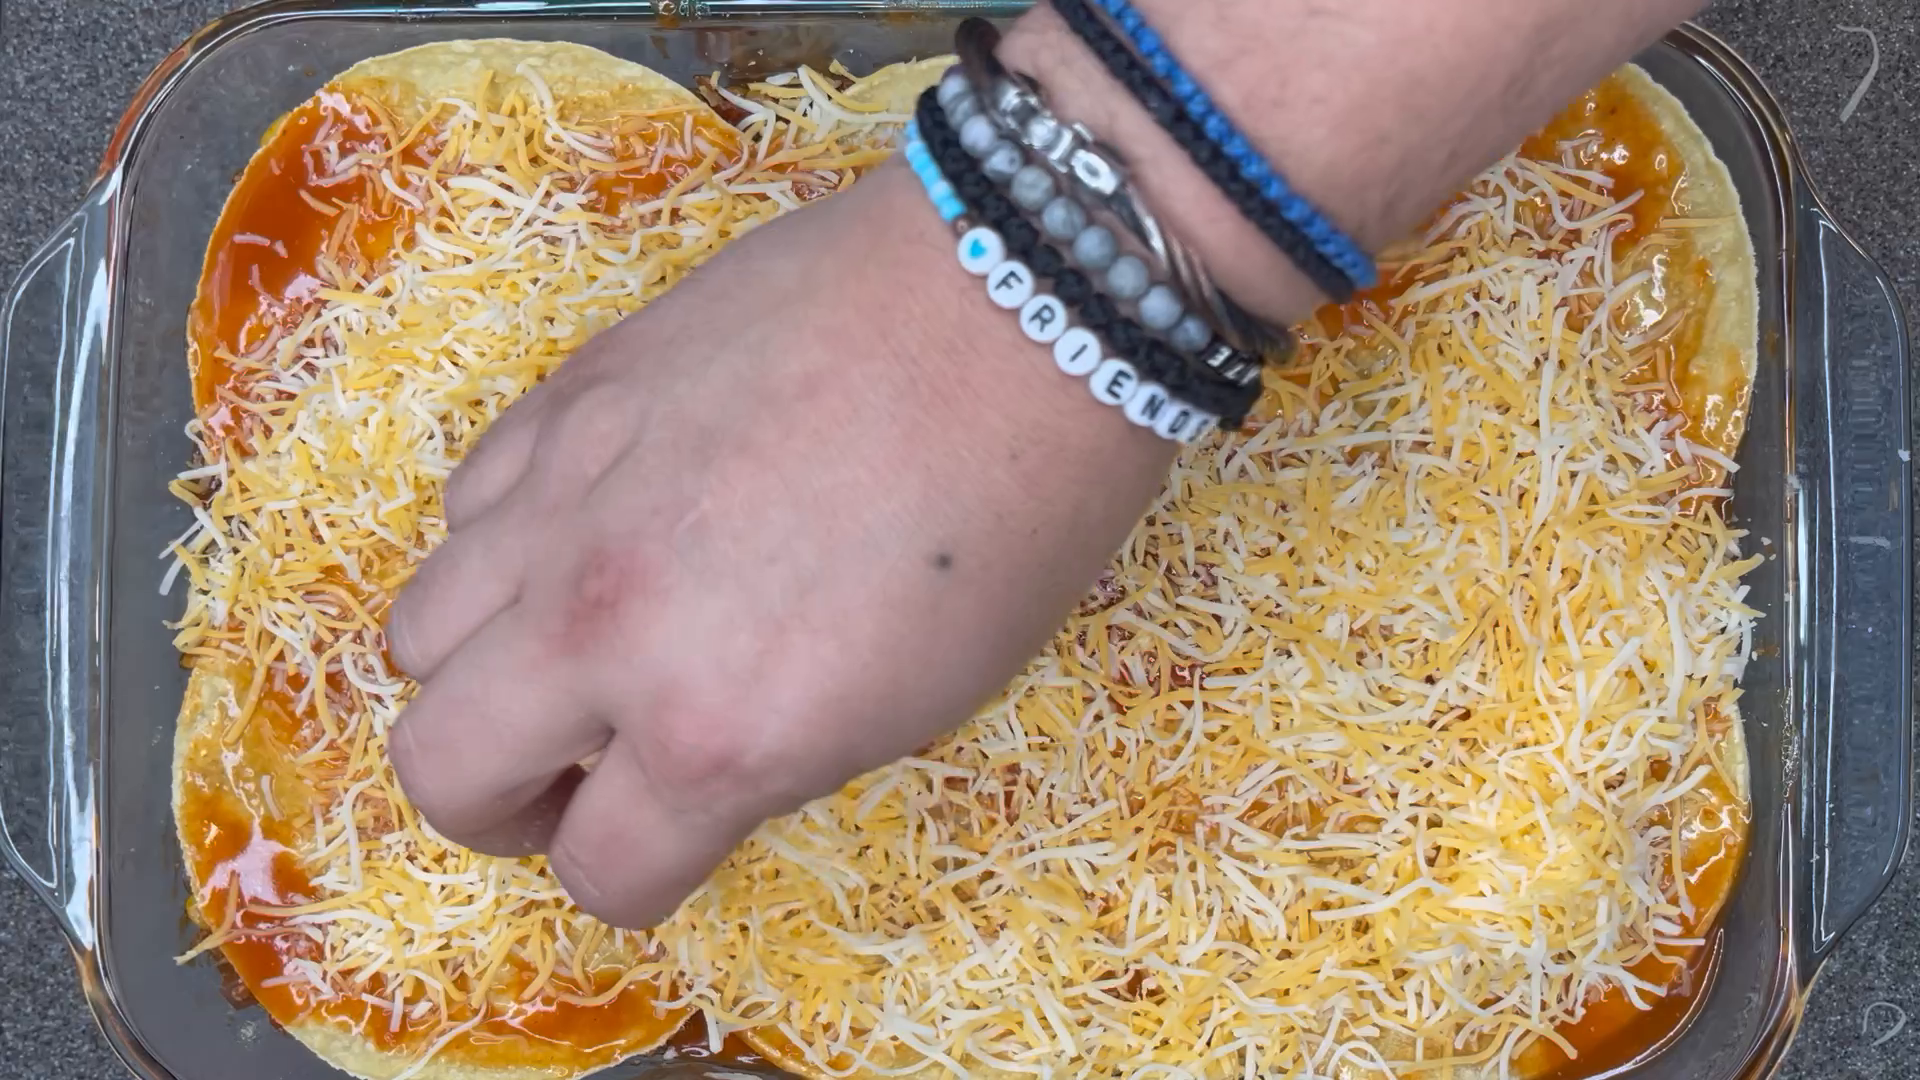
Scatter the remaining shredded cheese over the sauced tortillas. Spread it out as you go so the middle and the edges both get a covering.
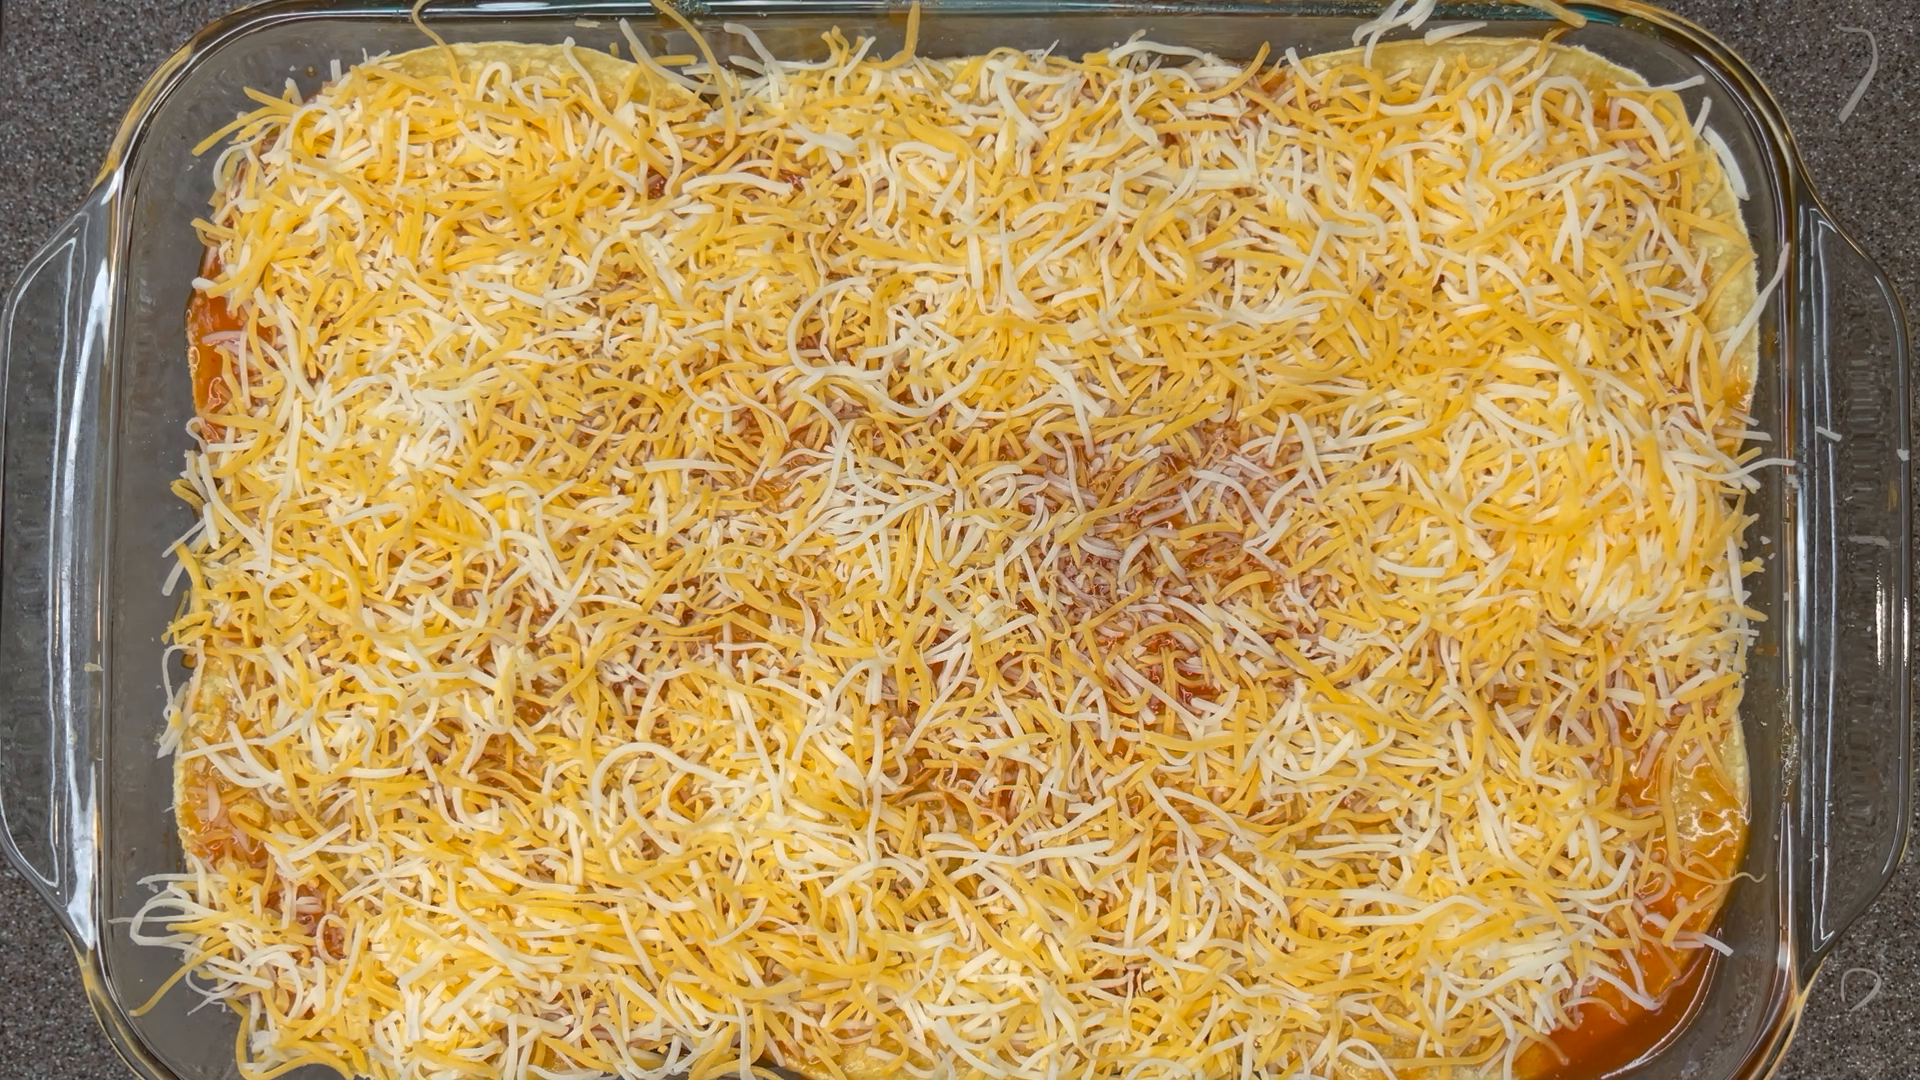
Check the surface for exposed patches of tortilla and redistribute the cheese where needed. The sauce and cheese work together here: they help keep the top from drying out before the casserole is heated through.
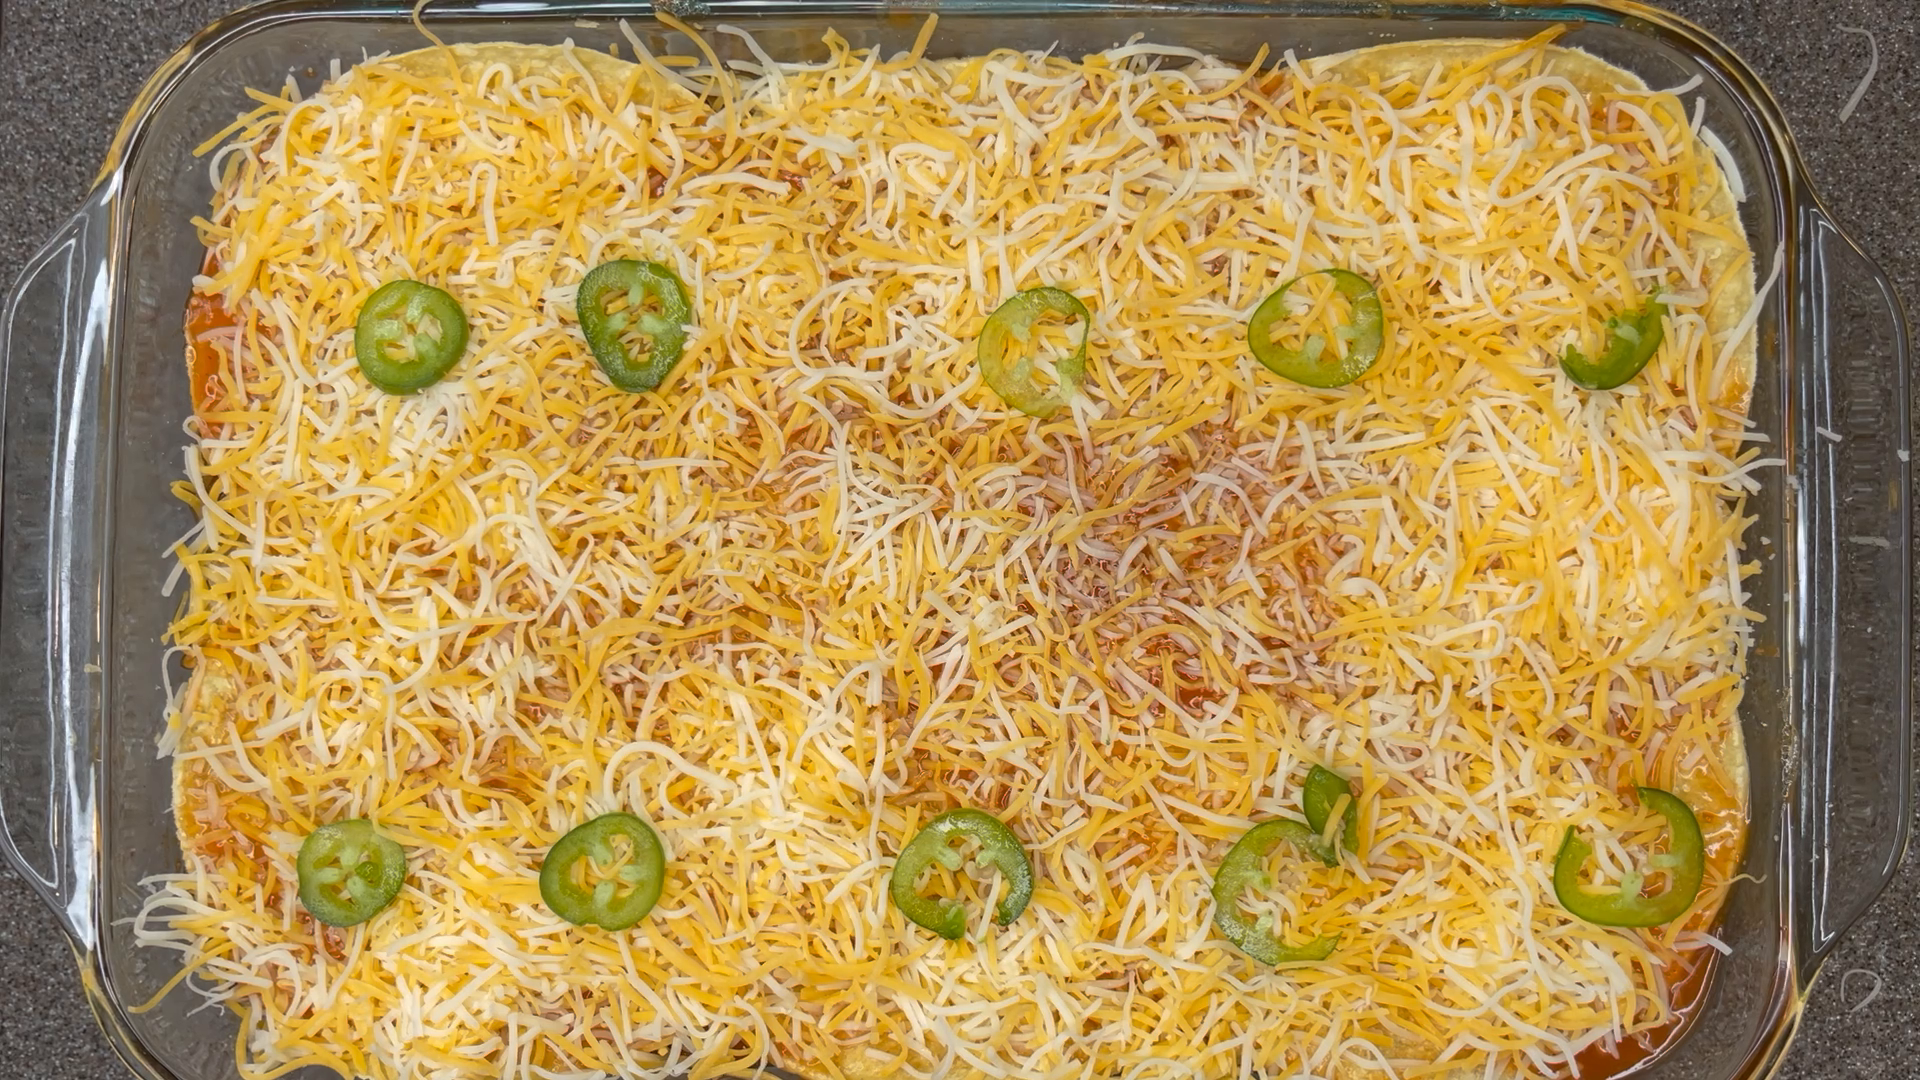
If you want the green pepper rings shown here, arrange thin rings over the cheese before covering the dish. They are an optional finishing touch; the important part is that the tortilla surface underneath is covered.
9. Bake covered, then brown
The casserole gets a covered bake first, followed by a short uncovered finish to brown the cheese. Be careful when removing the foil because hot steam will escape.
Cover the baking dish with aluminum foil and secure it around the rim. Bake at 450°F (232°C) for 40 minutes for the covered stage.
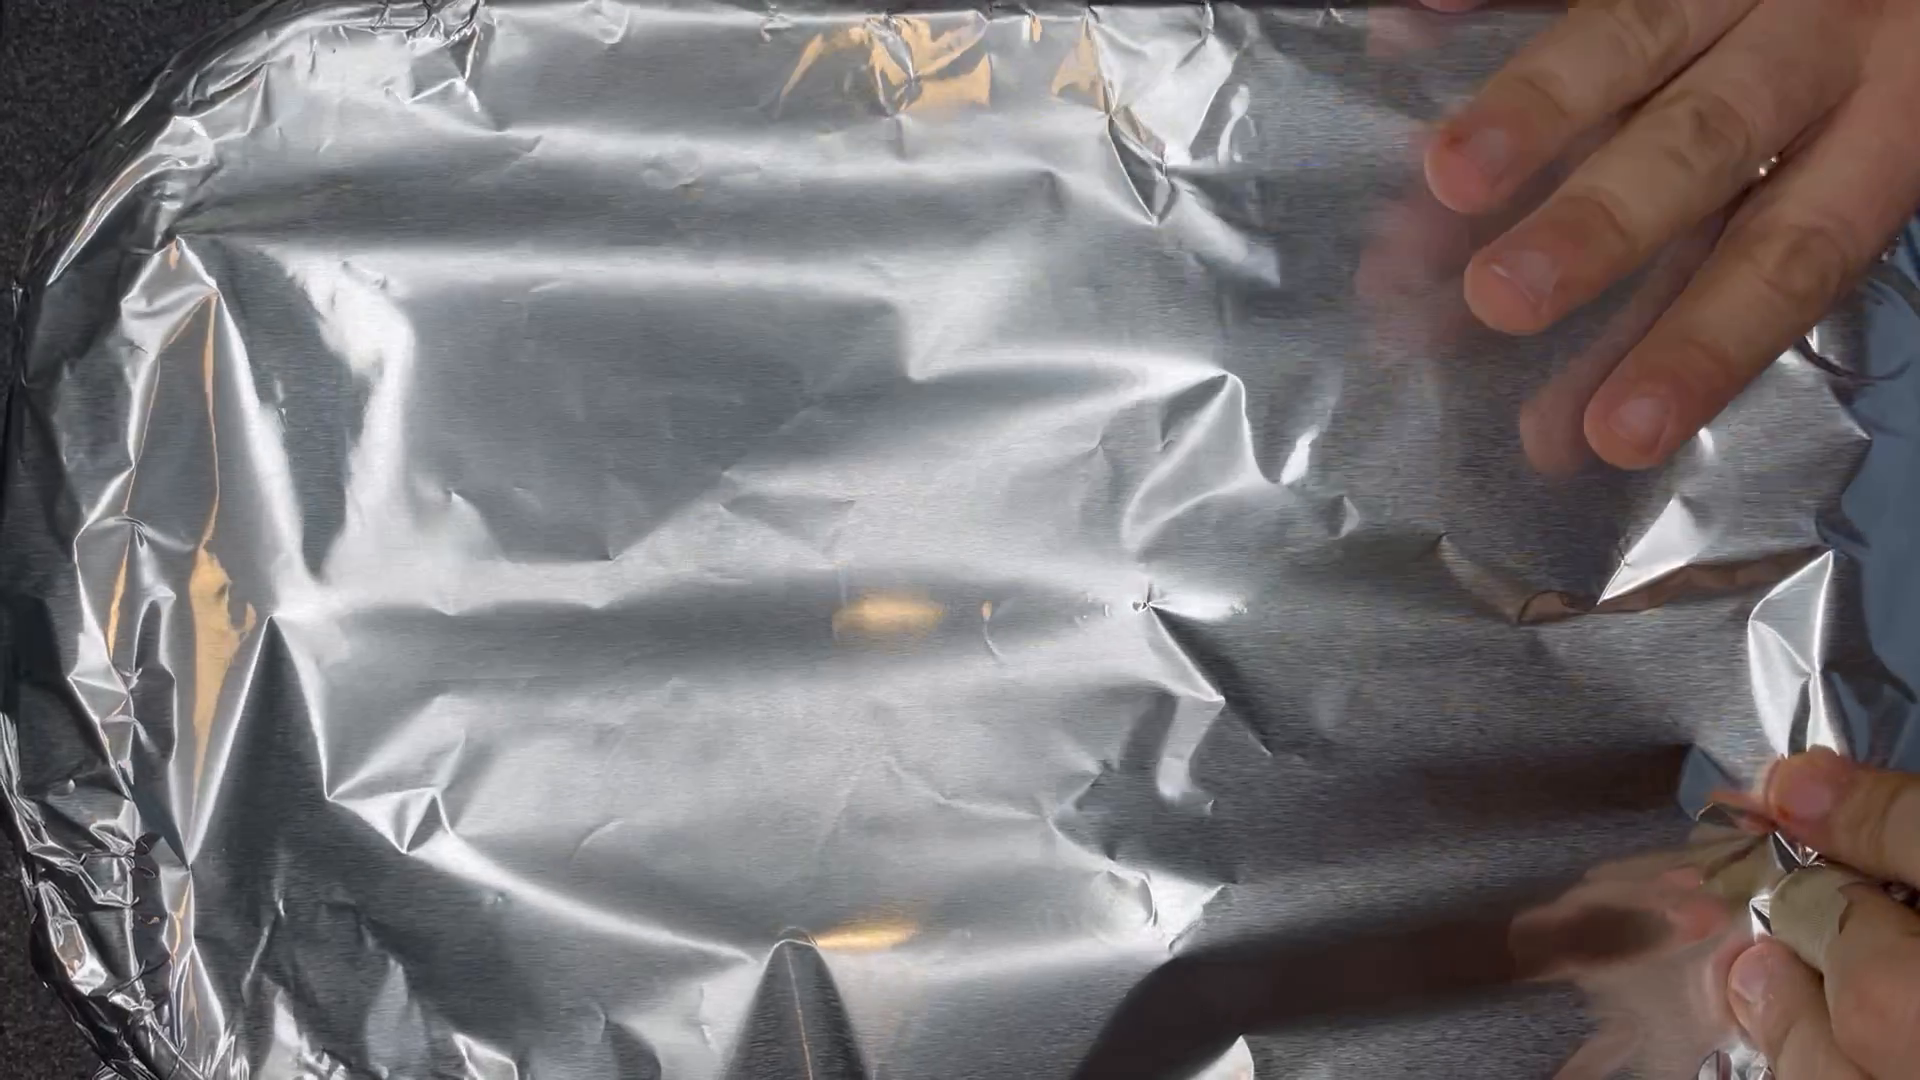
Carefully remove the foil, keeping your hands and face away from the escaping steam. Return the casserole to the oven uncovered for approximately 5 minutes, just until the cheese has melted and taken on some color. Watch the surface rather than treating the last five minutes as a promise.
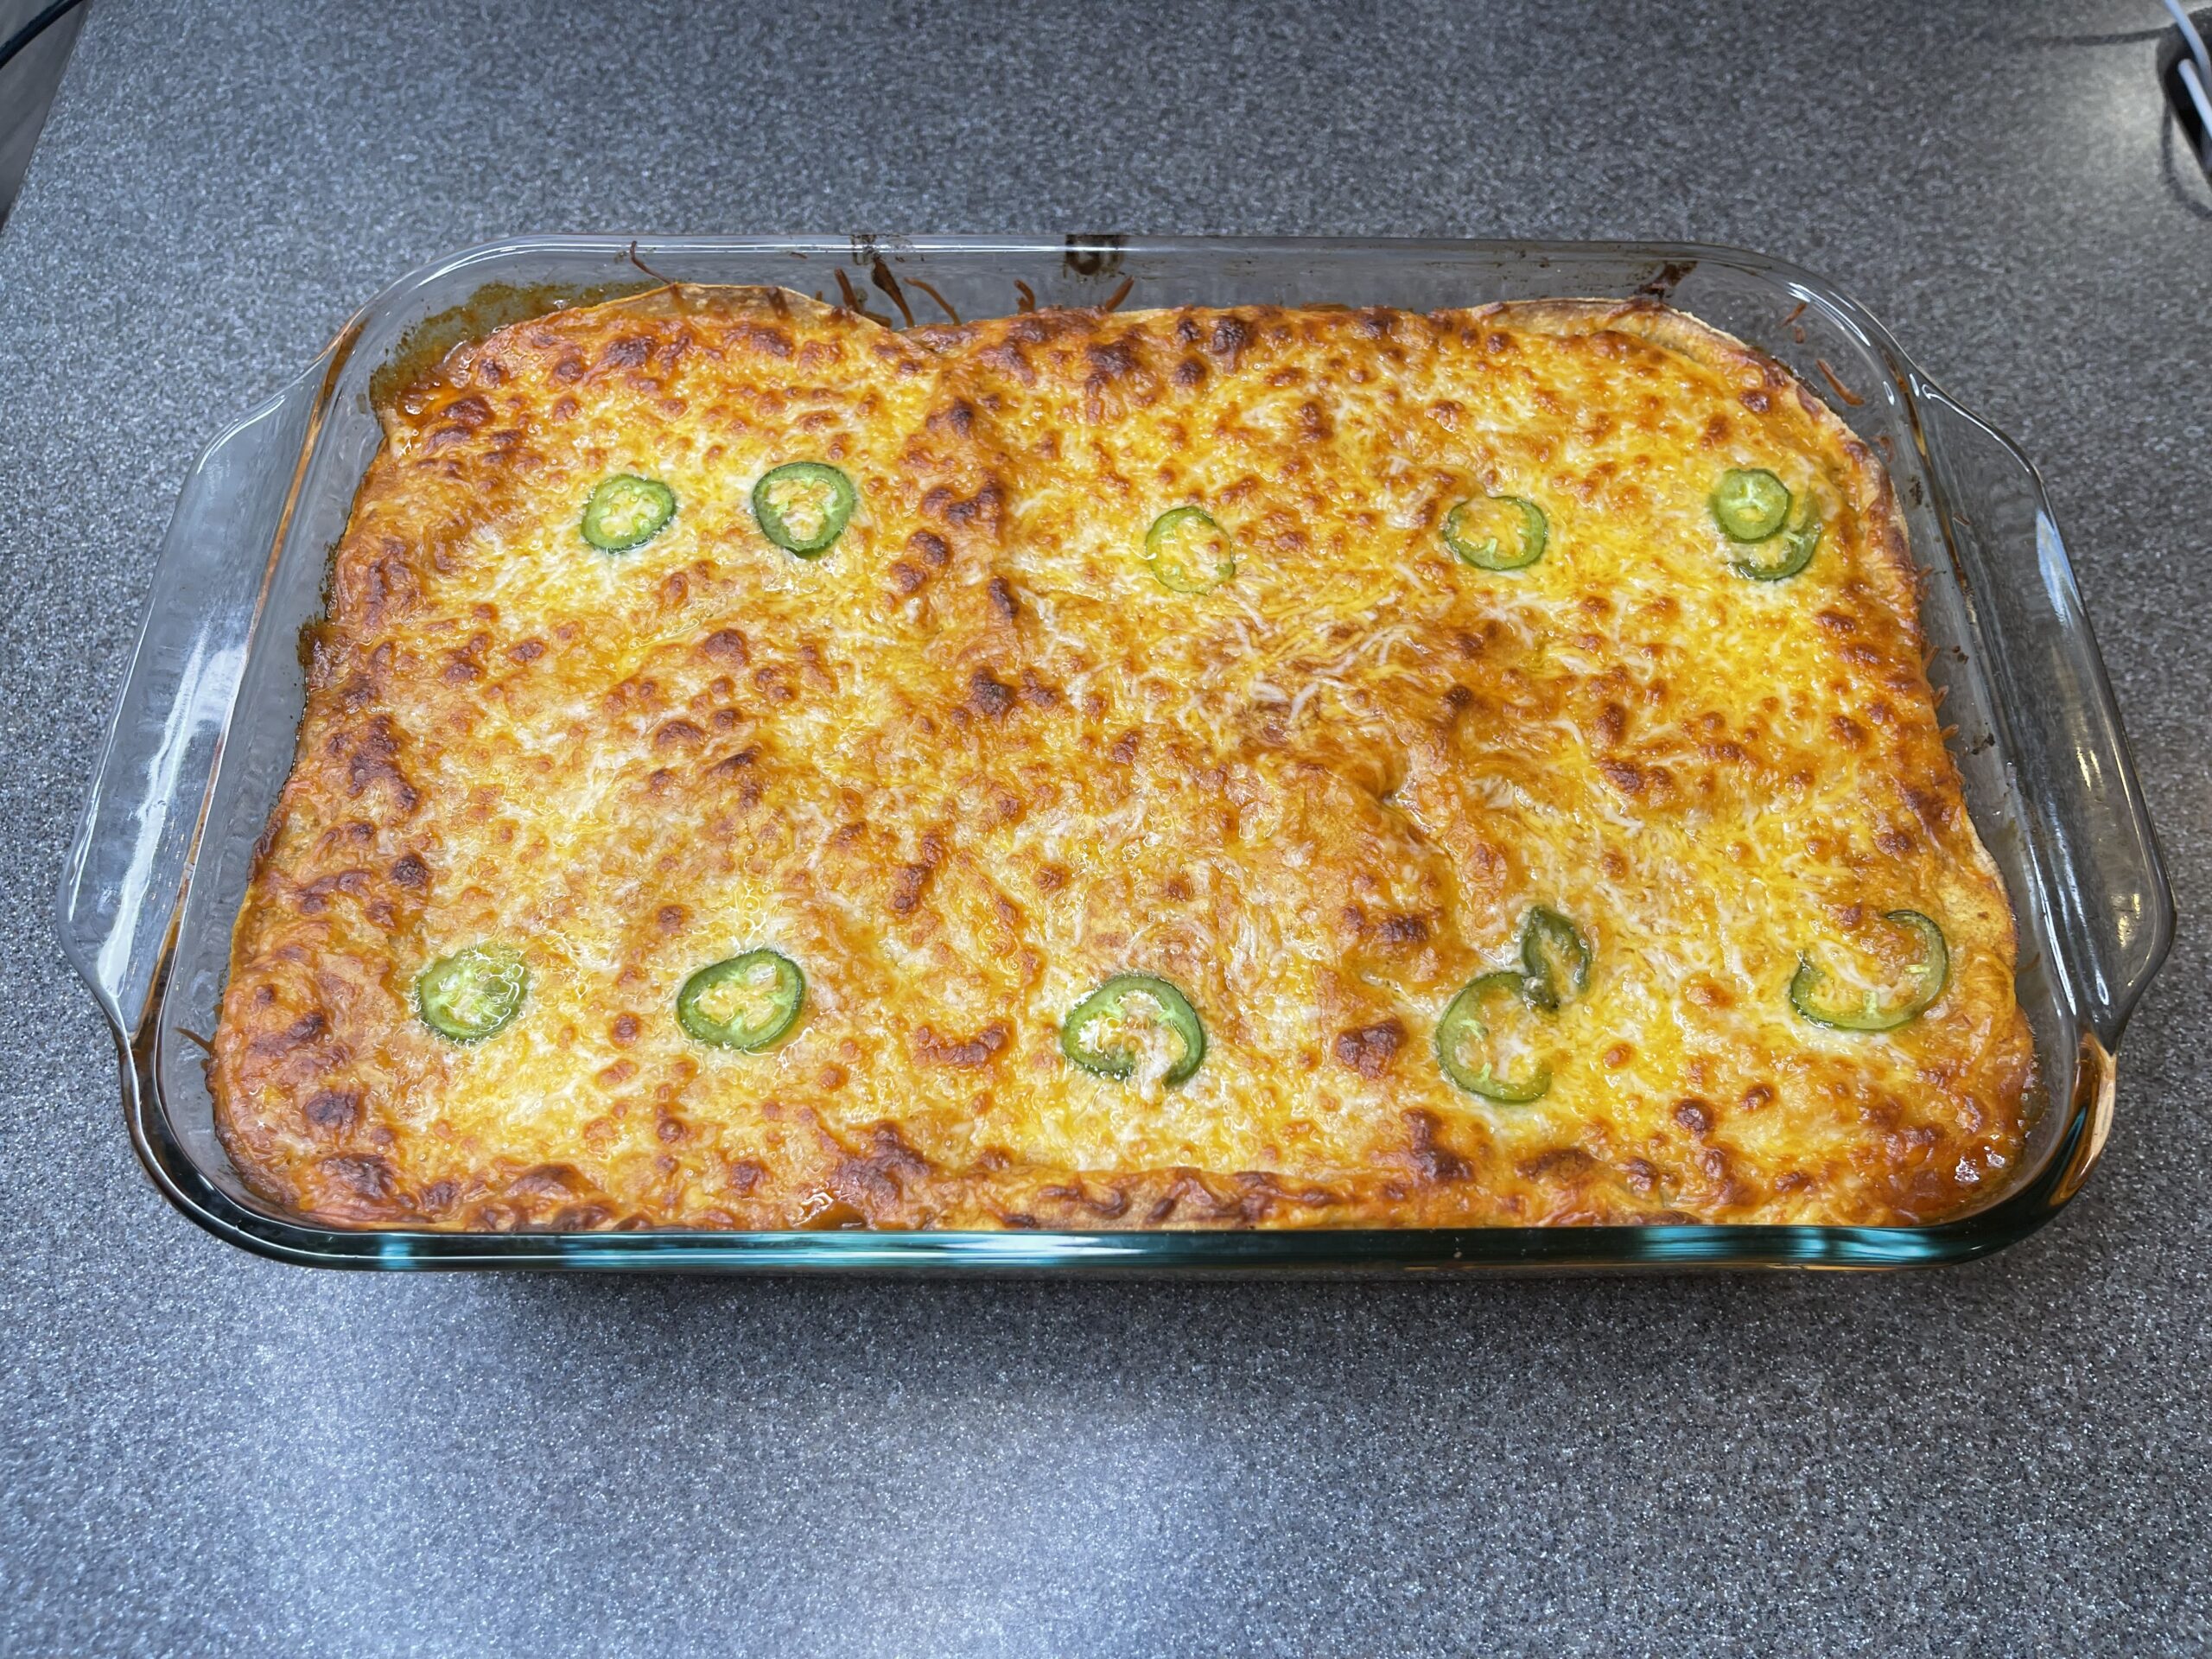
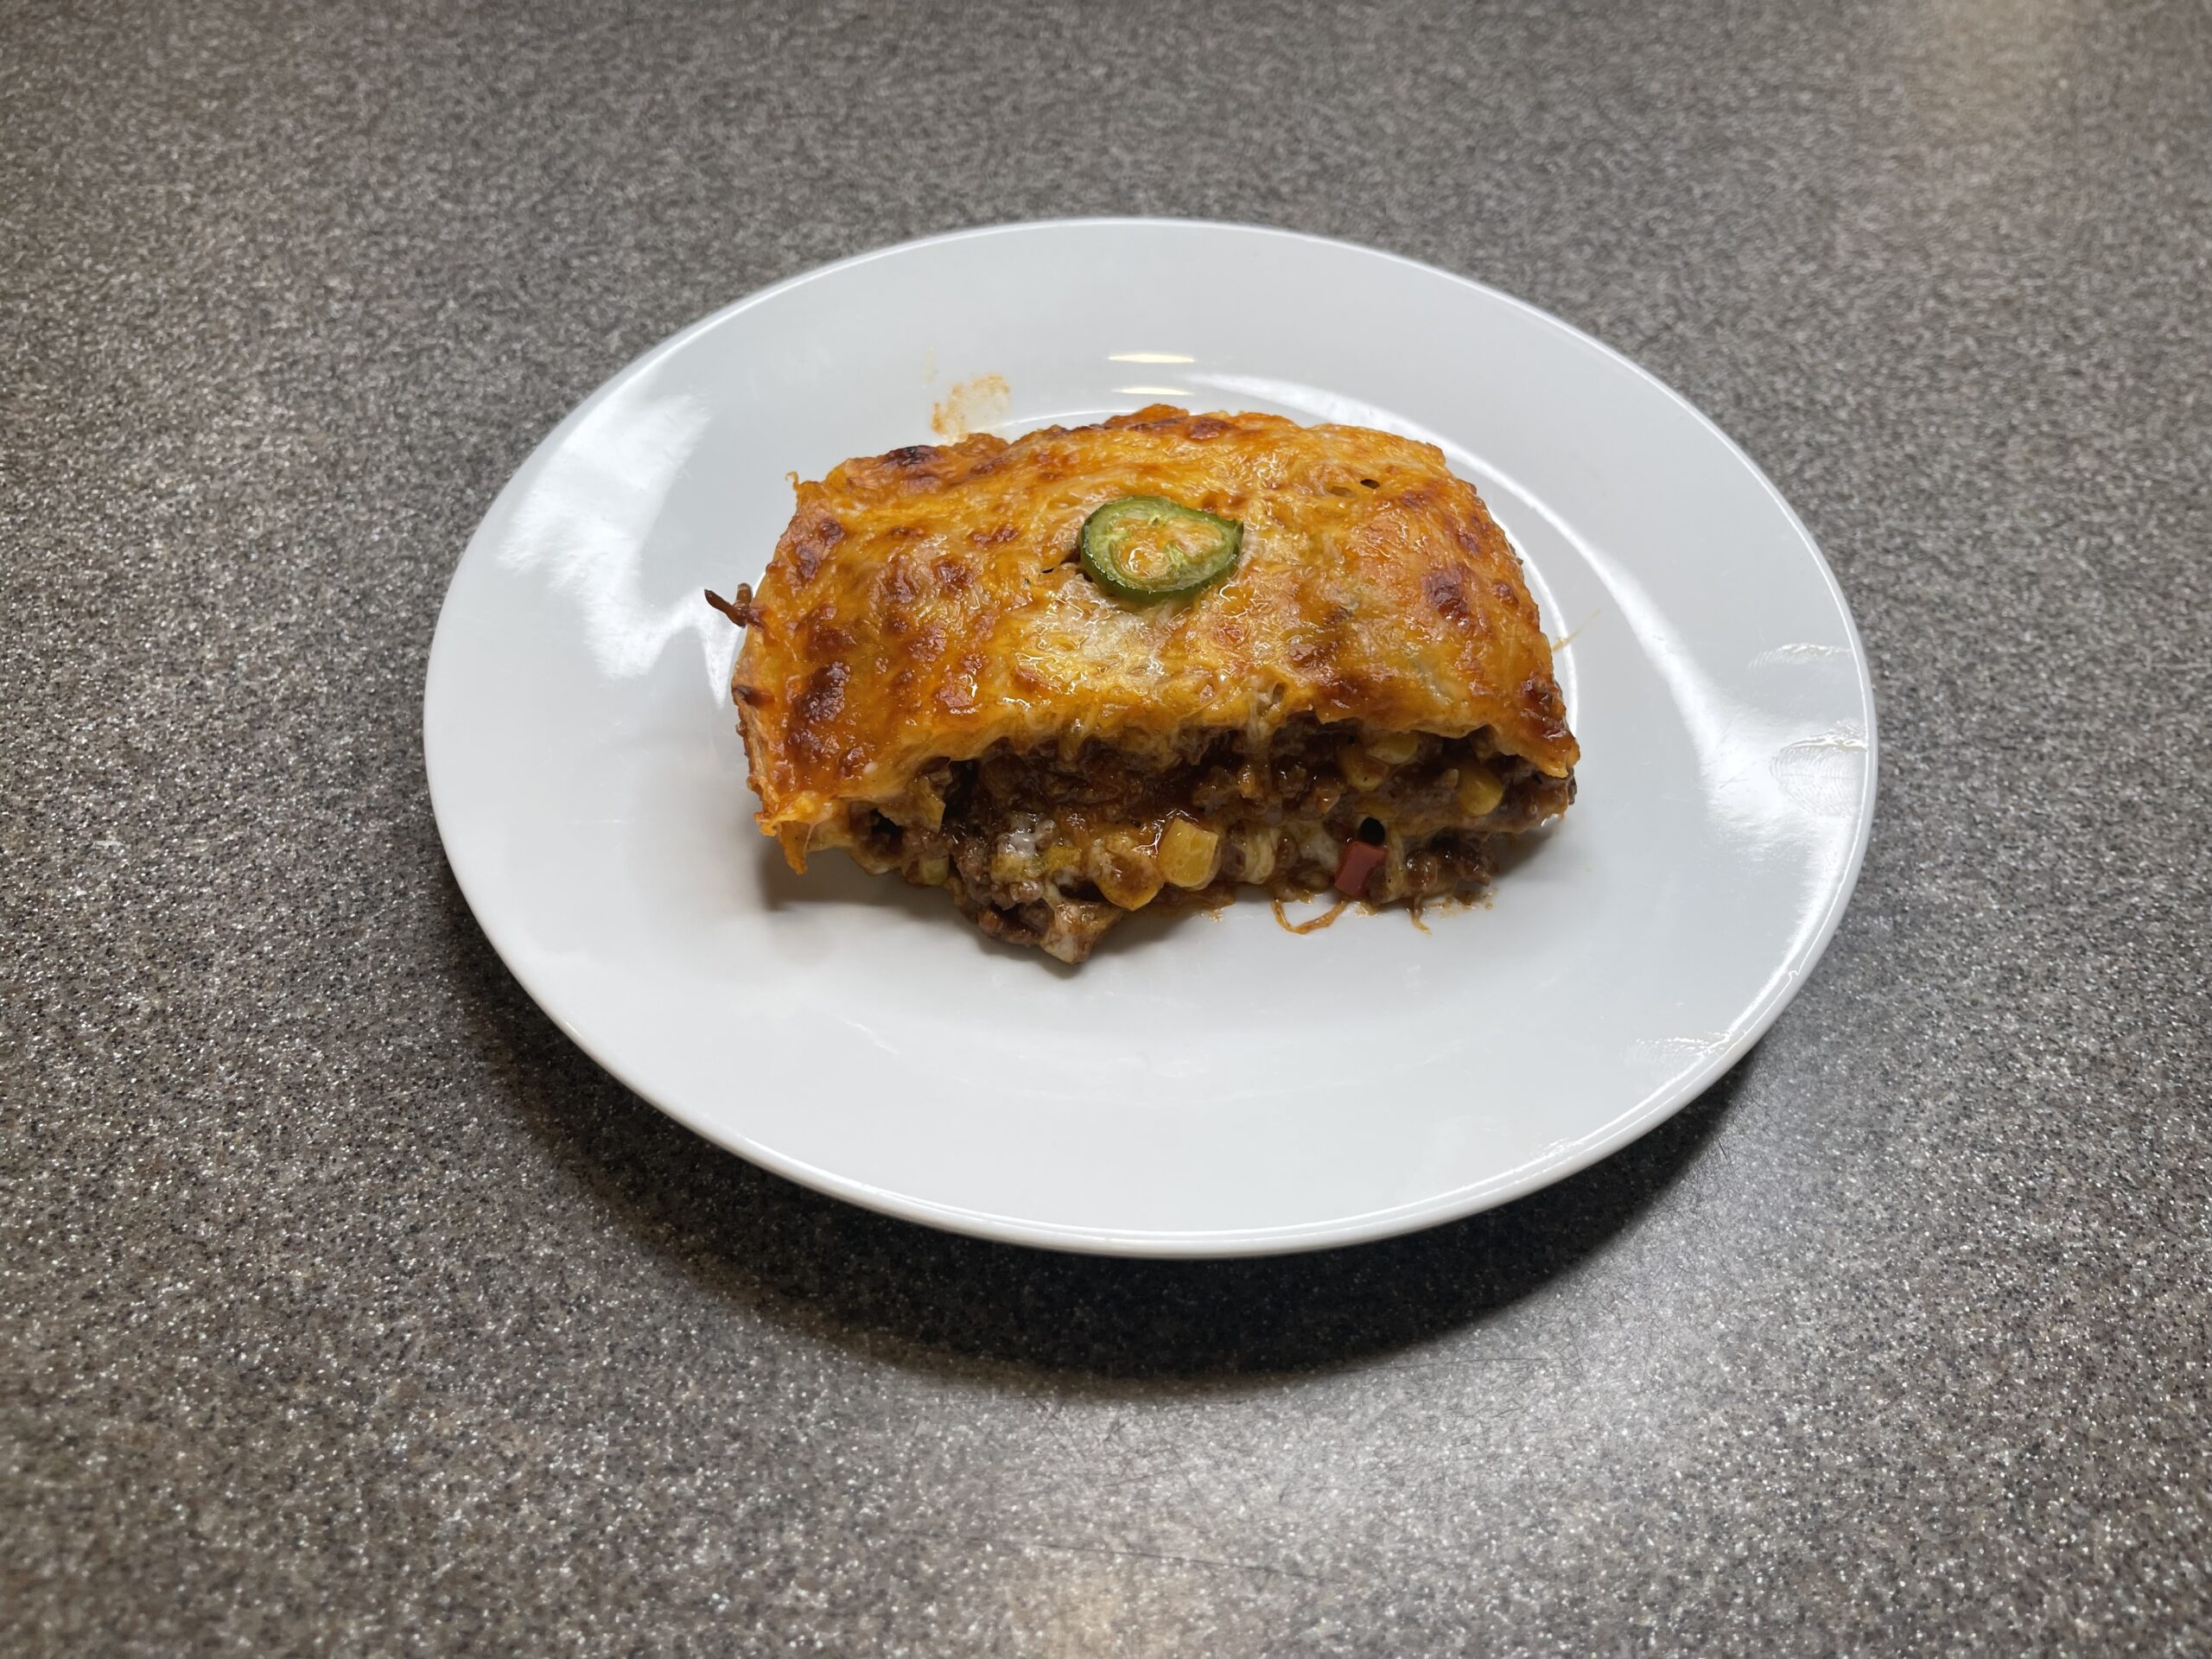
Let the casserole settle briefly before cutting through the tortilla layers. Slide a wide spatula underneath each portion to lift it onto the plate with the layers together. It may not be Mexican, and it may not be lasagna, but it is ready for dinner.
A little science behind the casserole
Water is the enemy of browning. As long as the pan is full of liquid from the beef, much of the heat goes toward evaporating water instead of creating a deeply browned surface. Once the moisture has cooked off, the meat can reach higher surface temperatures and develop more flavor through browning reactions. Browning in batches would be more efficient, but patience works too.
Moisture matters a second time when assembling the dish. The corn tortillas absorb some of the sauce during baking and soften into layers, but excessive free liquid can leave the casserole soggy. That is why I like vacuum-packed corn and why I let the meat mixture simmer a little before layering it.
The covered bake traps steam and helps heat the casserole evenly without drying the upper tortillas. During the last five uncovered minutes, some surface moisture escapes and the cheese can begin to brown. The cheese itself is not just a topping: with lean beef, it provides much of the richness and texture of the final dish.
Make it your own
This is not a dish with strict rules. Make it hotter with more chili or adobo, add beans, swap in other peppers, or use the cheeses you like. Just be mindful of water and salt. The whole point is an easy, hearty, slightly ridiculous combination of culinary traditions that works beautifully at the family table. It may not be Mexican. It may not be lasagna. But it is absolutely dinner.