


In the Previous post, we discussed the process of making ice, the tools and the techniques. However, we were left at the most interesting point. What is the best ice and for what application? General purpose ice, cocktail making/shaking, cocktail serving, whiskey tasting etc. This is what we are addressing now. We will see what are the evaluation criteria, and how we can pick the best ice type for each application.
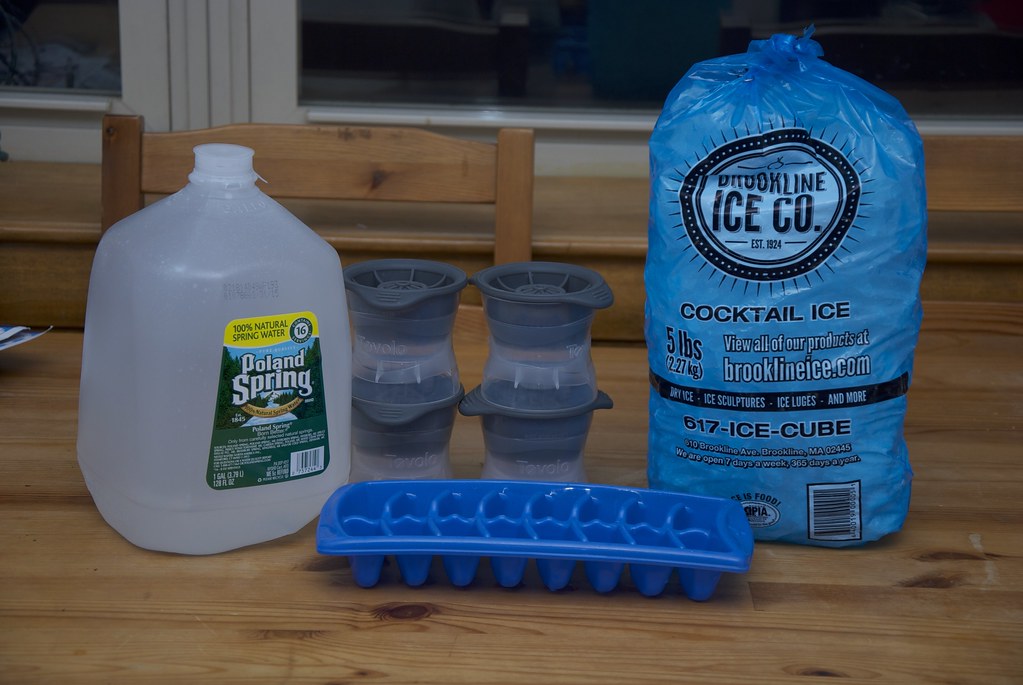
The ice evaluation experiment will compare the regular ice cubes we make in our refrigerator with the regular ice tray, the sphere ice, the store purchased ice and the whiskey rocks. Whiskey rocks are not as popular but they gain momentum. They are used for whiskey were you want to chill it so the alcohol does not overpower the aromas, and also do not dilute it. I am using in this experiment the sphere ice molds by Tovolo. They consist of a hard shell bottom part and a soft silicone cover. I like them because they are easy to use, they are yielding consistently a perfect sphere. I will review them in more detail in a subsequent post.
Experimental Protocol
The “experimental” part will have the following procedures:
- Making the ice:
- Use the same high-quality store-bought water for the ice trays and the ice molds
- Boil the water
- Keep it at the boiling point for 10 mins
- let it cool down to 65 °C
- Fill the trays and the mold
- Freeze them for a minimum of 2 days
- Experimental procedure
- Place an equal amount by weight of ice in each glass (record the weight)
- Follow that with 1.5 oz (44 ml ~ 43 g) of vodka that will be poured right over the ice
- Measure the temperature of the container at the bottom of the glass close to the side every minute
- After 10 mins strain the liquid
- Weight the liquid
- Weight the ice
- Data analysis
- Estimate the percentage reduction of the temperature as a function of the time
- Estimate the total ice melt at the end of the experiment and find out the dilution factor
- Estimate the reduction of the temperature in percentage
- Evaluate the Cool Factor (CF) CF=Temperature Reduction(%)/Dilution Factor. The higher the CF factor the better the ice that is used in terms of maximum cooling and minimum ice melting
- Rank the ice in order of the highest CF
- Rank the ice in terms of the cooling rate: How fast it can cool the drink
- Rank the ice in terms of the dilution factor
So let’s get started:
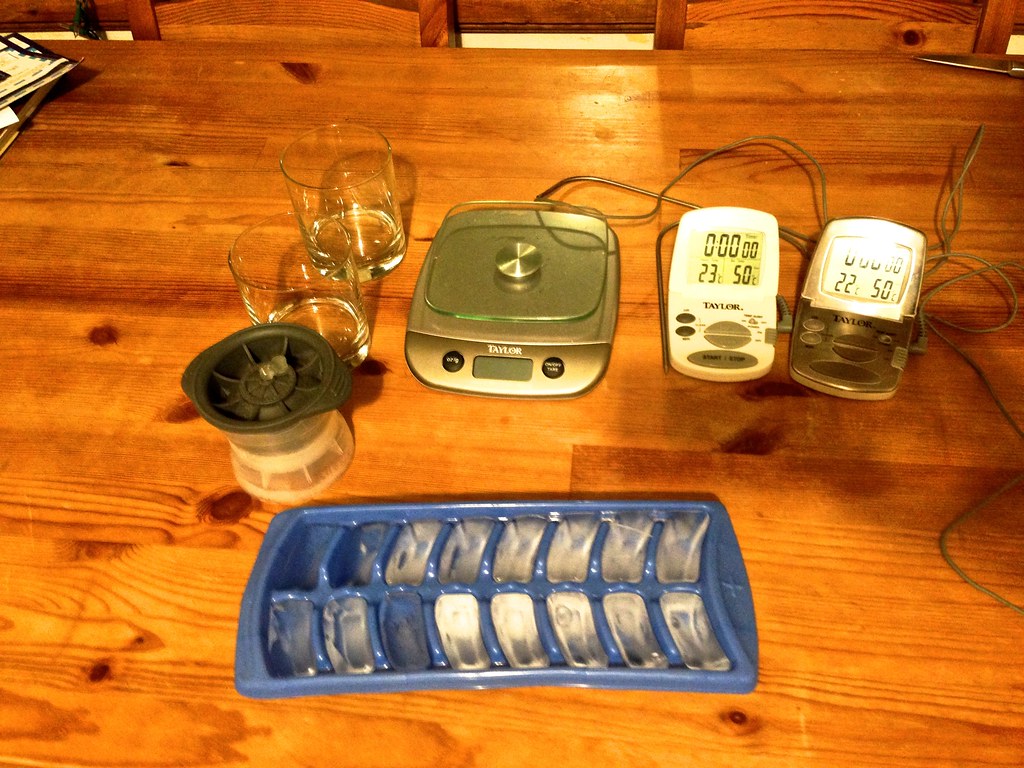
We will need:
- Software
- Water: I use good quality water to keep variations to a minimum. But always keep in mind that ice melts and becomes part of the drink. It will become a drink. So the quality of the water matters.
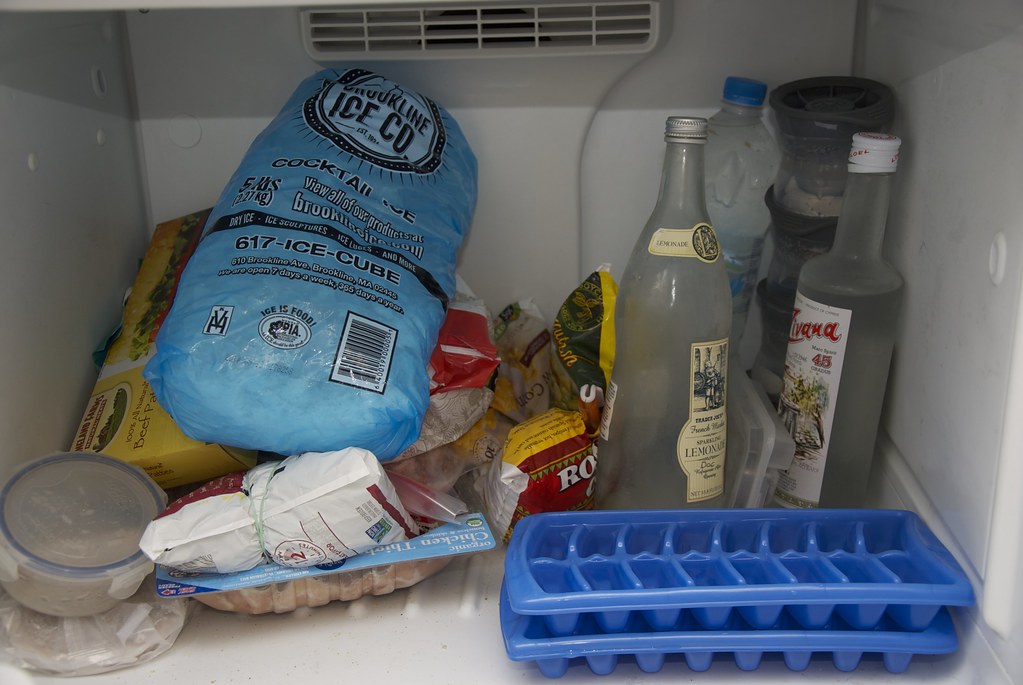
- Ice bought fresh: You can tell the quality of the ice by how it feels. If the whole thing is like a brick that is old. Good ice feels like a bag full of pebbles.
- Hardware
- Ice spheres molds
- Ice trays

Start by filling up the kettle with the water. And do fill it up. The boiling will result in huge loses in evaporation.
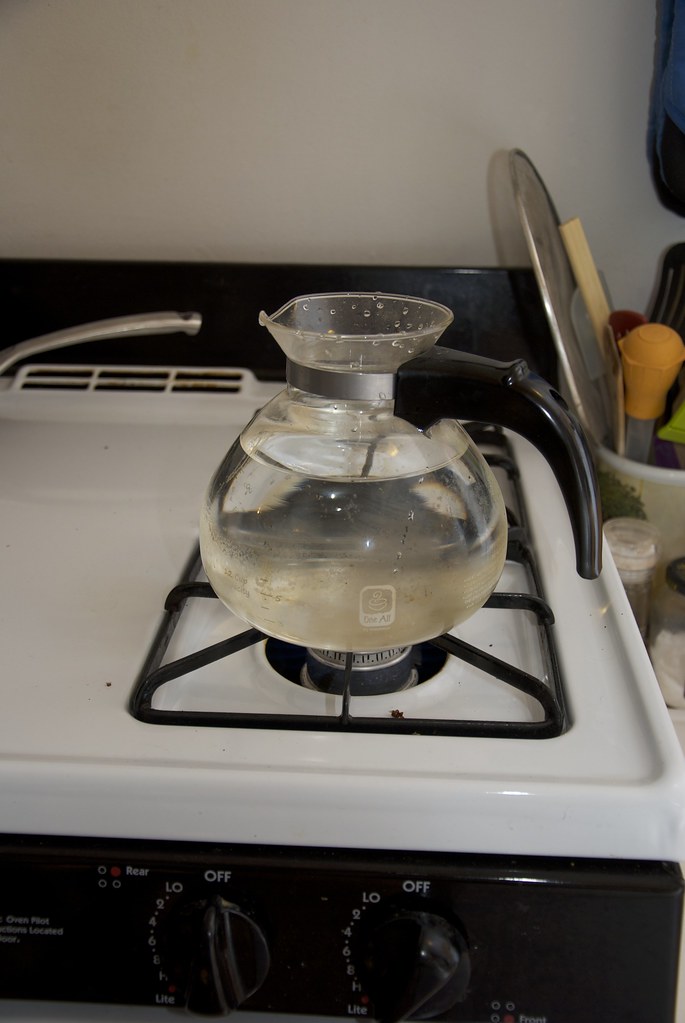
Set in on the stove and turn the fire to high.
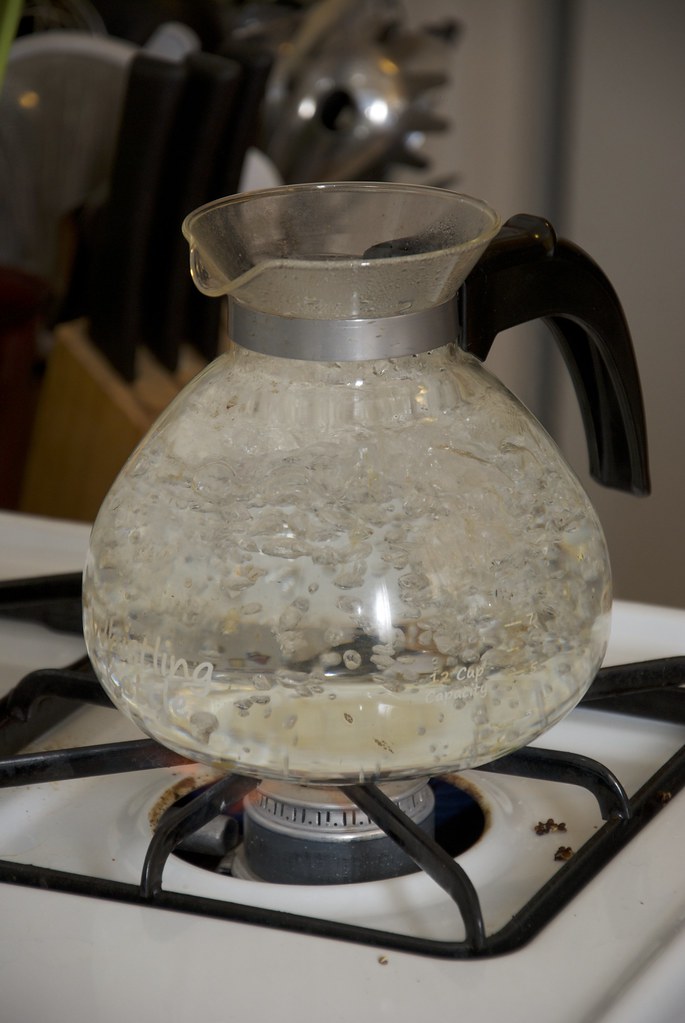
Once it hits boil let it go for about 10-12 mins.
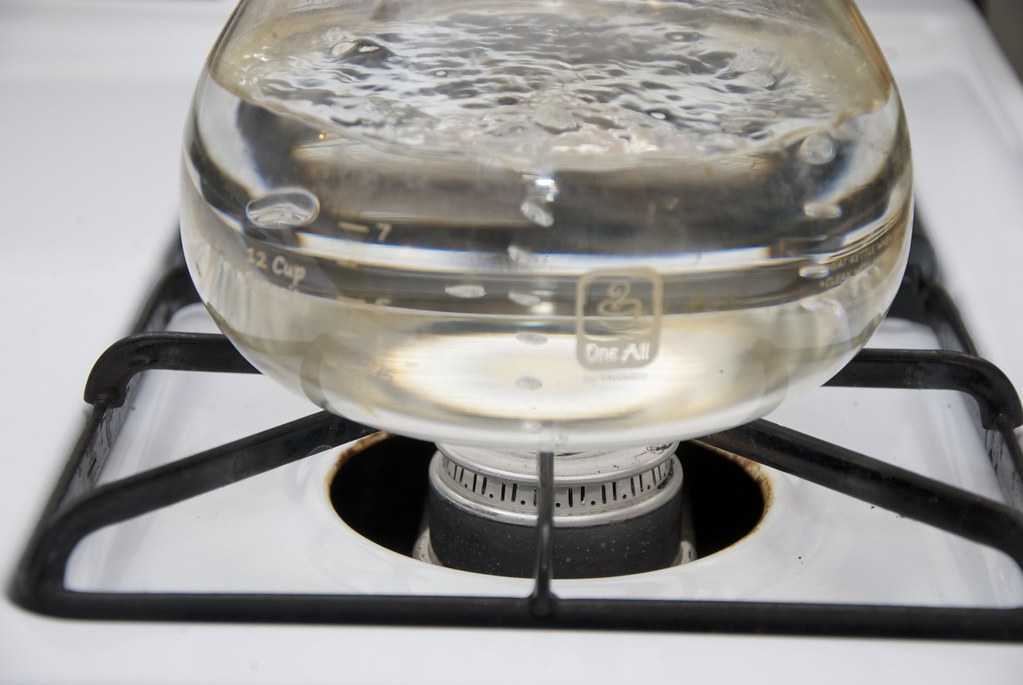
After the 10 mins are up, there is significant evaporation that occurred.
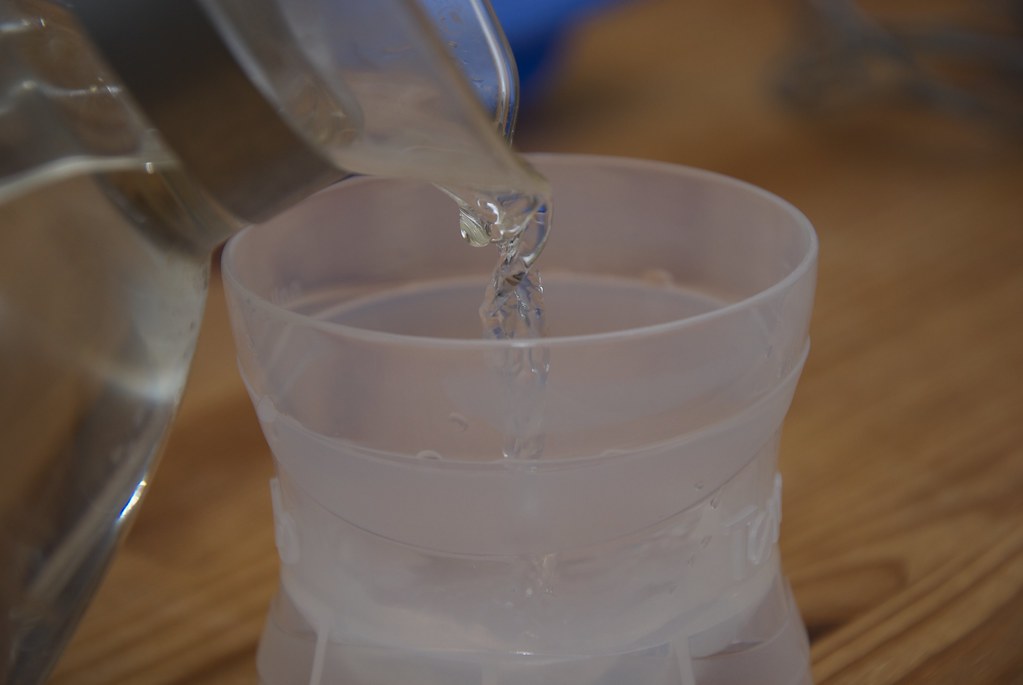
Let it cool for a while until it hits the 70 °C mark. And fill up the molds
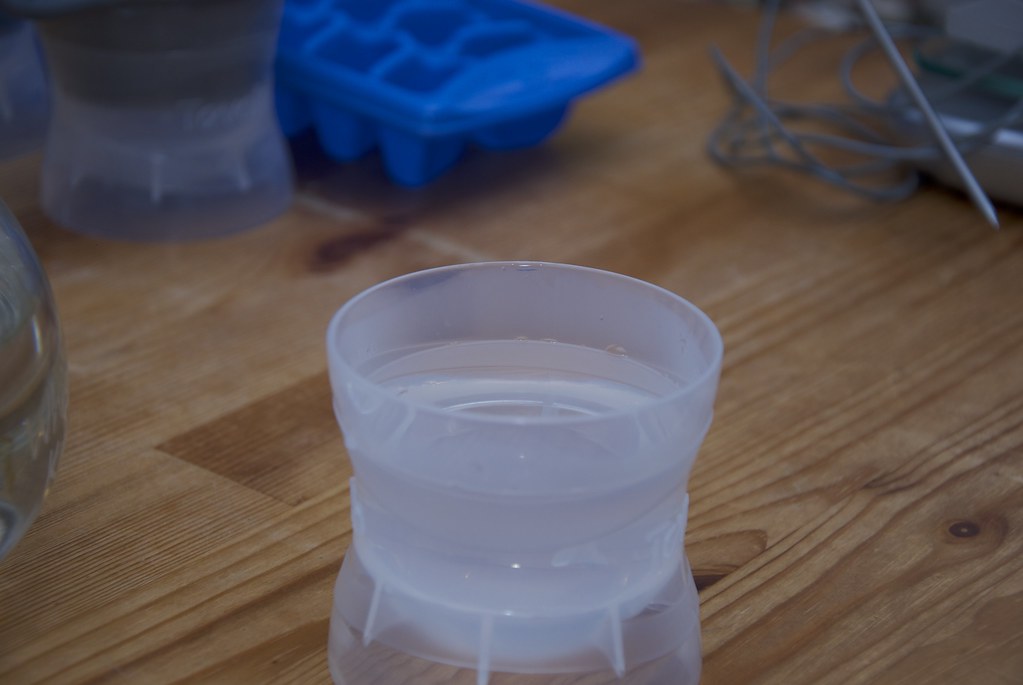
Fill it up to the mark accord to manufacturers instructions.
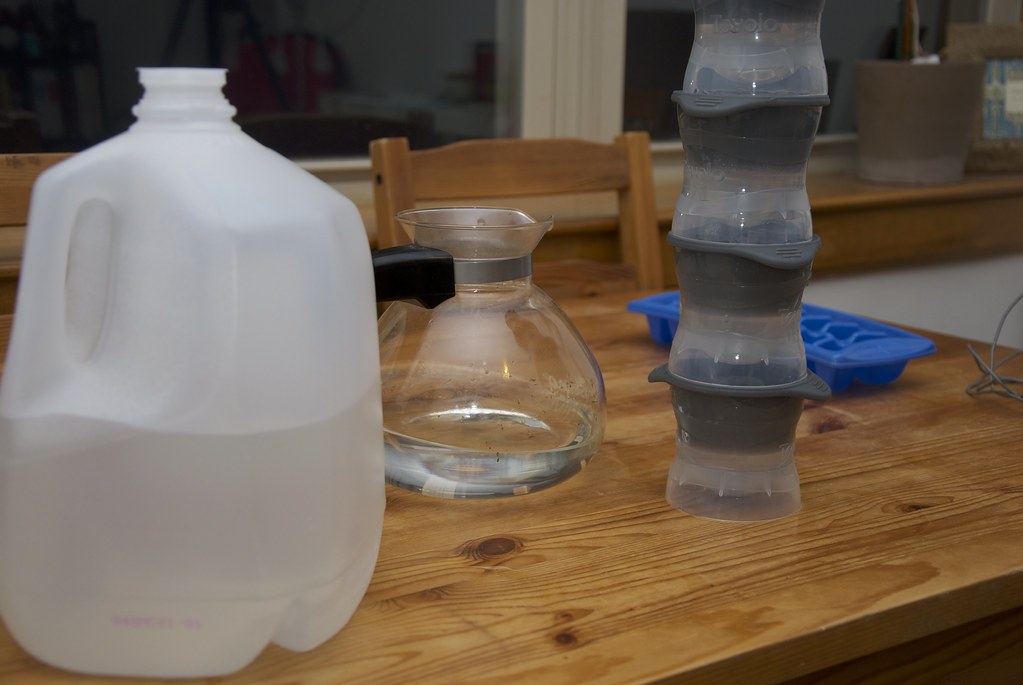
I like Tovolo because they stack on top of each other.
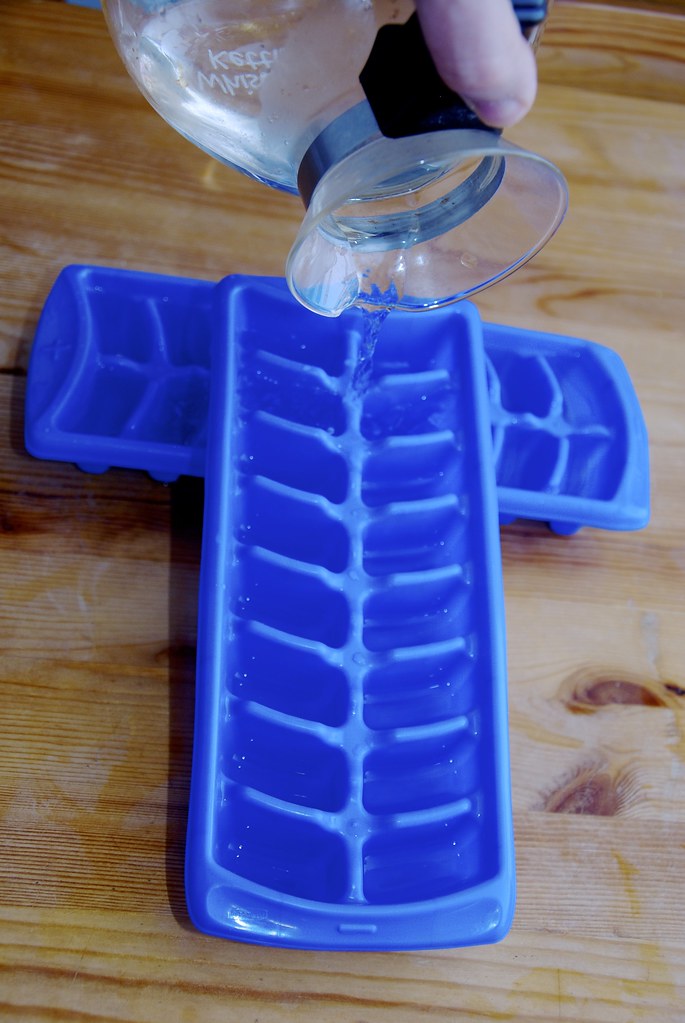
Now let’ s make the regular ice with the ice trays. And in case you don’t know it, the best way to fill them is to incline the tray about an inch (I am using the other ice tray to lift up one side) and then pour the water on the top. The water dribbles slowly and just like magic feels the tray with the same amount of water.
Return the trays and the molds in the freezer.
Tow days later…
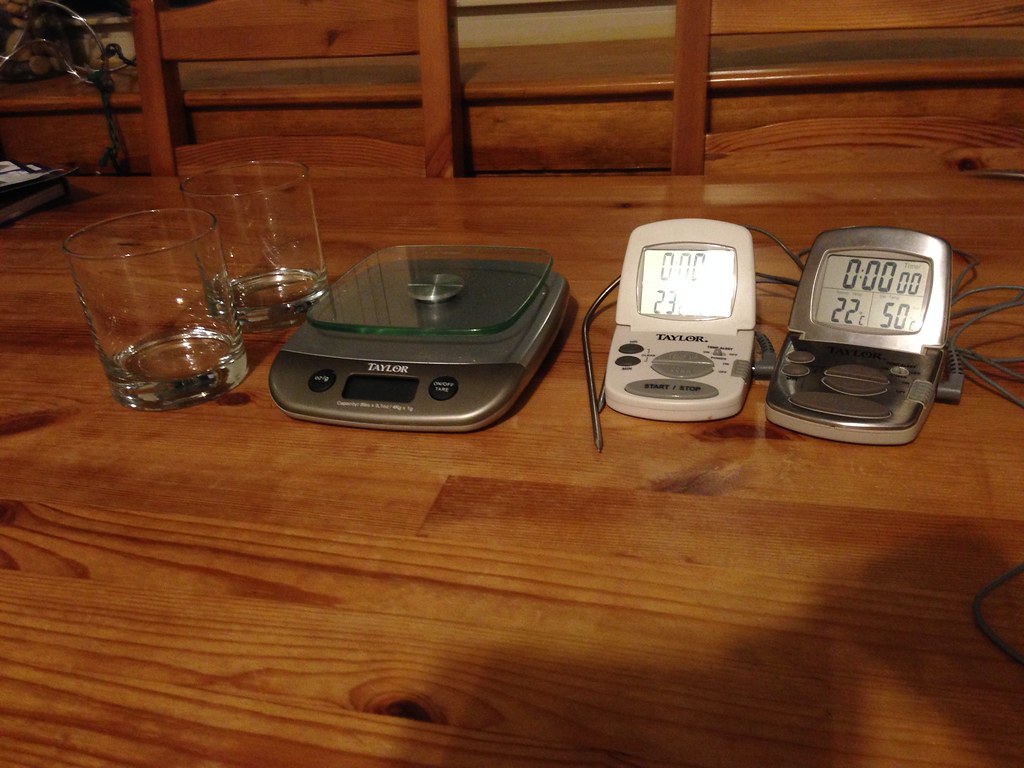
We are getting ready. Get the thermometers and the scale ready. I also use the same glass type. This is important. The drink with the ice will absorb some heat from the surrounding and warm up. In this case we make sure that the heat adsorption is the same.
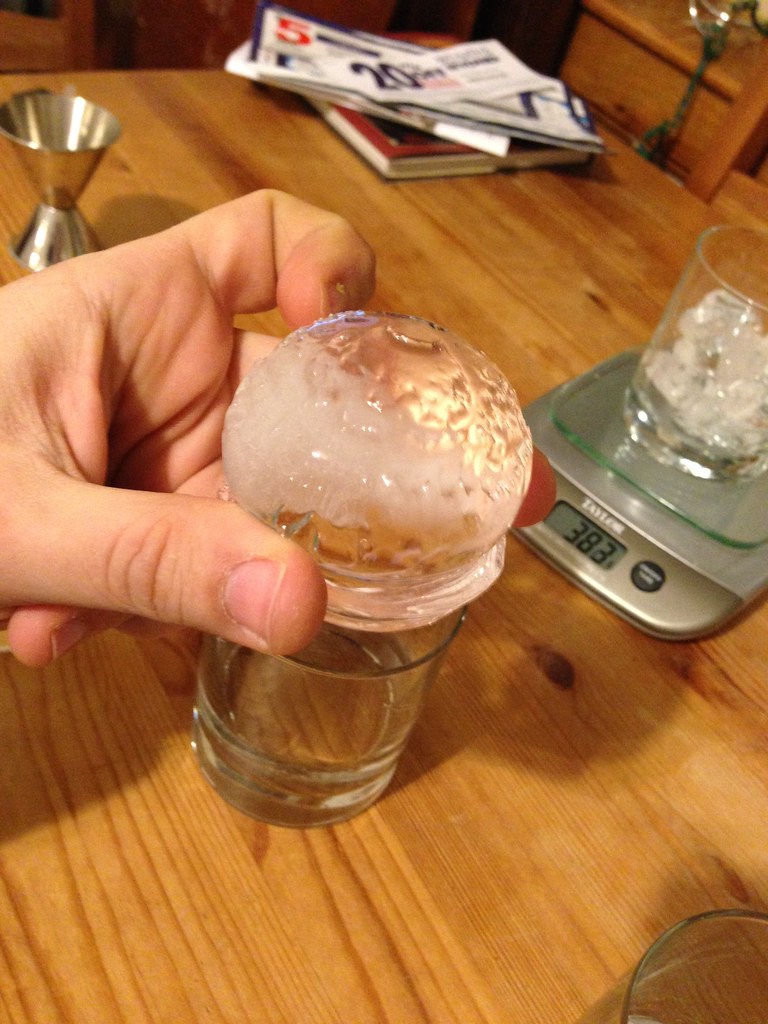
I retrieved the ice-molds and trays from the freezer.

I let them to adjust to the room temperature. This is called tempering of the ice, and it is essential. If you just use the ice the way it is, it will crack the moment it hits the liquid. It is not going to melt don’t worry.
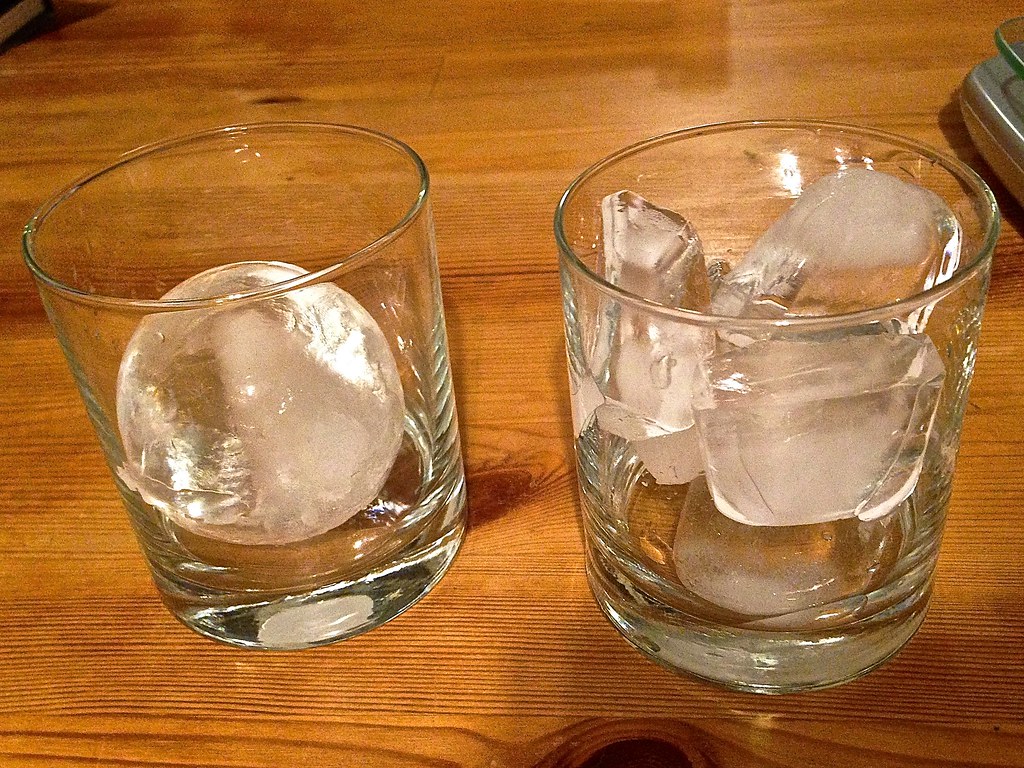
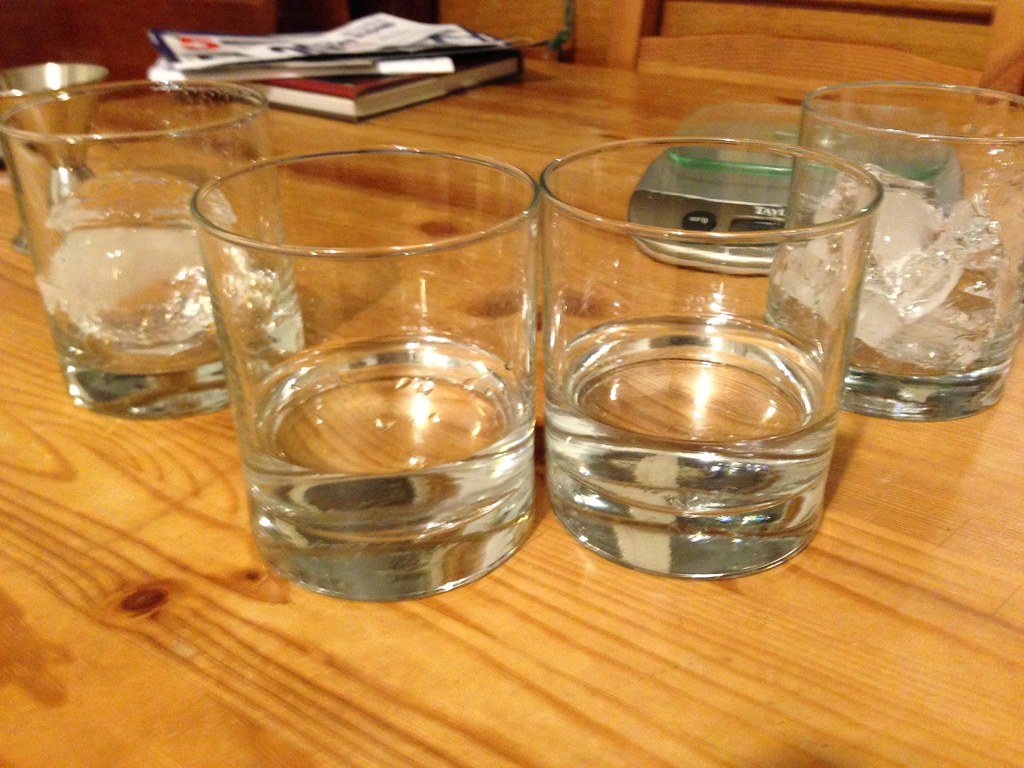
Demold and place in the glass. The ice in both glasses was the same by mass (123 g vs 122 g on the cubes).
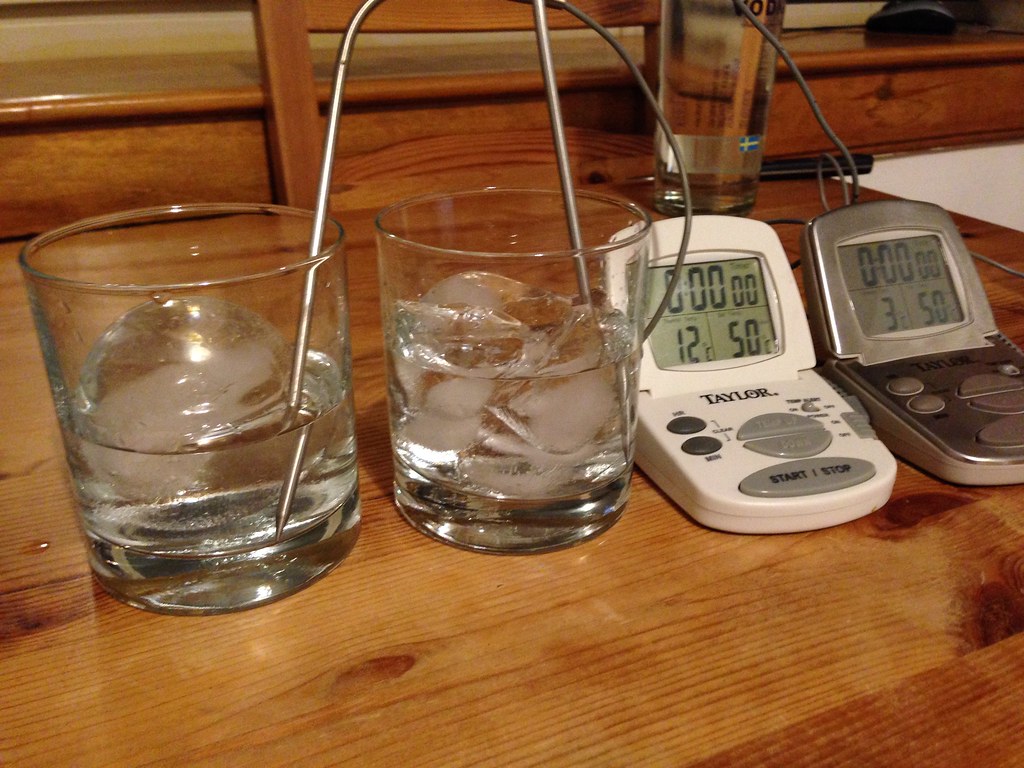
I also added the same amount of vodka (47 ml) and placed the probes in the glass. The probes are placed in the edge of the glass. No stiring or agitation whatsoever. I recorded the temperature at t=0 (right after I added the vodka) and for every minute thereafter form 10 minutes.
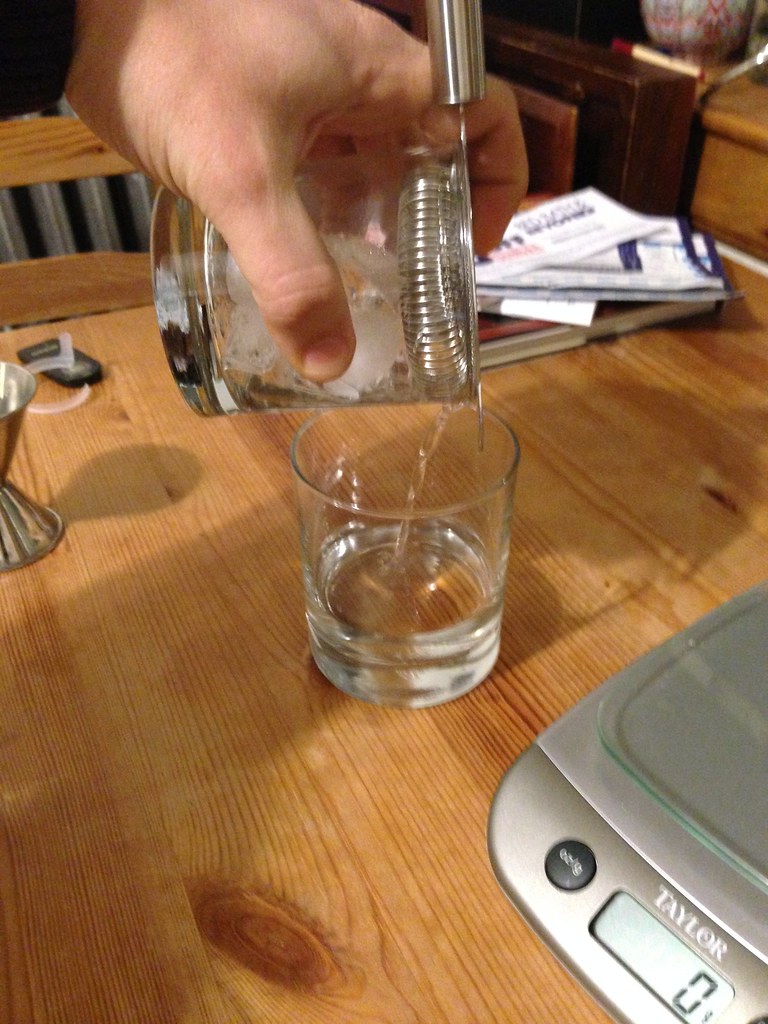
After ten minutes I strained the liquid and weighted the ice and the liquid separately.
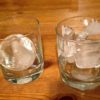
Here. I am not telling you what’s going on yet.
It is interesting the way the ice sphere melted.
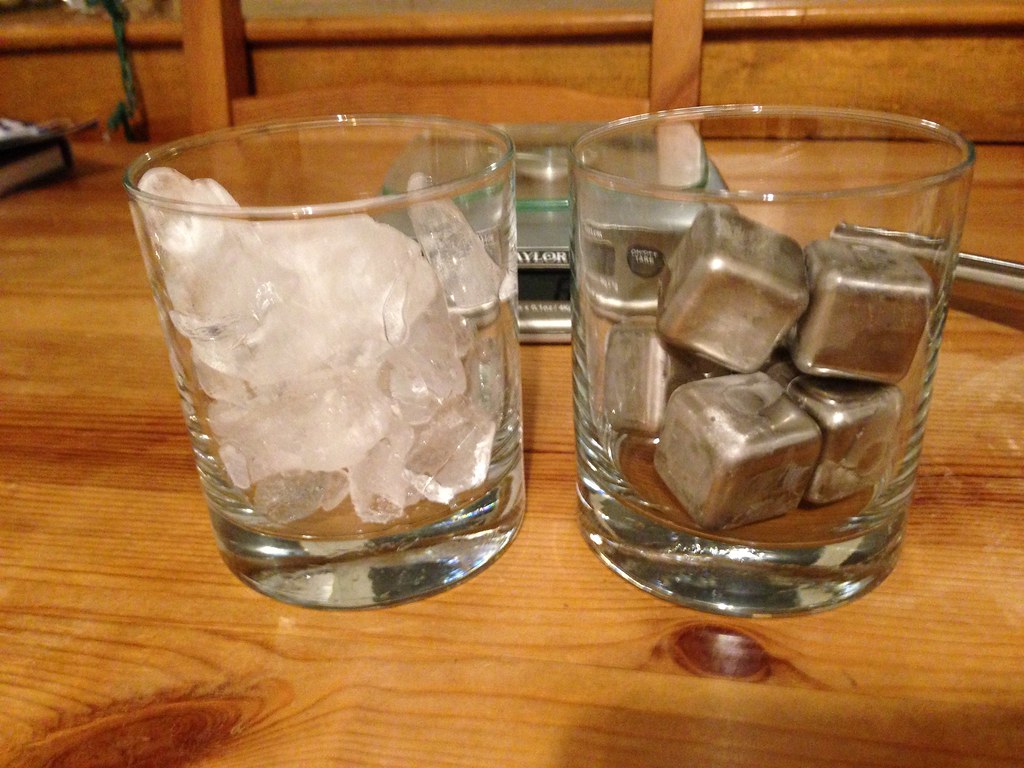
I repeated the same with the whiskey rocks and the the bagged ice.
The Results are in
The first diagram presents essentially the row data that show the temperature as a function of the time.
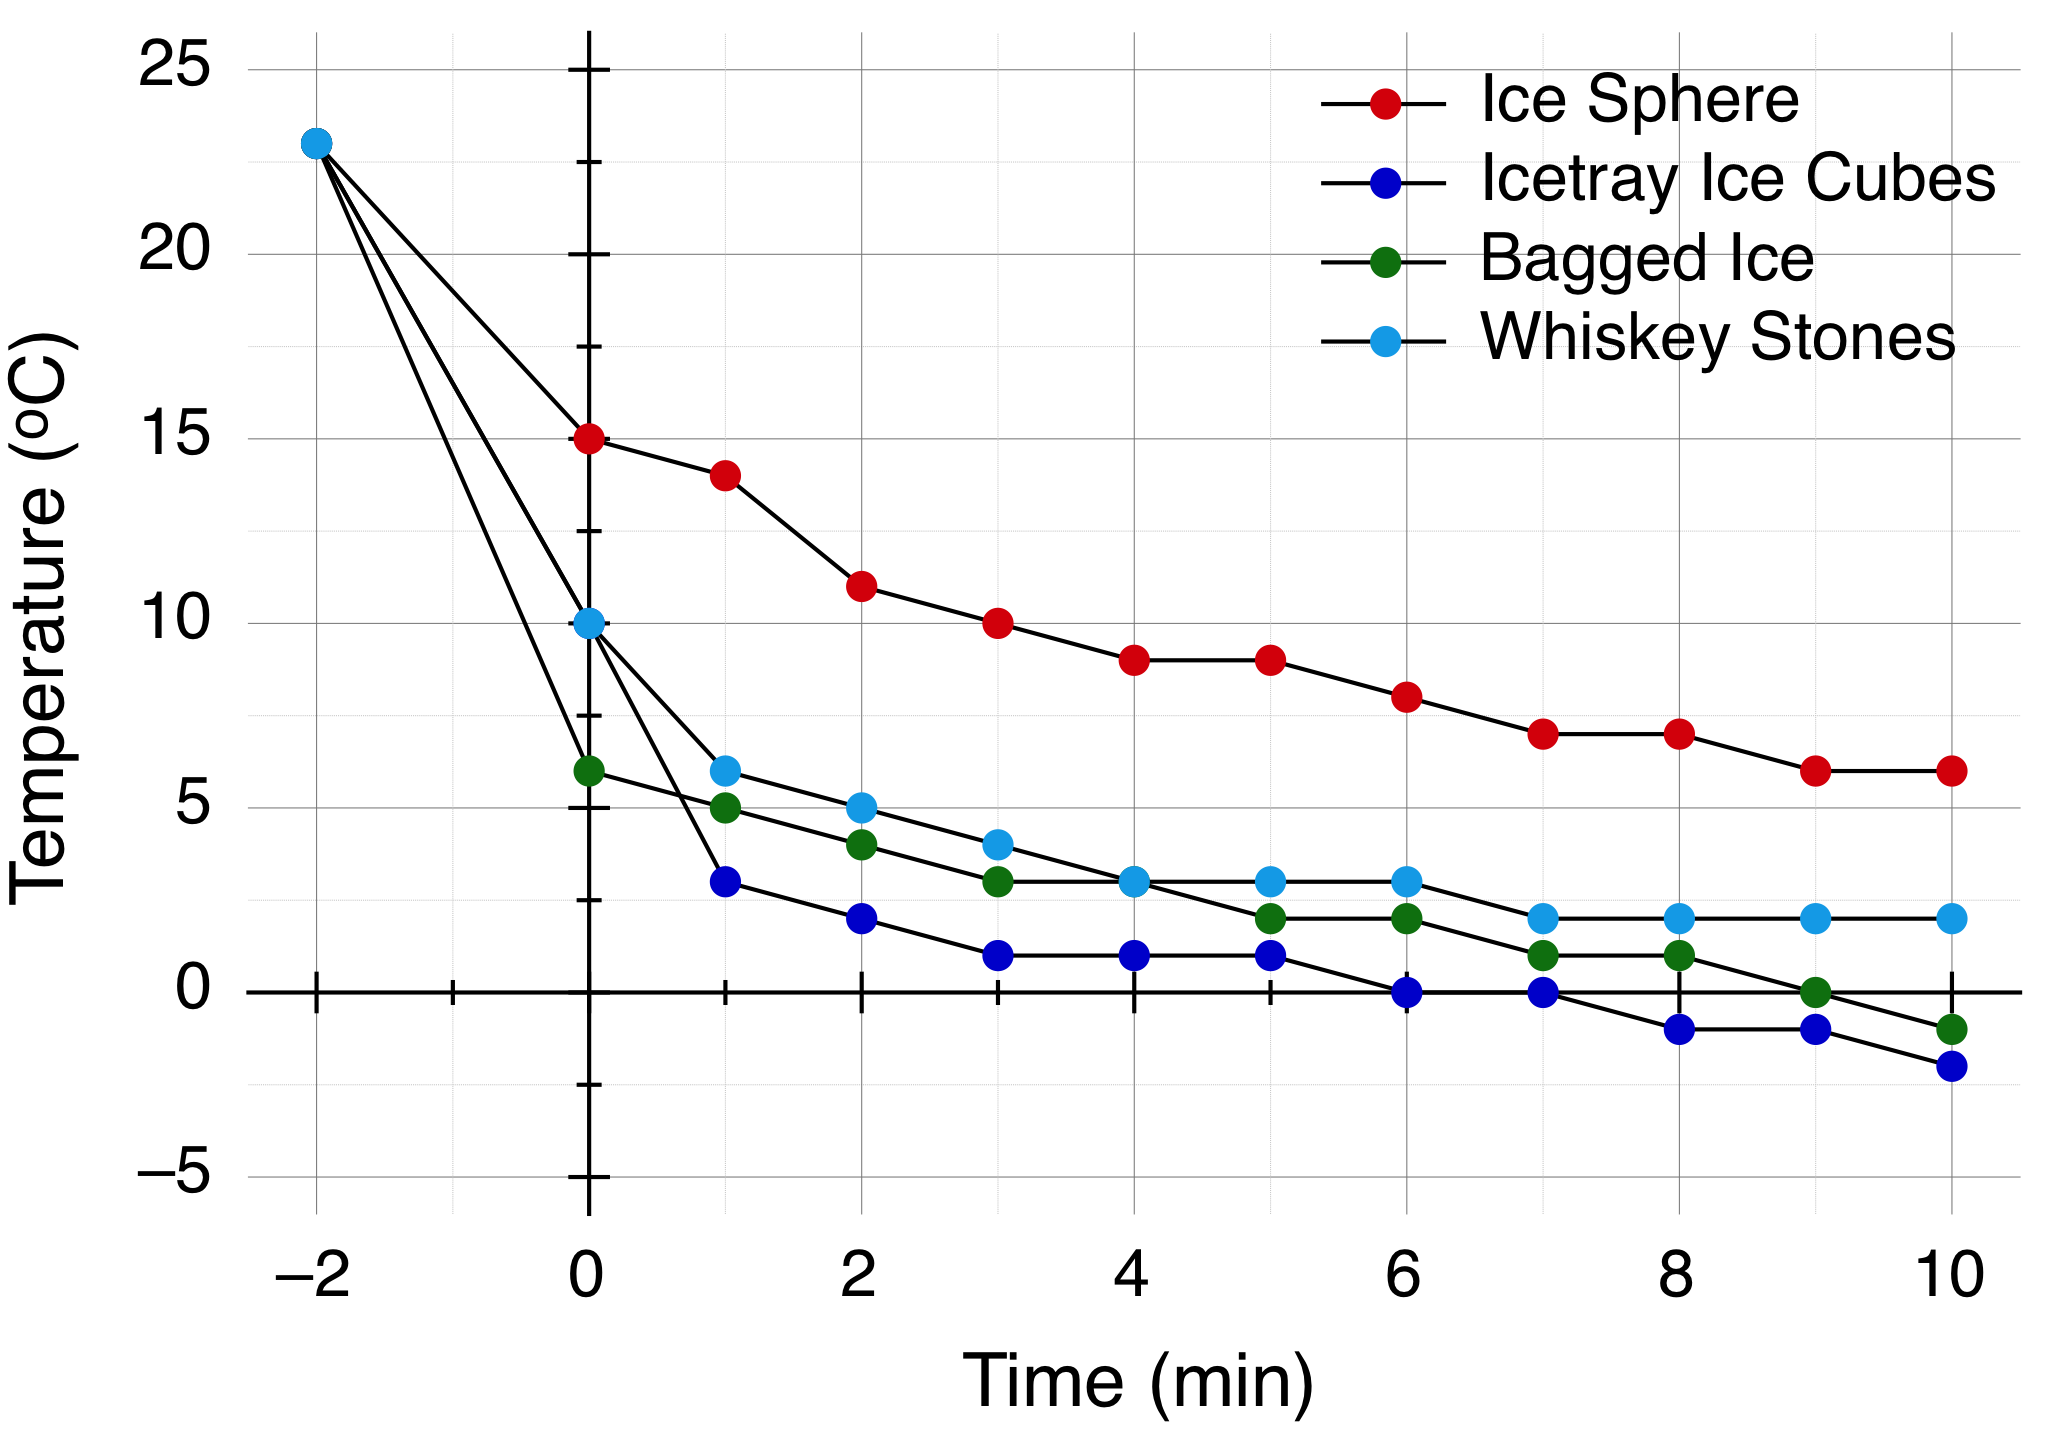
In the diagram the -2 mins is the temperature of the vodka right before the experiment which was 23 ºC for all of the cases. At t=0 is the temperature of the vodka right after it was poured in the glass with the various cooling agents. As you can see bagged ice was the most effective in that cooling the drink down at 6 ºC. he Whiskey Sones and the homemade ice cubes are next with 10 ºC and the Ice Sphere is only 15 ºC, giving it a rough start. Later you see that by the 10 minutes mark the bagged ice and the homemade ice achieved a final temperature below zero which results, while the Ice Sphere is at the 6 ºC mark, the point the bagged ice started. The whiskey Rocks fall between these two cases.
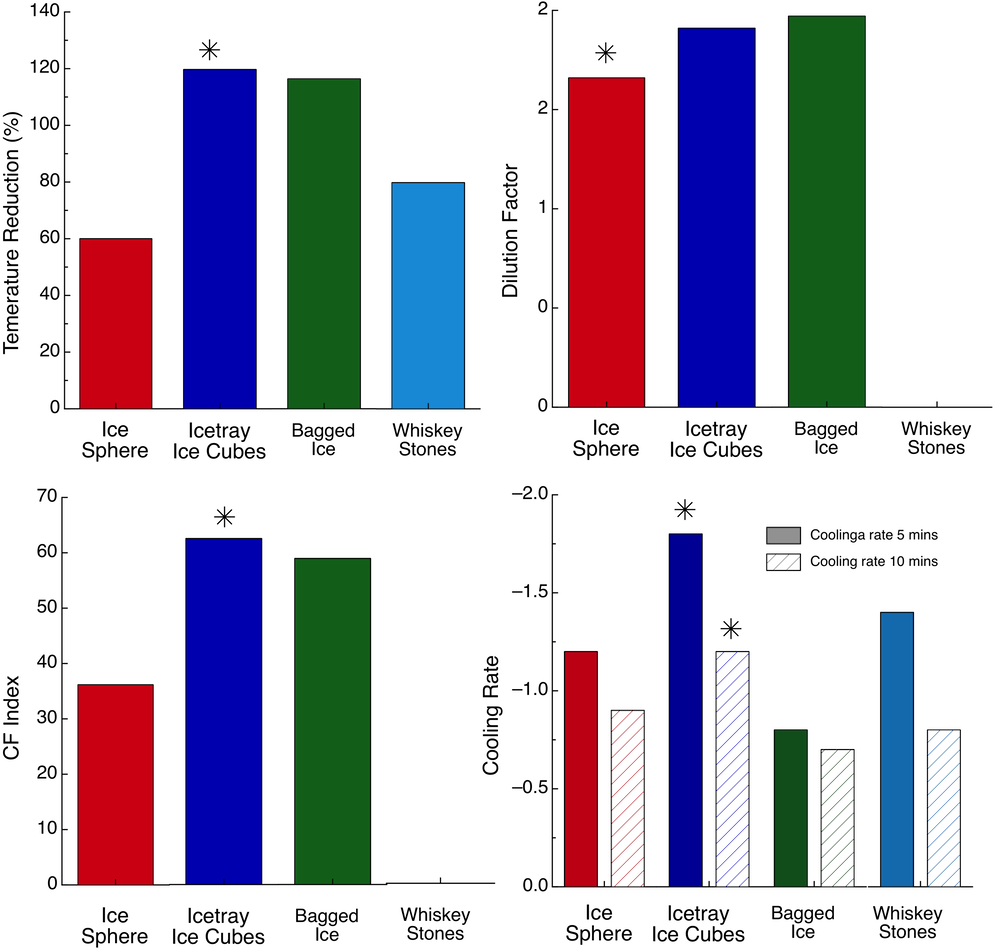
The next figure (right above) is the most important. In the top left panel, you can see the percentage difference of the temperature rise as compared to t=0. The ice tray ice cubes were able to reduce the temperature by 120%. The same goes for the bagged ice. The whiskey rocks were at 80% and the ice sphere was just a 60% cooling. The next panel (top left) shows the dilution of the Vodka the various ice types showed. Here the Sphere Ice holds true the claims that the dilution is minimal the dilution is 1.62. The ice tray ice cubes had almost a 2 dilution (1.97) and the bagged ice was by 1.93 very close. The whiskey rocks have no dilution of course. In more raw numbers the ice tray cubes and the bagged ice added about 42-45 ml of water in the drink while the ice sphere only 33 ml.
However, with the exception of the Whiskey Rocks, cooling and dilution come together. The dilution is the effect we don’t want and the cooling is the effect we want. So it only makes sense to look at these two parameters in direct comparison. That’s what the CF index does. It is the (Percentage Temperature Reduction)/(Dilution Factor). The higher the CF factor the better the ice is. Here the best of all is the ice trays ice cubes, and then the bagged ice very close. The Ice sphere is very low with a CF of 36, due to the low-temperature reduction.
The final parameter to evaluate is the cooling rate. The cooling rate over the first 5 mins and the cooling rate over the whole 10 mins period. Again the one that comes up on the top is the ice tray ice cubes. They had almost 1.8 ºC/min cooling rate while the bagged ice to show the smallest cooling rate. The Ice Sphere not only did well with about 1.4 ºC/min but also showed the most steady cooling rate.
Taste test:
- Ice Sphere: The drink was considerably cool but not cold and although diluted it did improve the raw vodka taste.
- Icetray Ice Cubes: This was quite cold refreshing but diluted beyond the point of being pleasant.
- Bagged Ice: Very similar to the previous.
- Whiskey Stone: The drink was very cool at the right level, but the lack of water from the melted ice made it very sharp.
The Verdict
So now that you saw the data yourself, there are a few things we can discuss:
- The humble household ice trays ice cubes, perform overall the best. They are fast in cooling and they are reducing the temperature at very low values. However, they also have the highest dilution which is expected. The dissolution rate, is not that much higher, compared to the ice sphere.
- The ice sphere although displayed the lower dissolution rate it is not up to the task of cooling. The drink was just cool to the taste but very tasty.
- The whiskey rocks were effective in cooling and created no dilution. This is great if you consider that you can always add the water required to bring it to the right levels of taste you want.
So, in the end, I think that the ice spheres are nice for visual reasons but not that great for practical applications. Nevertheless, I will keep using them. I think they can be great in a whiskey where you want some dilution and some cooling but no the extremes. The common household ice is great for beverages and in the application, you want a cold drink. I wouldn’t recommend it for shaking cocktails. For cocktail shaking, you need a fast cooling like the one the bagged ice can give. Finally, the whiskey rocks are ideal for whiskey where you get a very controlled cooling.
There you have it a scientific opinion on the ice quality. Choose wisely.
Related articles


